
Learn all about Cricut SportFlex Iron-On, how to use it, and create your own DIY baby onesies for your little one or an expecting friend…
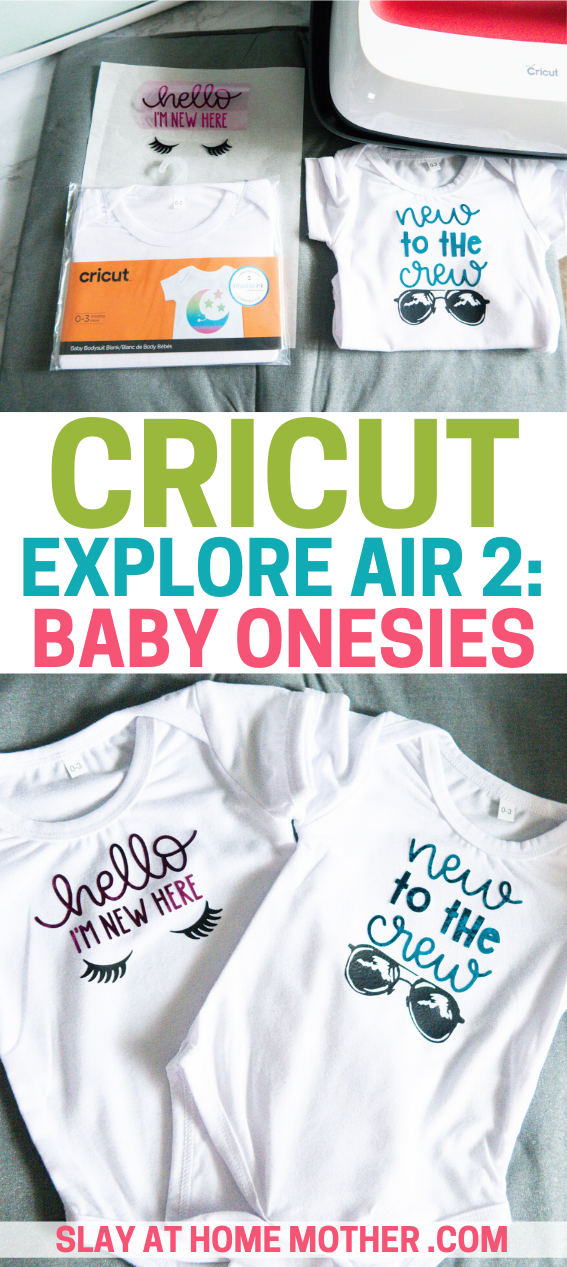

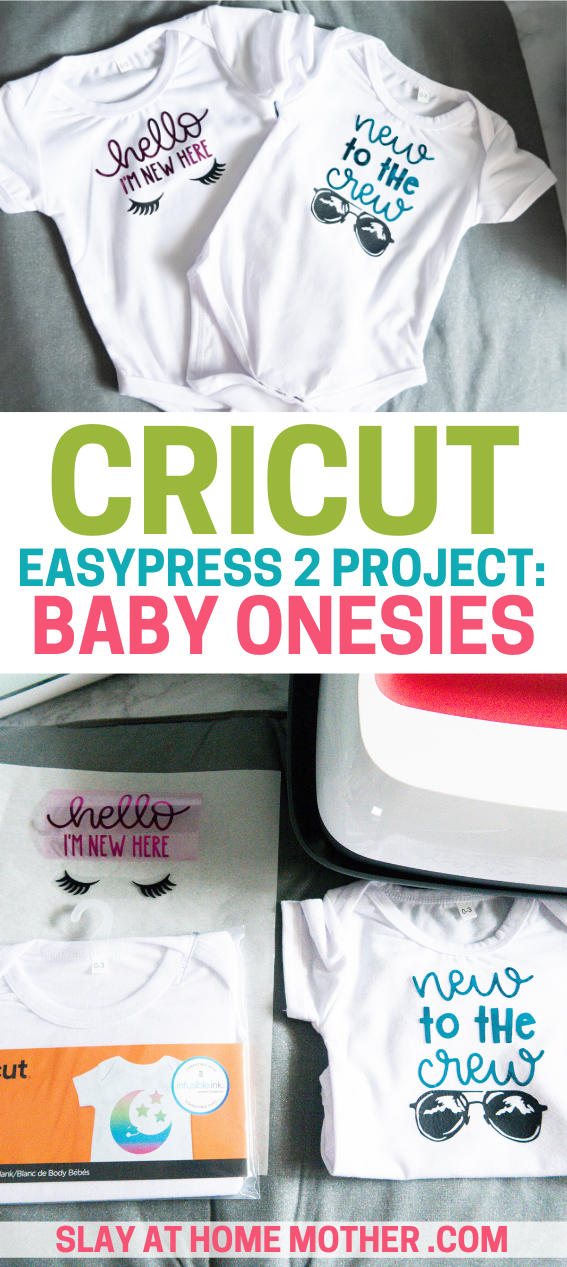
Cricut Explore Air 2 Project: Baby Onesies
Hi, friends! I’m back at it with another DIY/crafting post thanks to my Cricut Explore Air 2!
We’re about a month or so out from welcoming our new rainbow baby into our family, and I am getting ready in the best way possible – DIY BABY ONESIES!
*Cue crafters screaming everywhere*.
We still don’t know what we’re having, whether it’s a boy or a girl, and to be honest with you guys, the suspense is killing us! We can’t wait to meet this little guy or gal. Our boys are just as excited, although I can tell my oldest, Max, is maybe a little nervous about having another little brother around to steal his Legos…
I don’t have the heart to tell him the girls like Legos, too…
This project idea came to me after I completed my DIY Christmas pillow covers last month with my Explore Air 2 and my EasyPress 2.
My mind was suddenly flooded with all things iron-on, and I couldn’t help but think of what I could create on some blank white onesies I had hanging in the nursery closet.
I won’t make you read the entire post without telling you first just how EASY this project is. Any beginner crafter can make these adorable onesies with ease, and they make the perfect personalized gift for an expecting friend or family member!
Here’s how to make them, and what you’ll need for this Cricut Explore Air 2 project…
*This post is not sponsored, however, it does contain appropriate affiliate links at no cost to my readers.*
DIY Onesies Materials
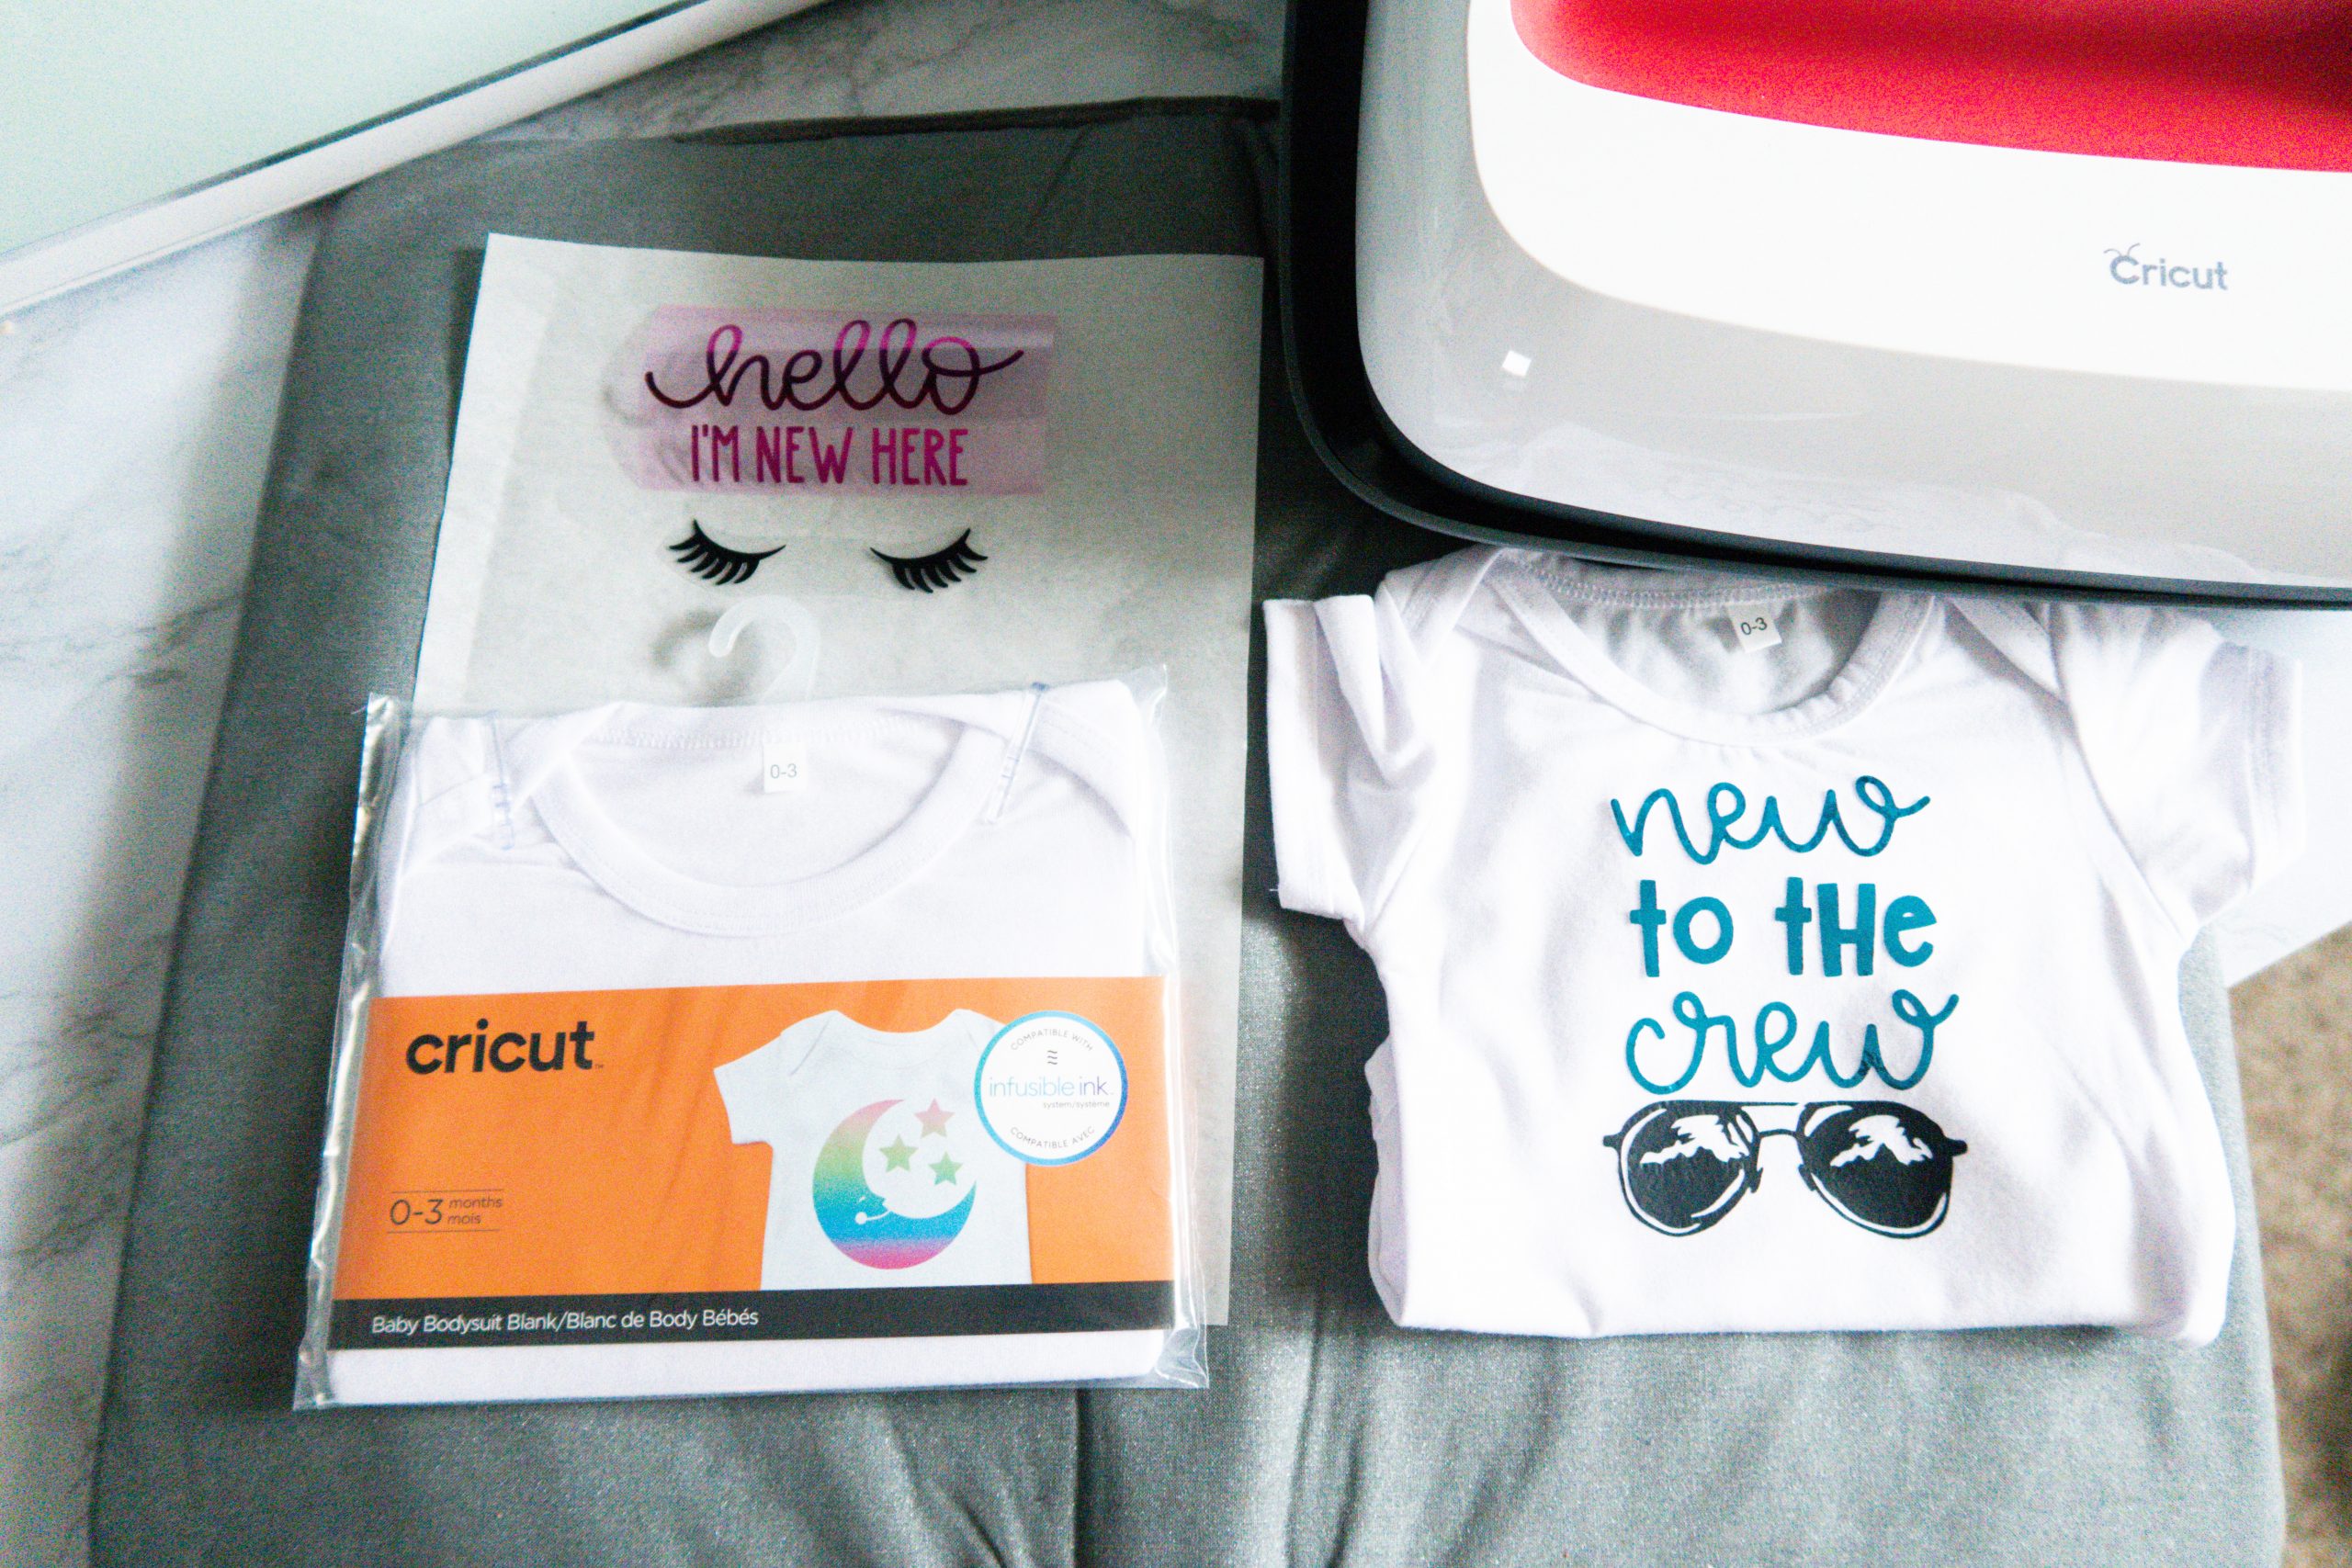
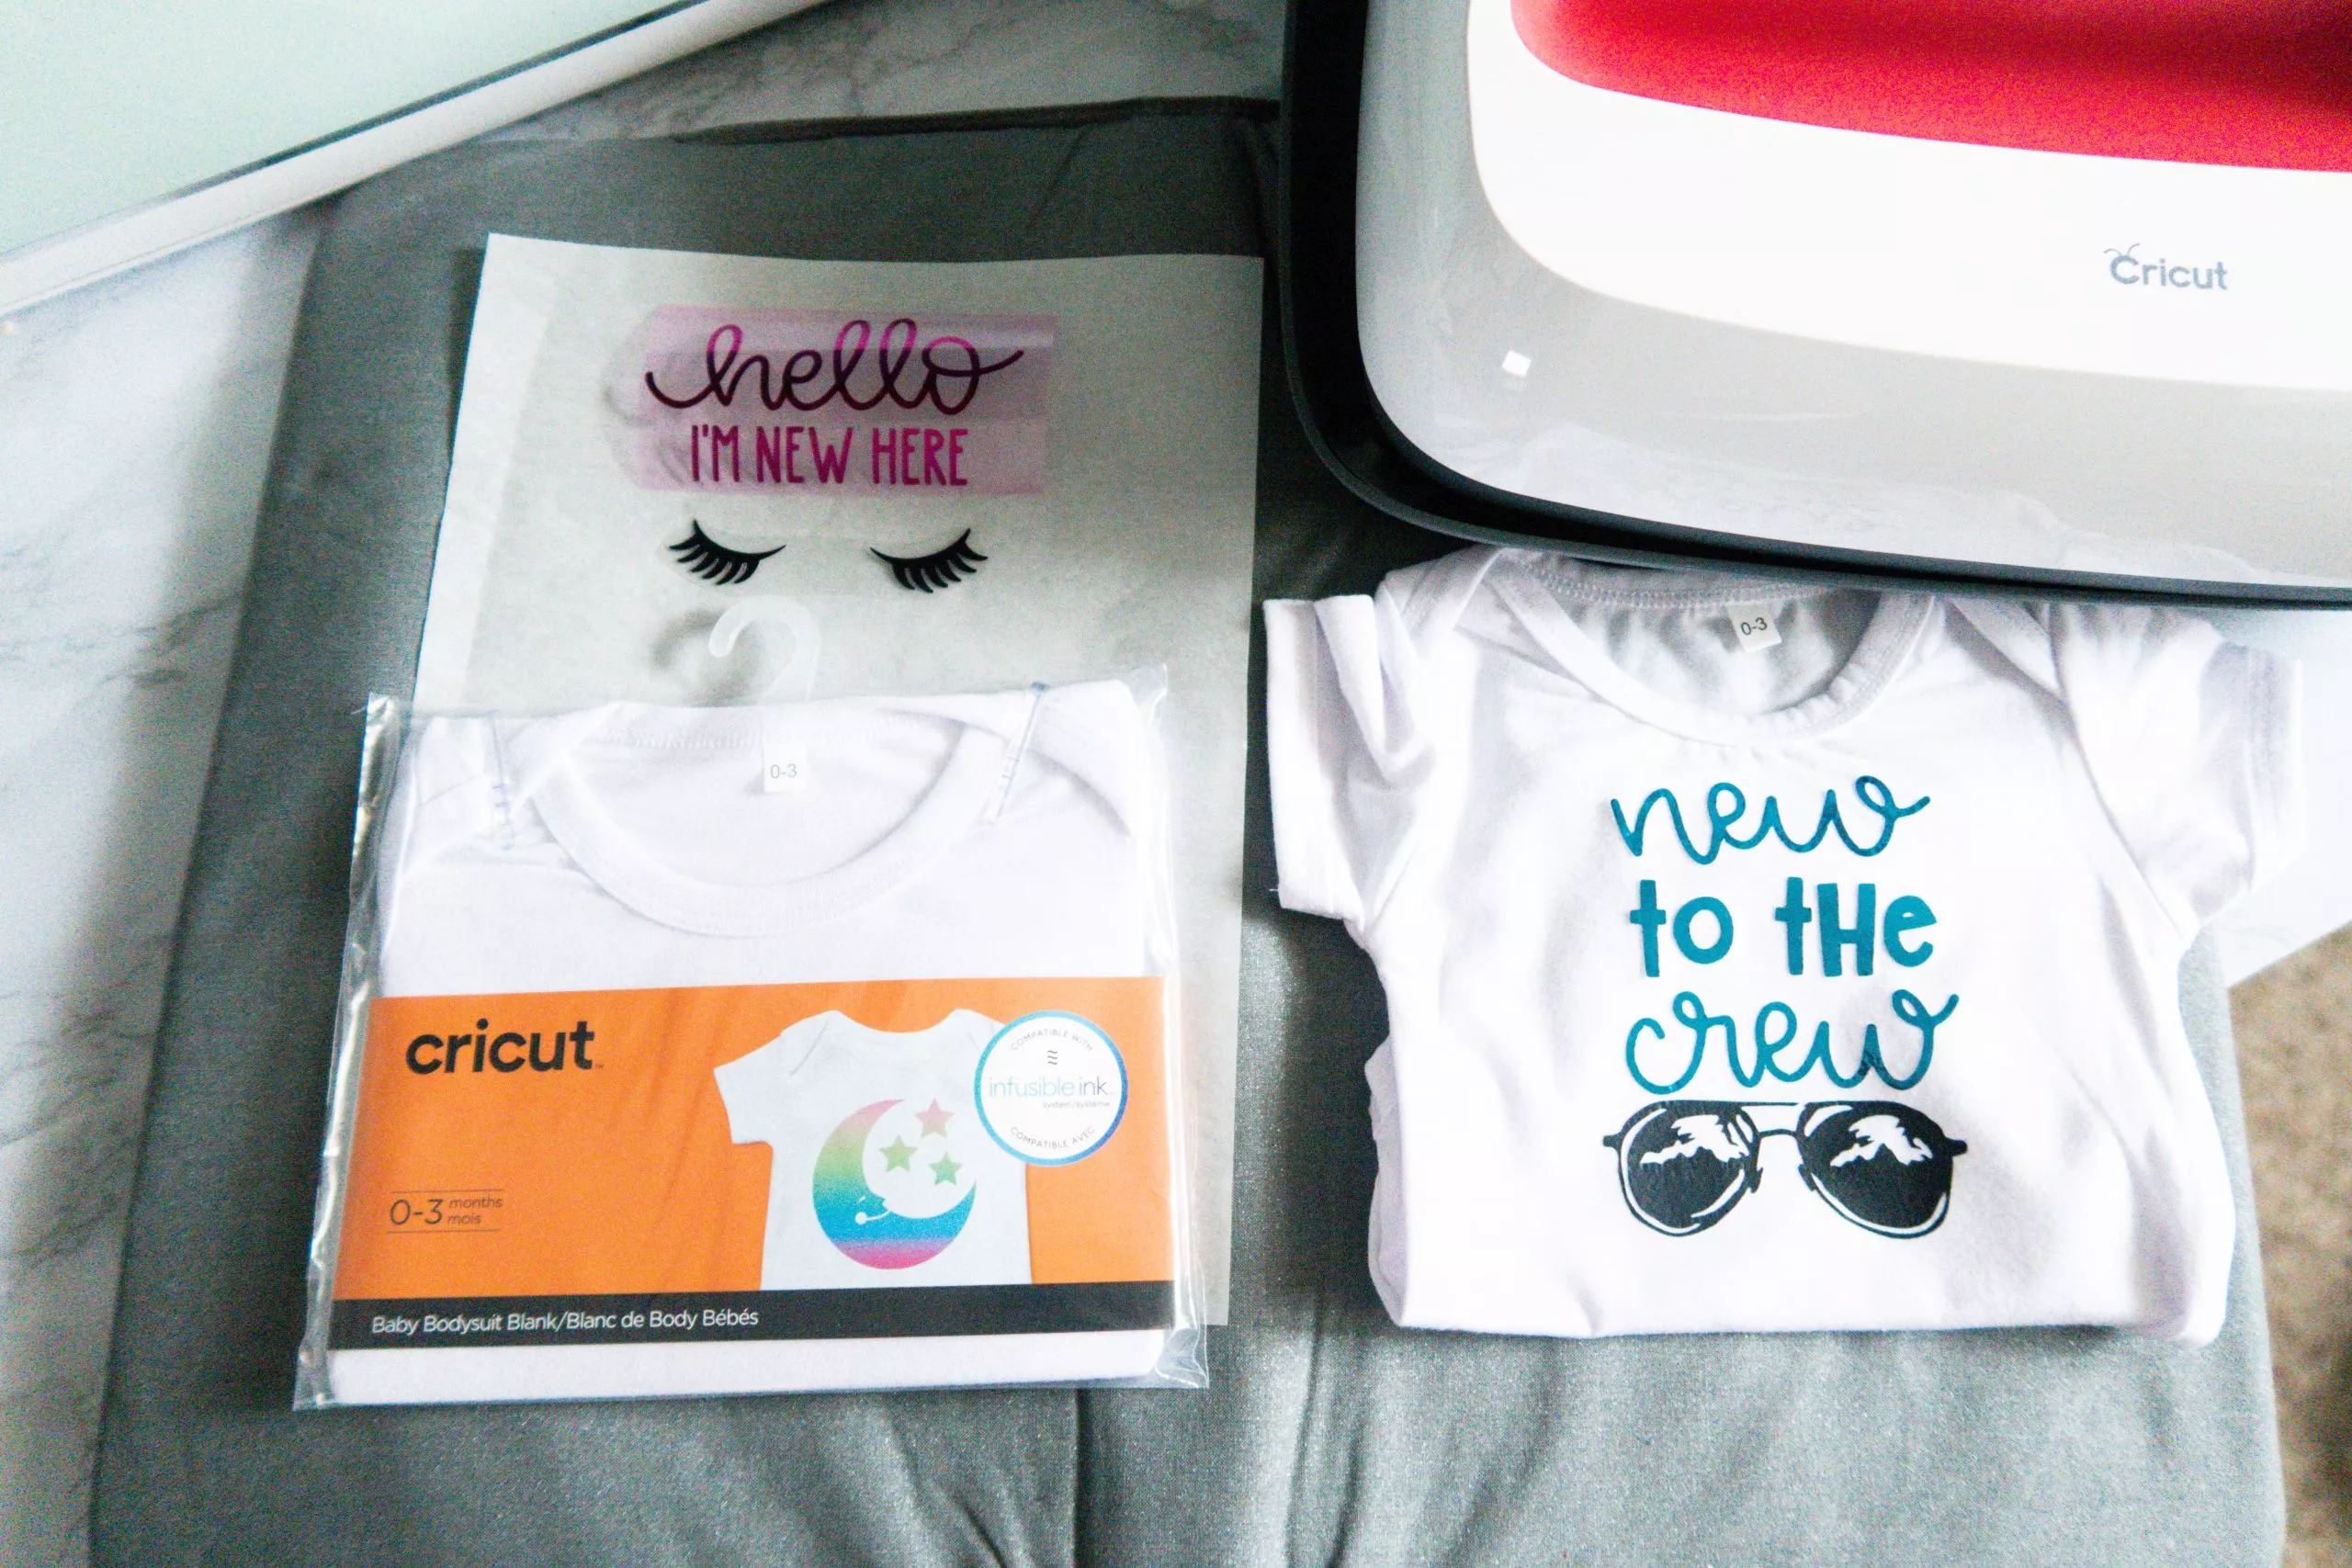
Here’s what you’ll need to make these adorable baby onesies:
- foil iron-on (I used magenta and turquoise colors)
- Cricut SportFlex iron-on in black
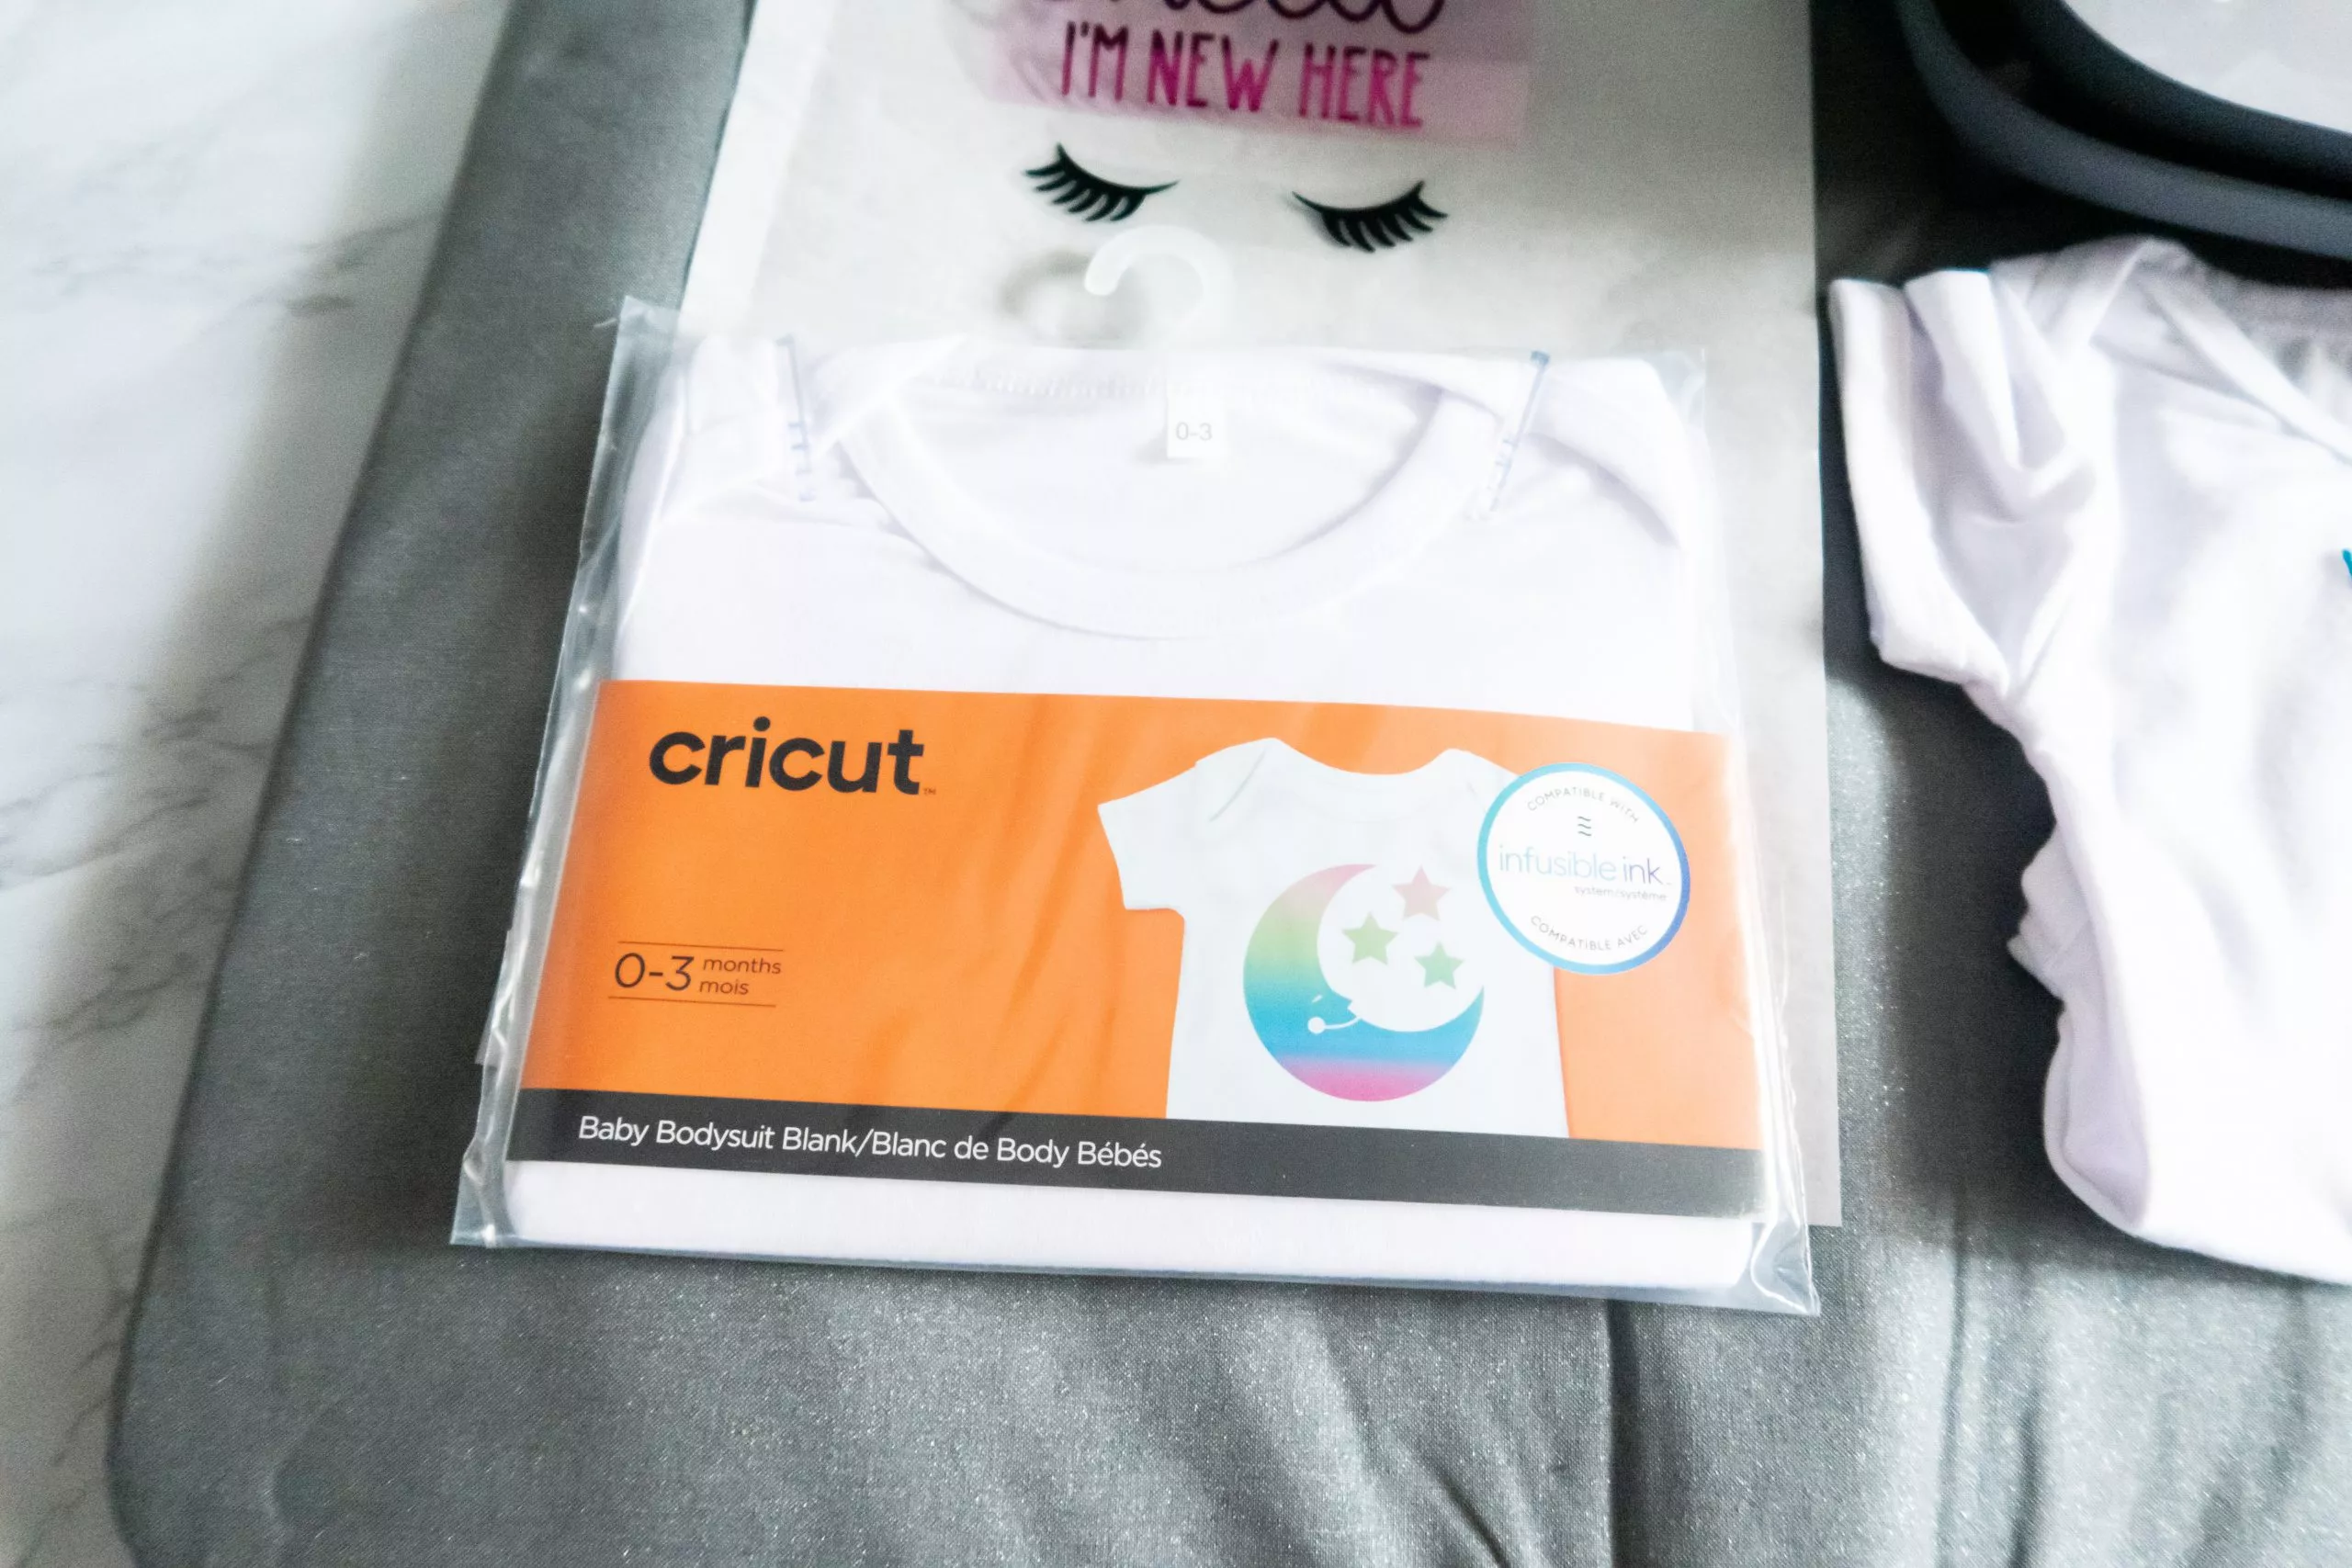
- prewashed and fully dried onesies (no fabric softener)
- EasyPress 2
- EasyPress mat
- Cricut Explore Air 2
- StandardGrip mat (the green one)
- butcher paper or Heat Protective Sheet

Create A Design For Your Onesies – Or Use Mine!
You’ll also need a design to put on your onesies! This is where you can get as creative as you like in Design Space (or you can just use my design by clicking HERE).
Play around with different texts, images, and sayings to customize your onesies however you like!
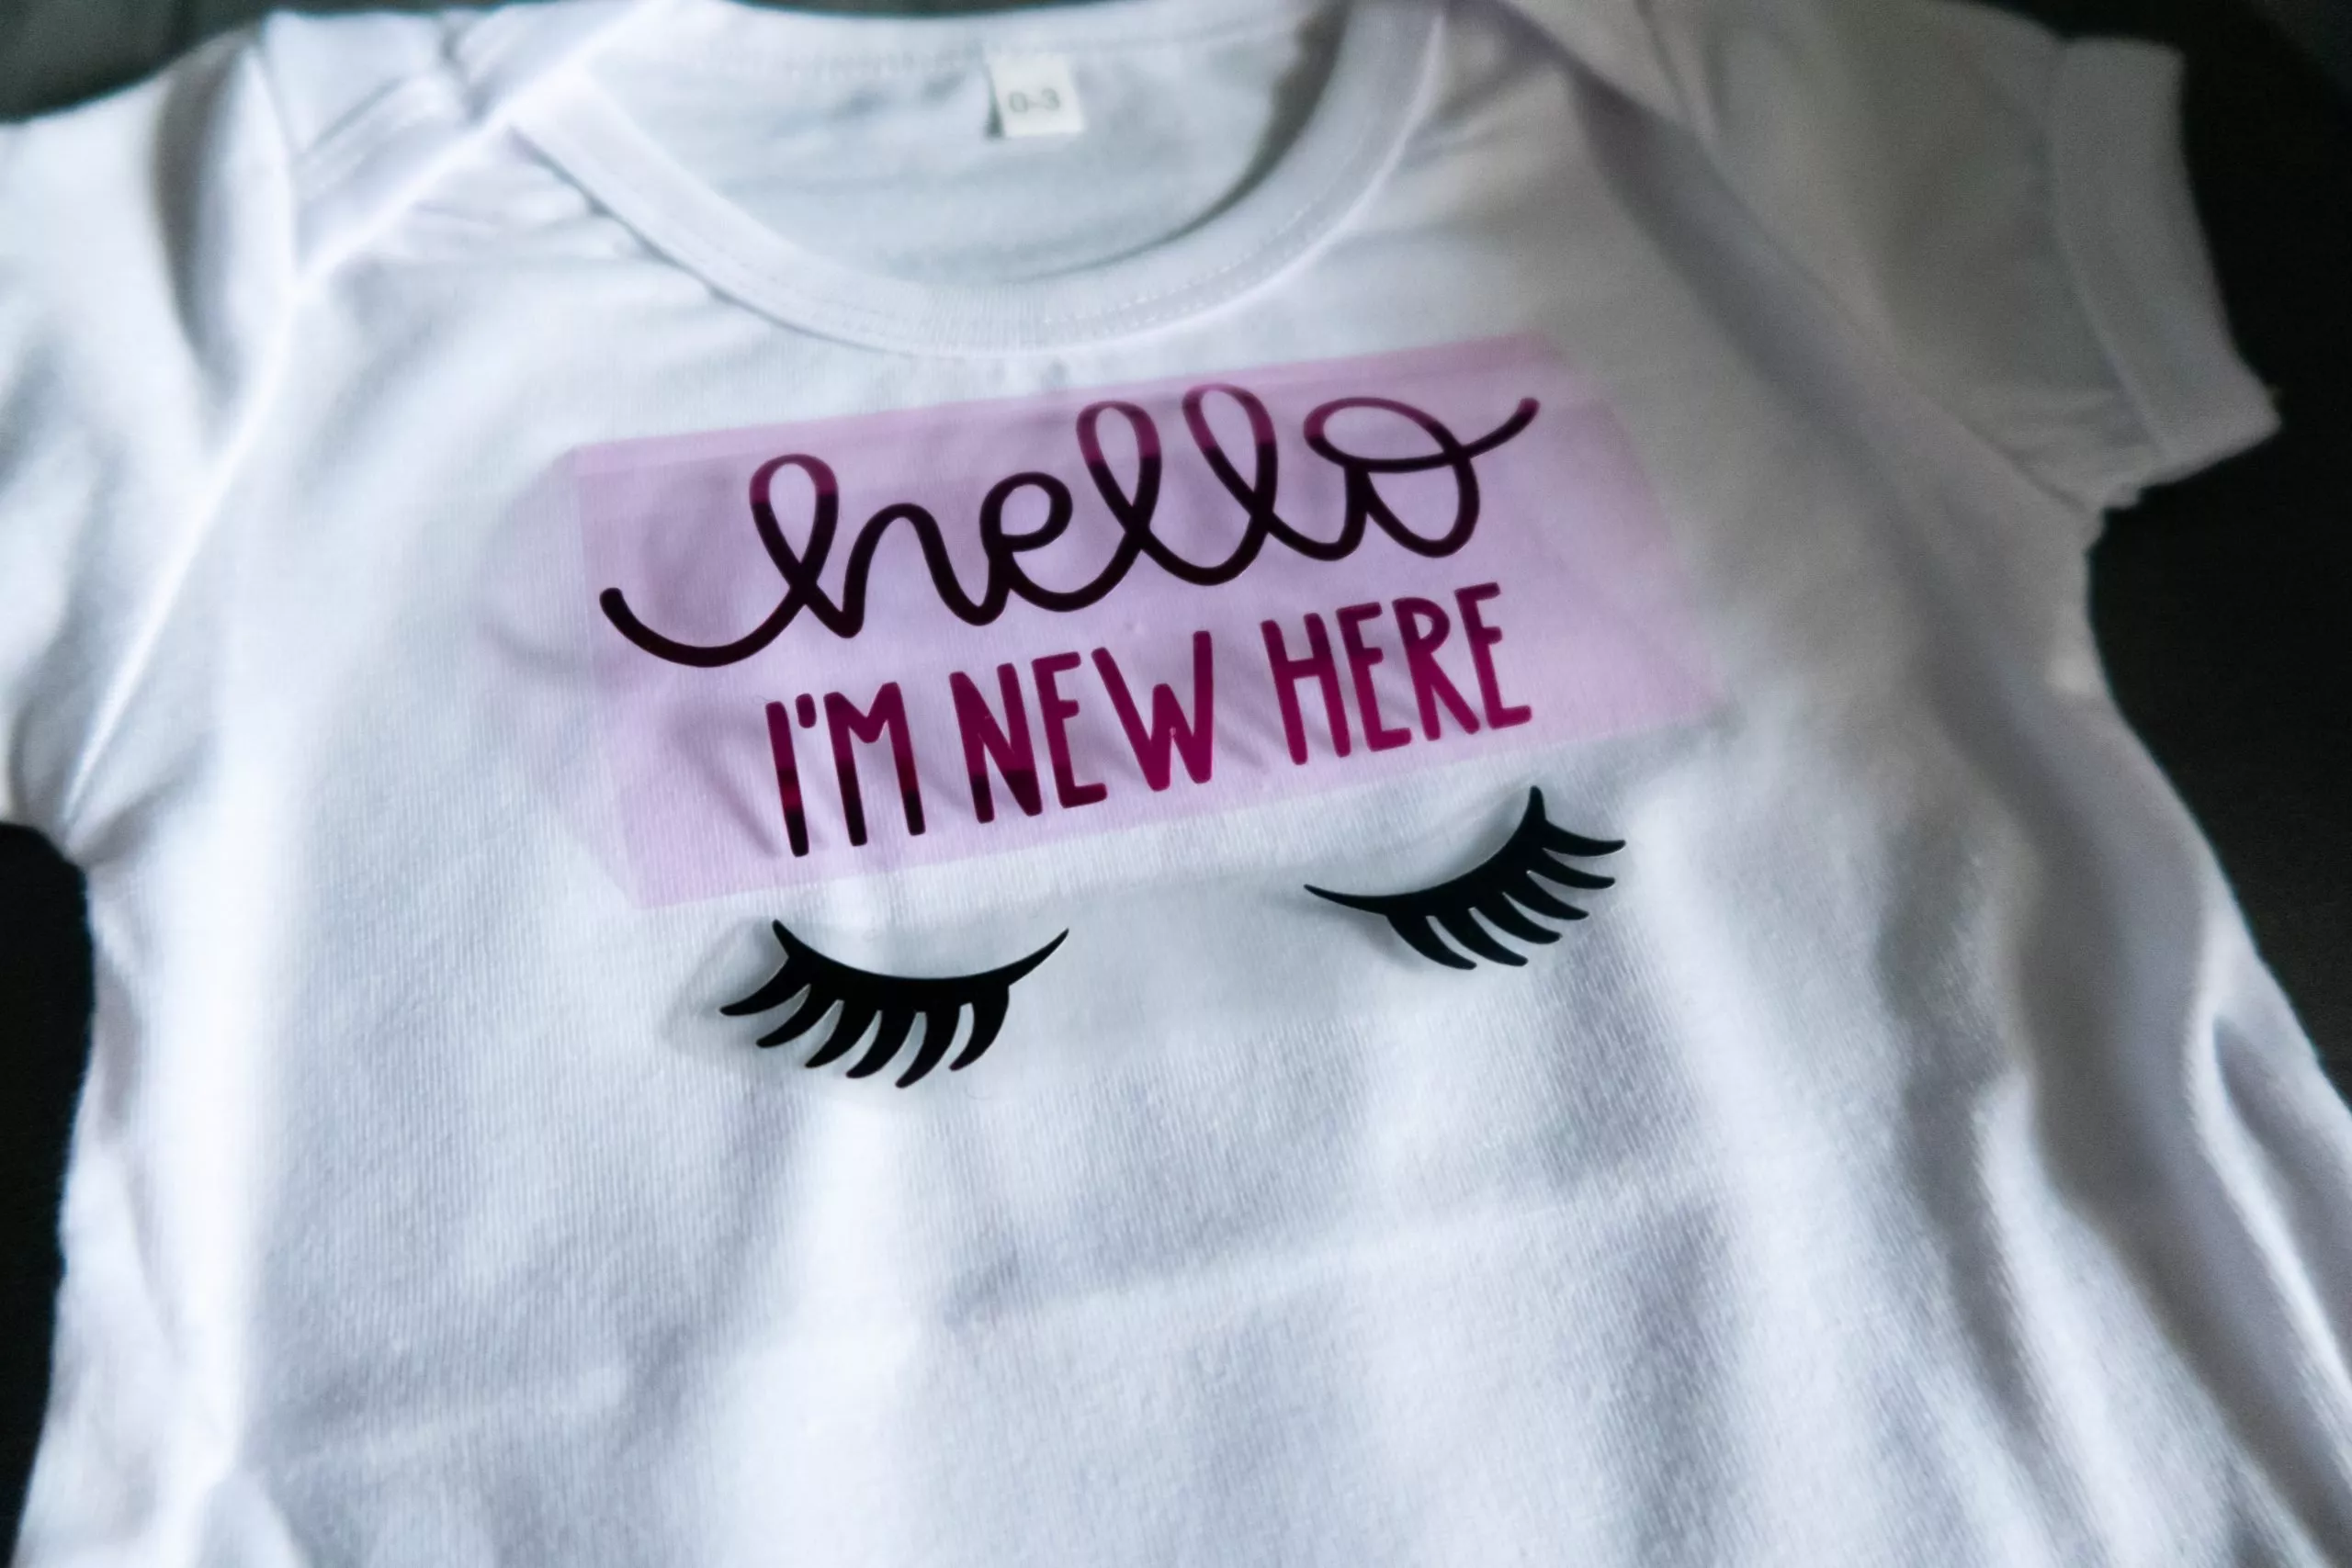
Once your designs are cut and weeded, position your designs on your onesies.
For baby onesies, try to position your design closer to the neckline so it’s easily legible.
If the top of your design is positioned lower, say armpit level, lettering and images may get ‘lost’ in the folds once the finished onesie is put on your little one.

PREWASH FABRIC CORRECTLY
As I mentioned above, you’ll also want to work with prewashed material but be sure to skip the fabric softener.
The reason for prewashing is so that the material can shrink as much as it is supposed to so the design can adhere to the material’s true size instead of peeling off in the wash. Prewashing also removes any chemicals or impurities from the surface.
Fabric softener should not be used on your material during washing or drying as it can negatively affect how well your design adheres to your material.
Applying Designs To Onesies Using EasyPress 2
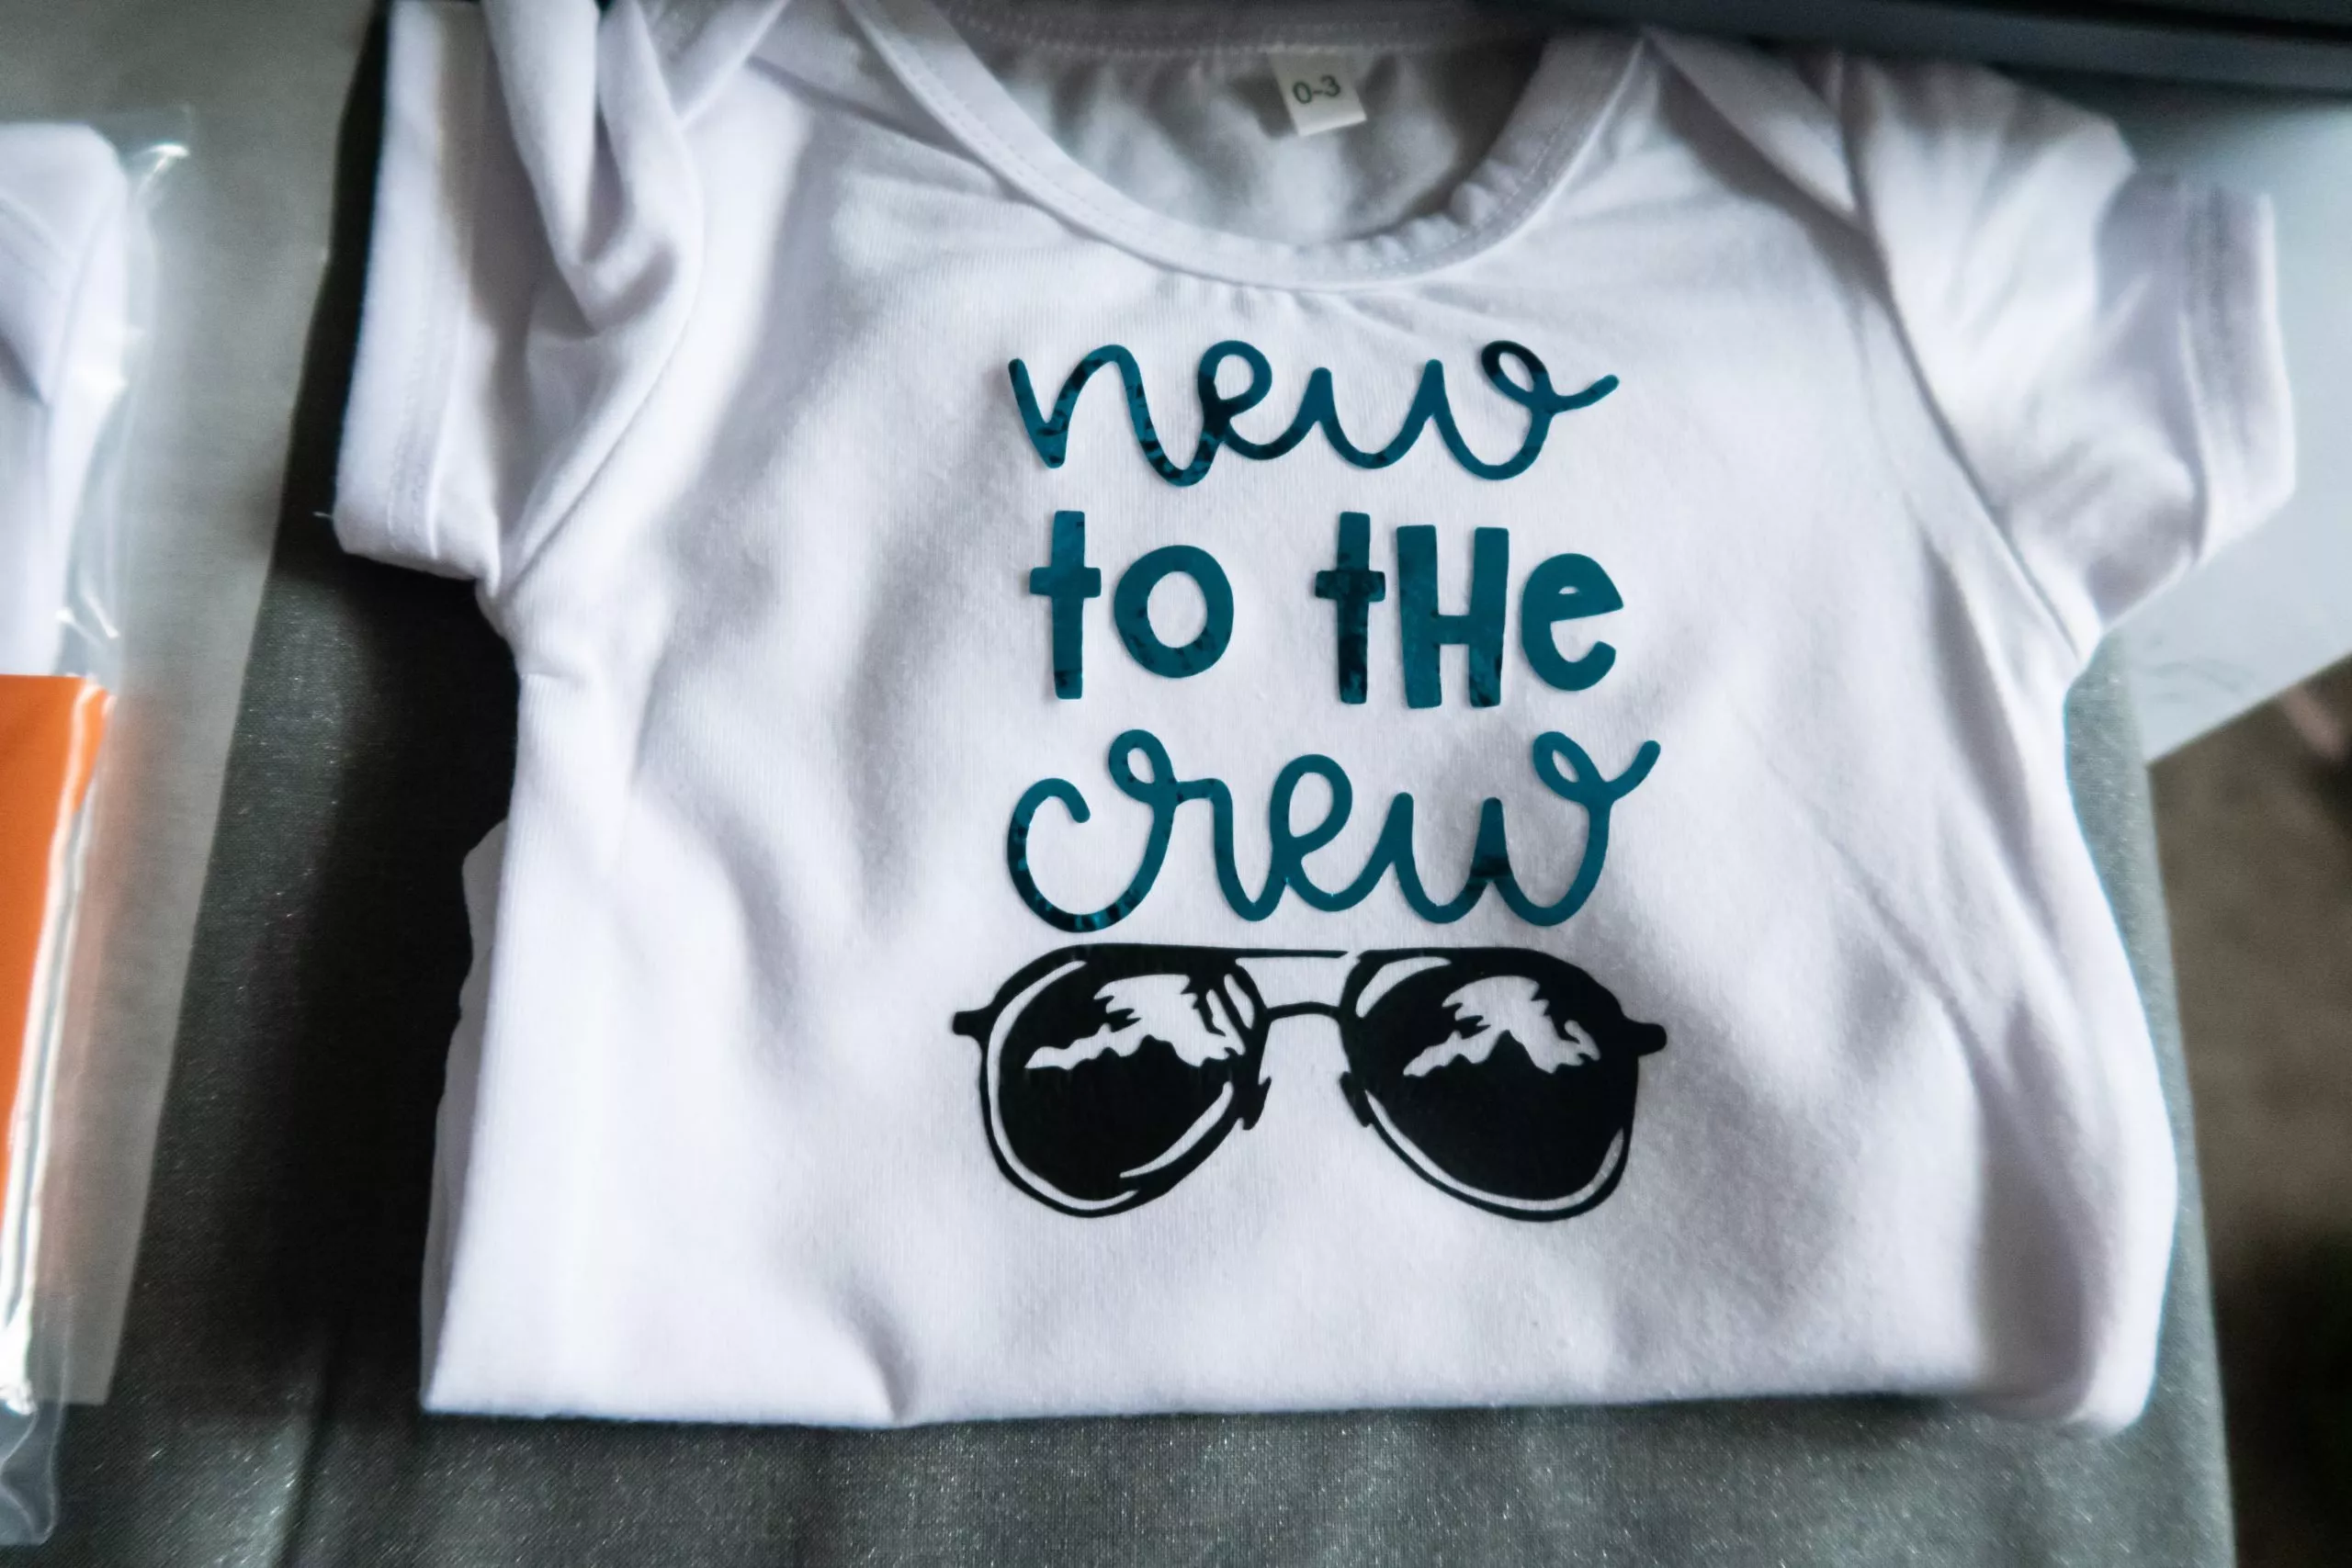
In this post, I’m using both Cricut SportFlex iron-on for the images (the black lashes and glasses), and foil iron-on for the lettering, as well as the EasyPress 2 (12″x10″).
P.S. An easy way to determine your heat settings for your project is by using Cricut’s Heat Guide HERE.
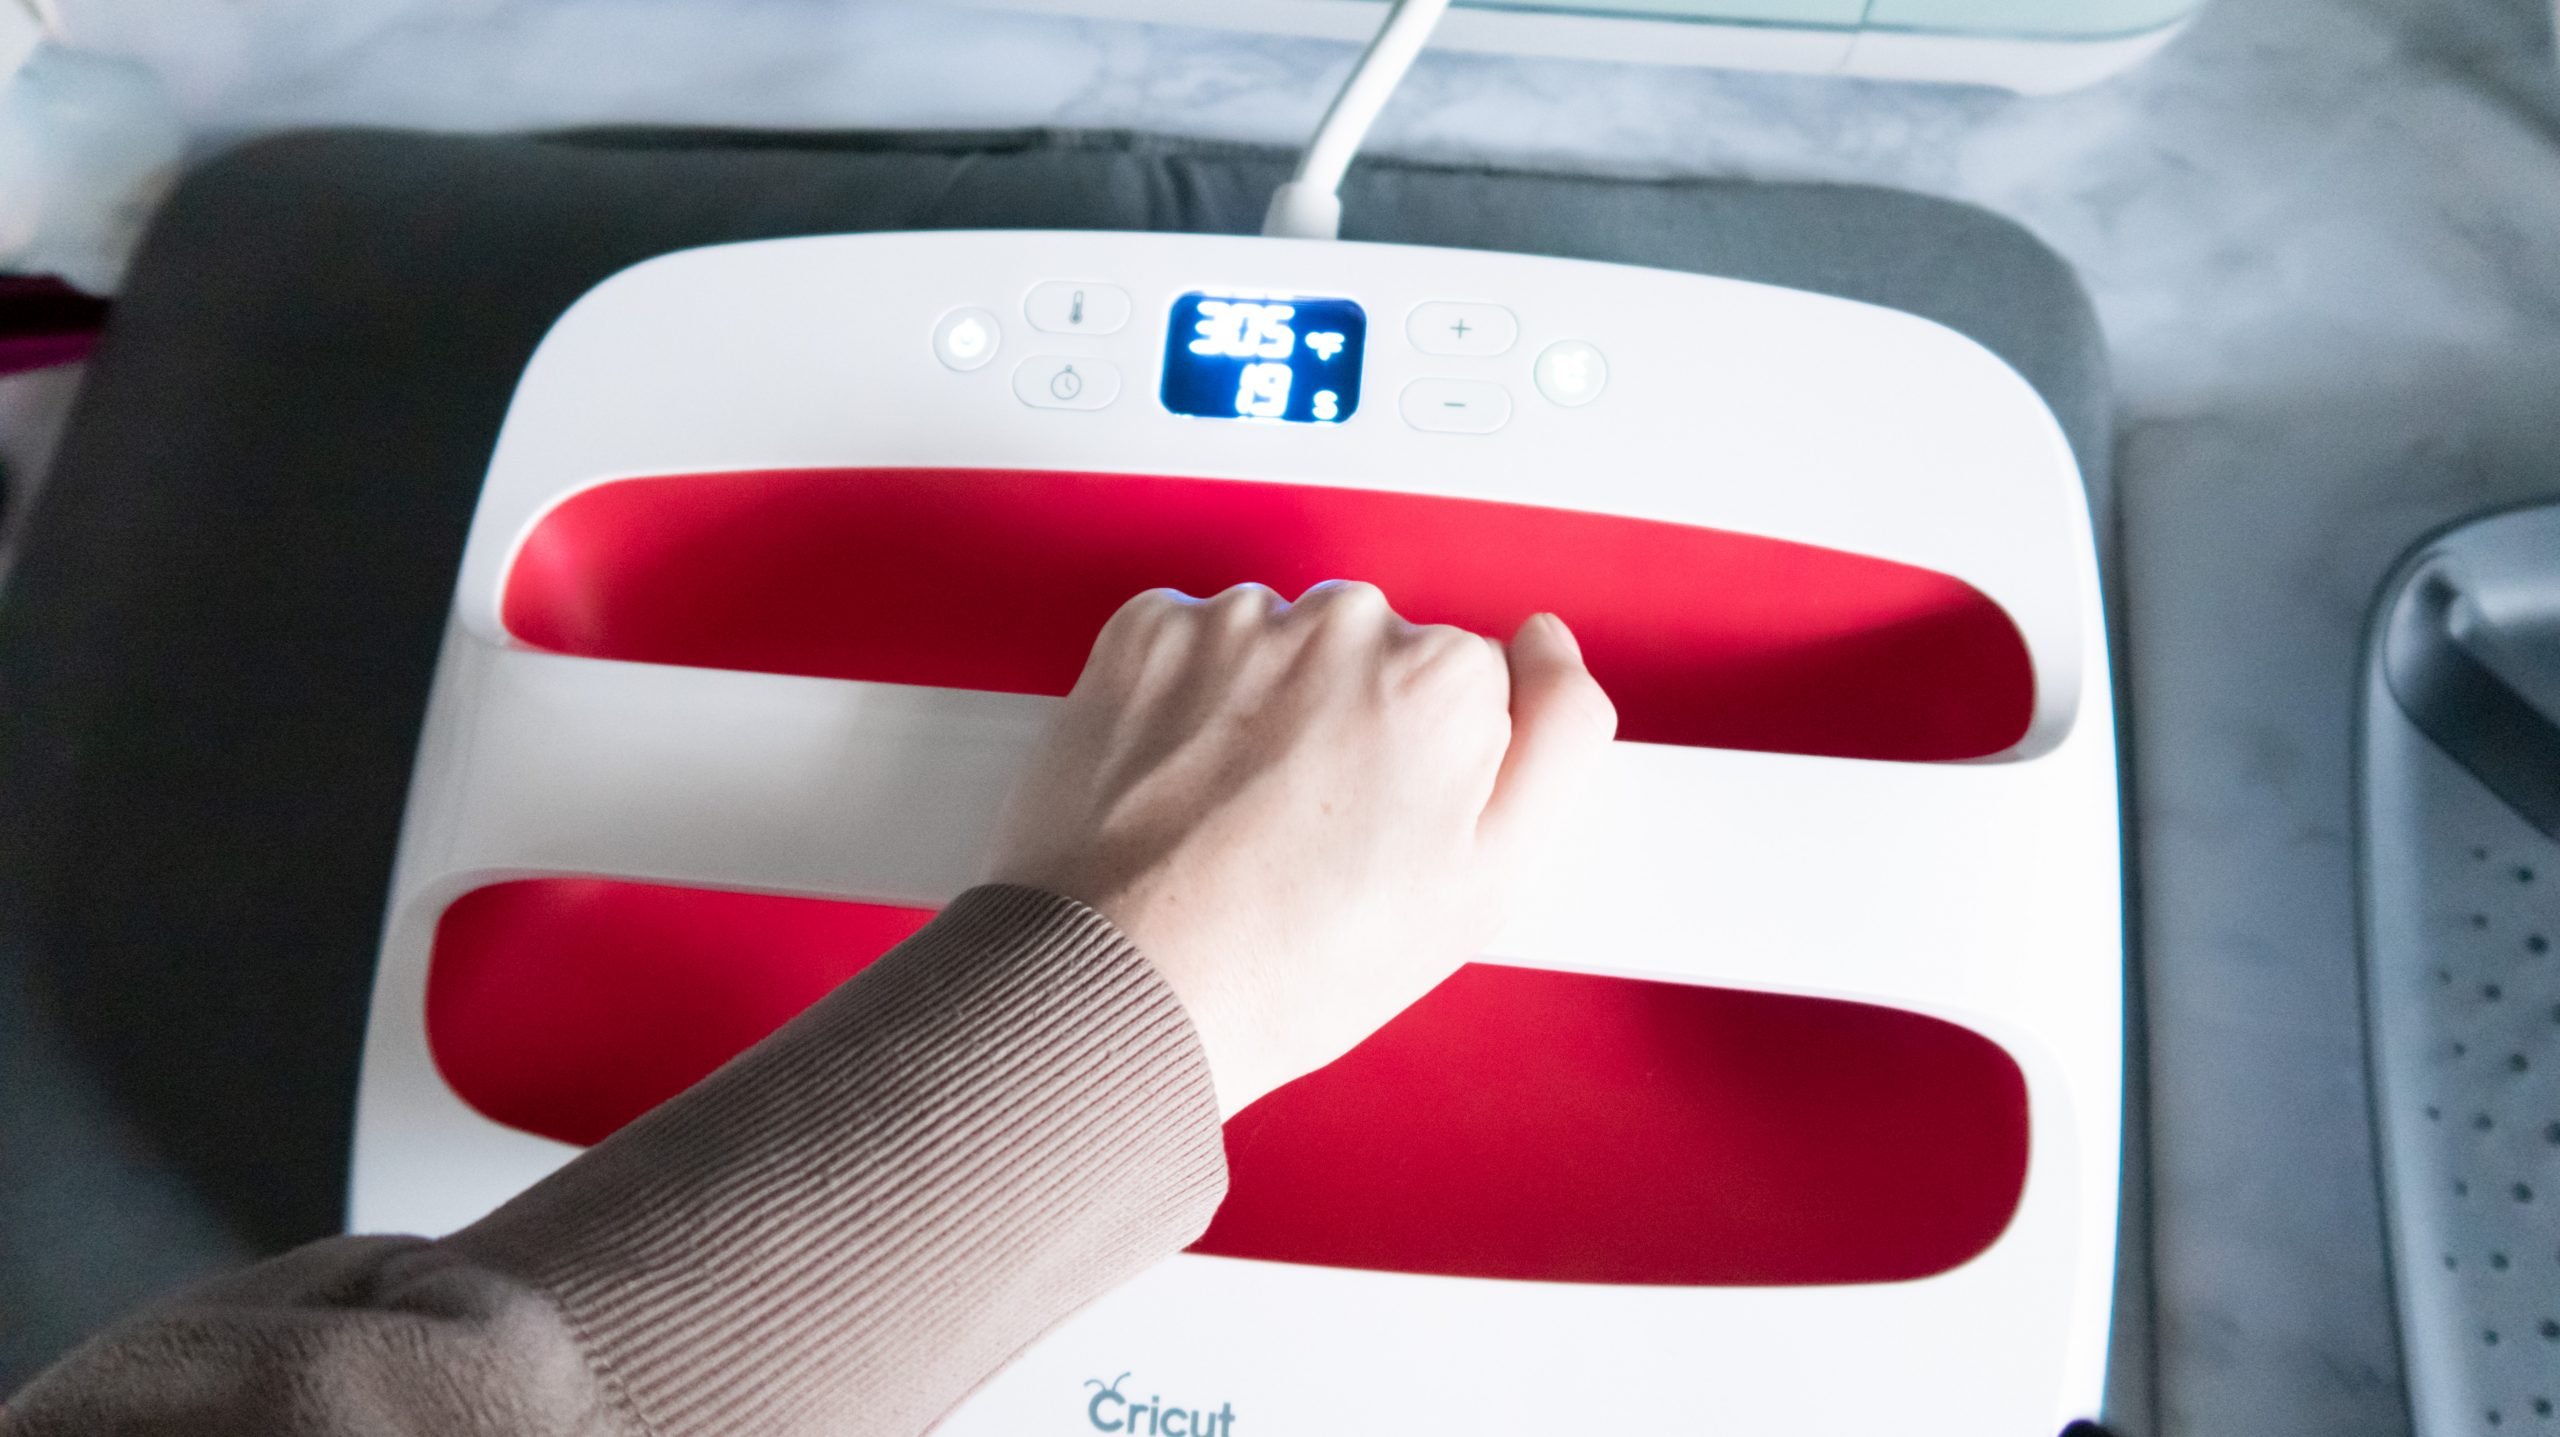

For onesies, you can probably get by with just the 6″x7″ EasyPress 2, which runs about $69 during sales!
Be sure to follow the guidelines for preheating, applying your EasyPress 2 with regards to the amount of pressure to apply, timing, and temperature.
Peeling Iron-On After Adhesion
After applying the EasyPress 2 to your design and onesie, you’ll need to peel the liner. Cricut’s Heat Guide will tell you if your material and project require a warm peel or cold peel.
This simply means that you will either peel the top liner up from your design when it’s warm or wait until it has completely cooled down before peeling.
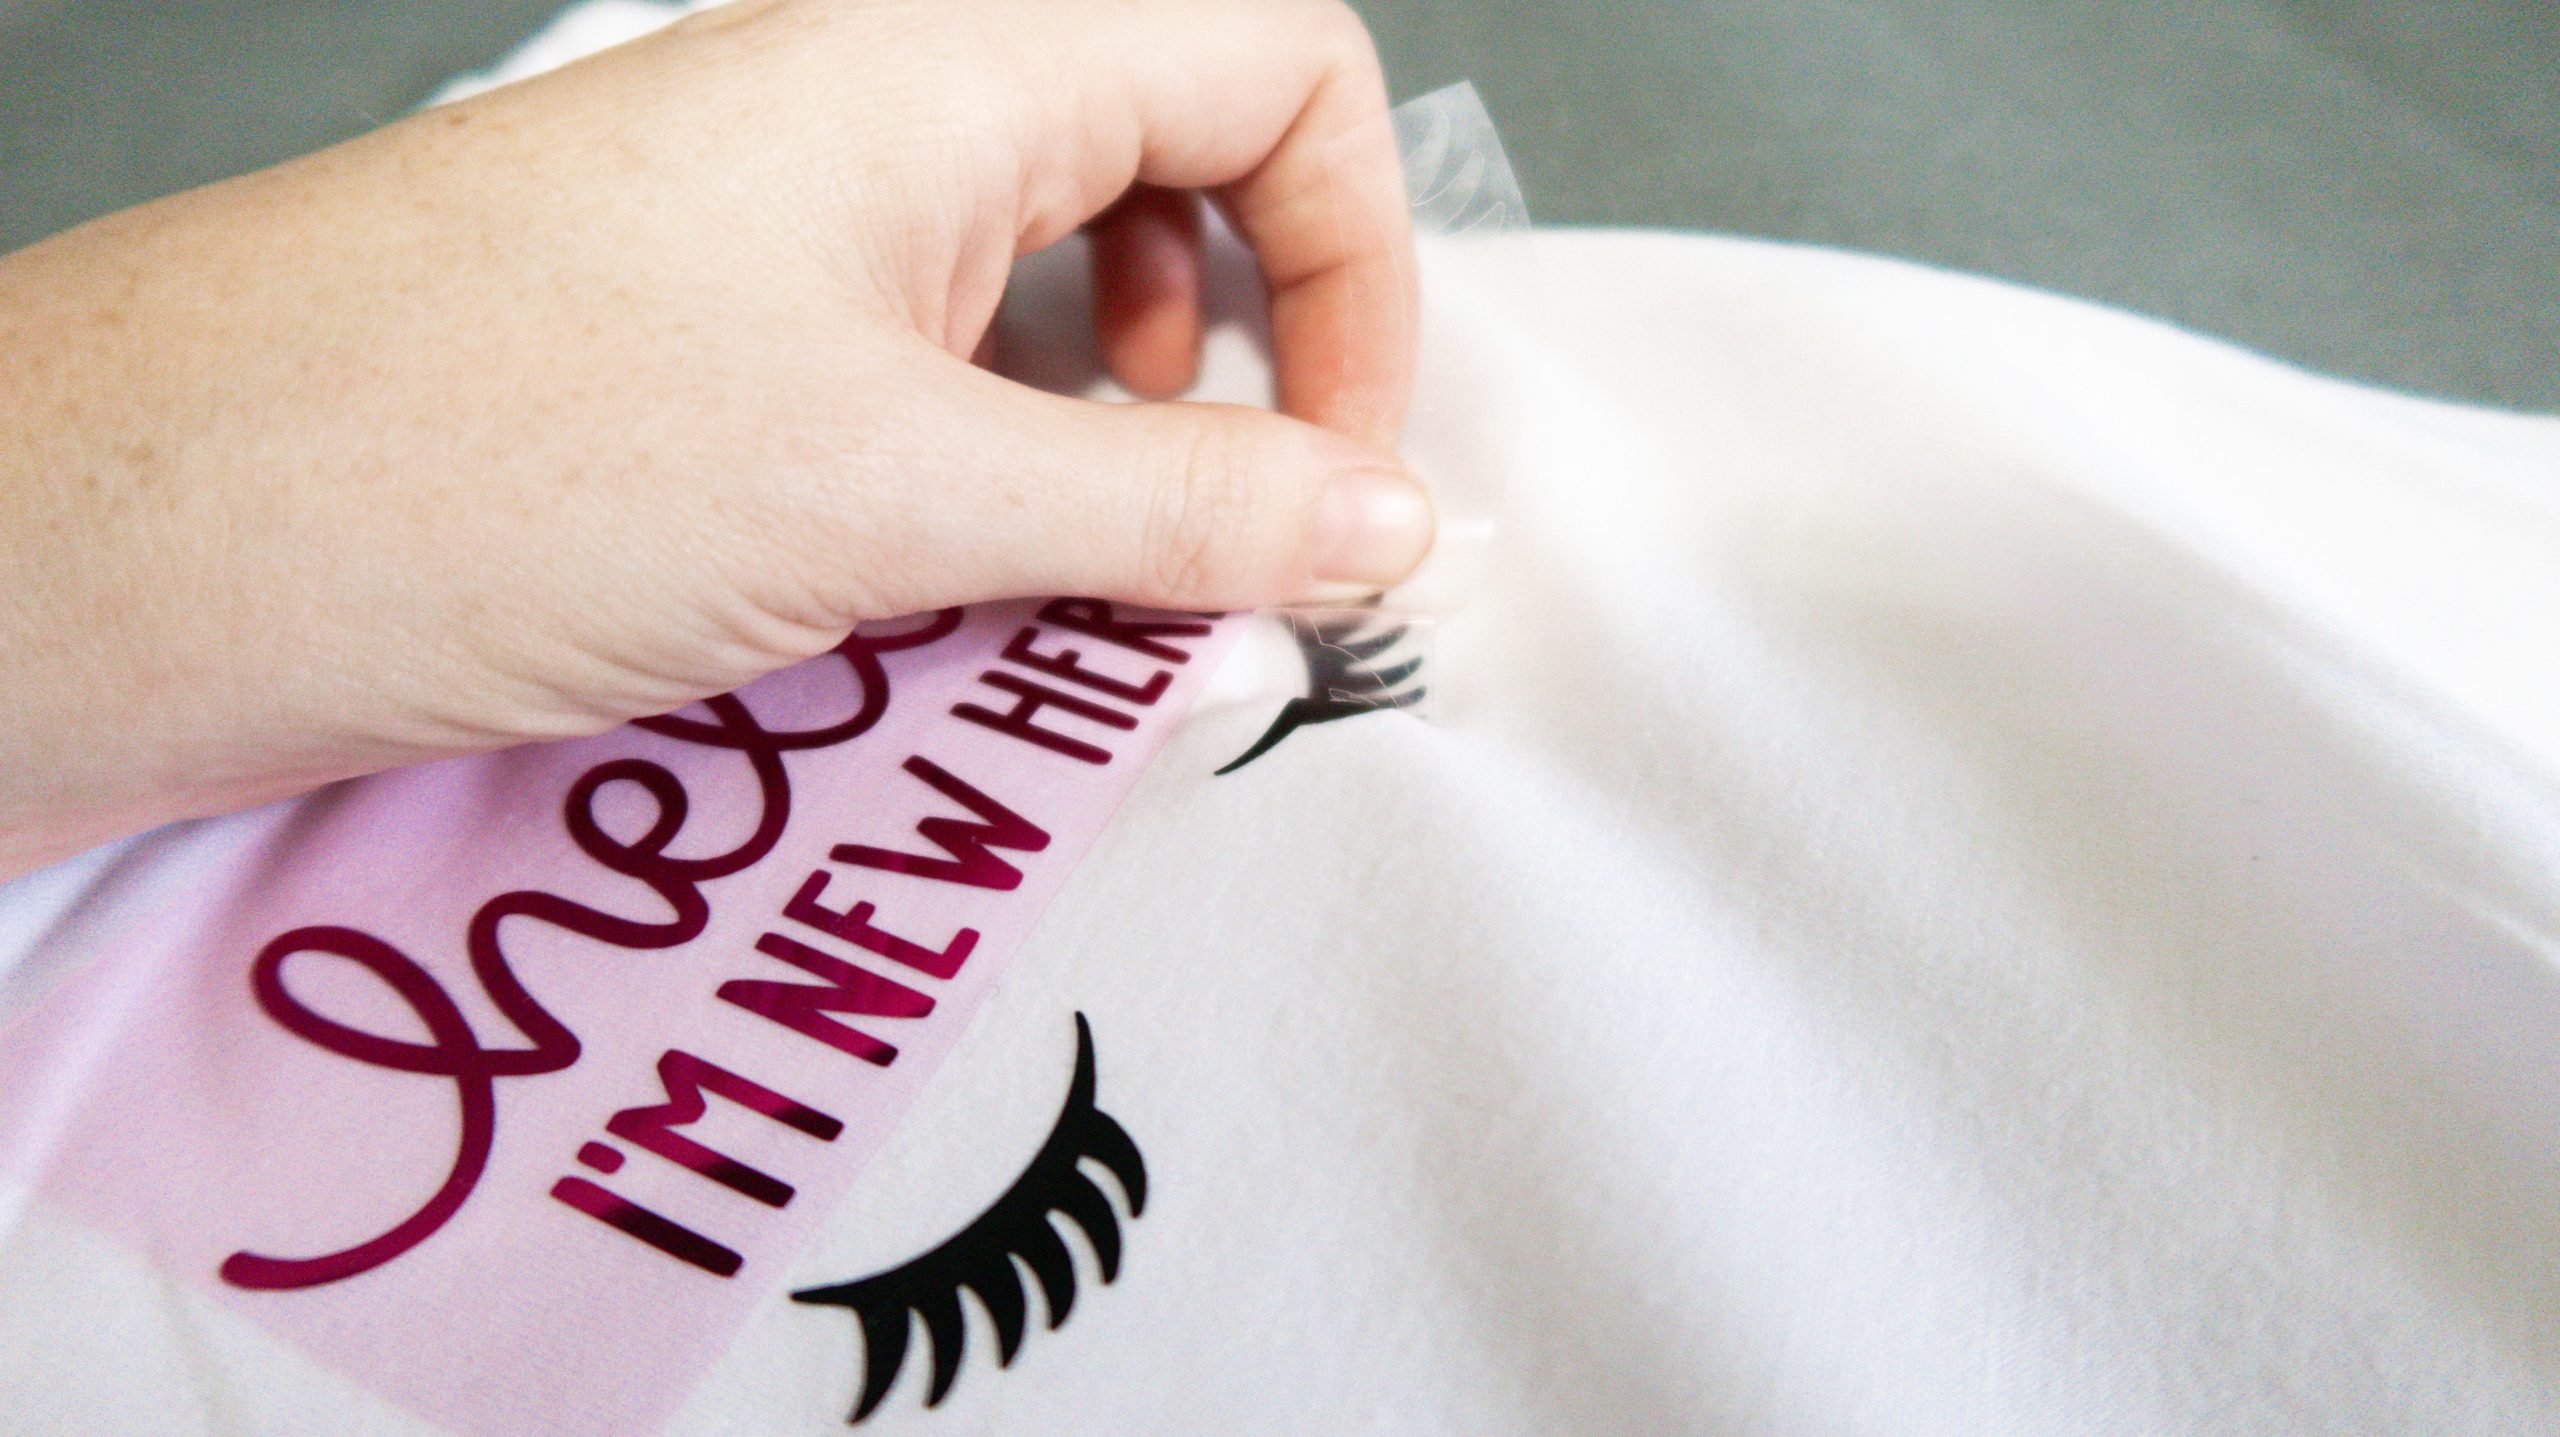

If you are copying this exact design, materials and all, I’ll go ahead and save you some time:
SportsFlex iron-on requires a warm peel, so you can start peeling the top protective liner from your onesie while it still feels warm to the touch.
Foil iron-on requires a cool peel, so you’ll need to give your foil time to cool down before attempting to peel away the liner.
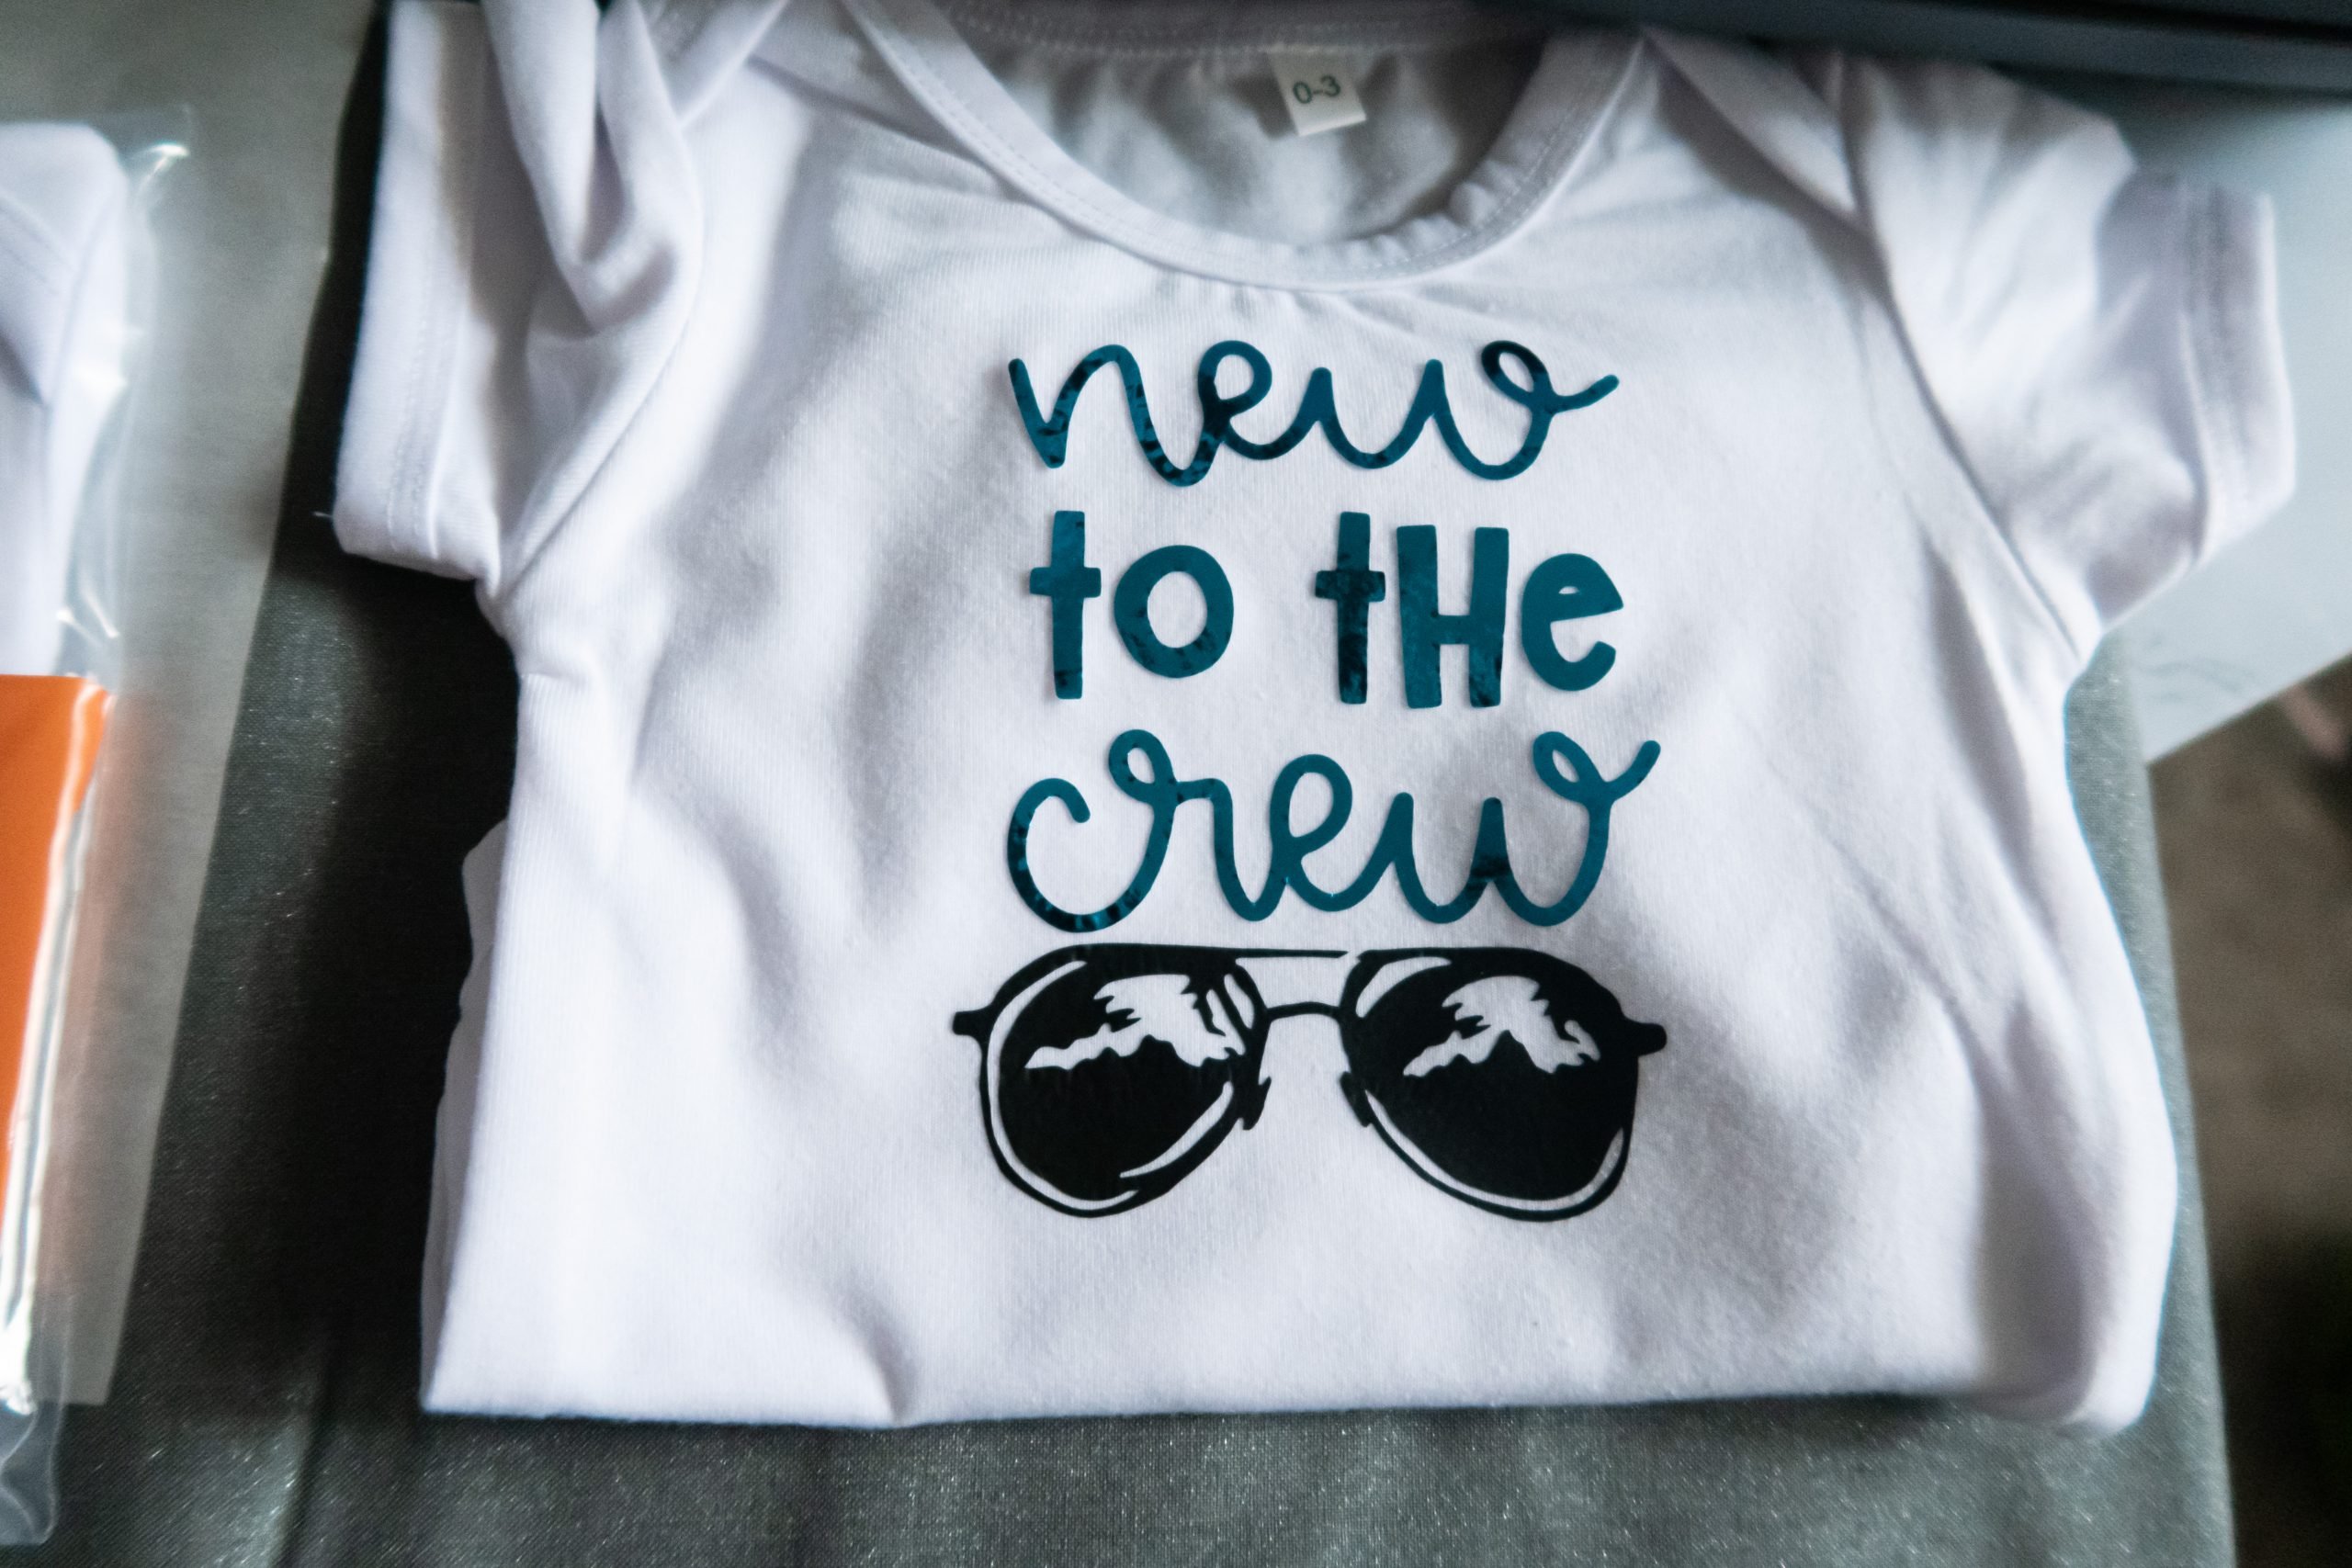
Finished Cricut Explore Air 2 Project: Baby Onesies
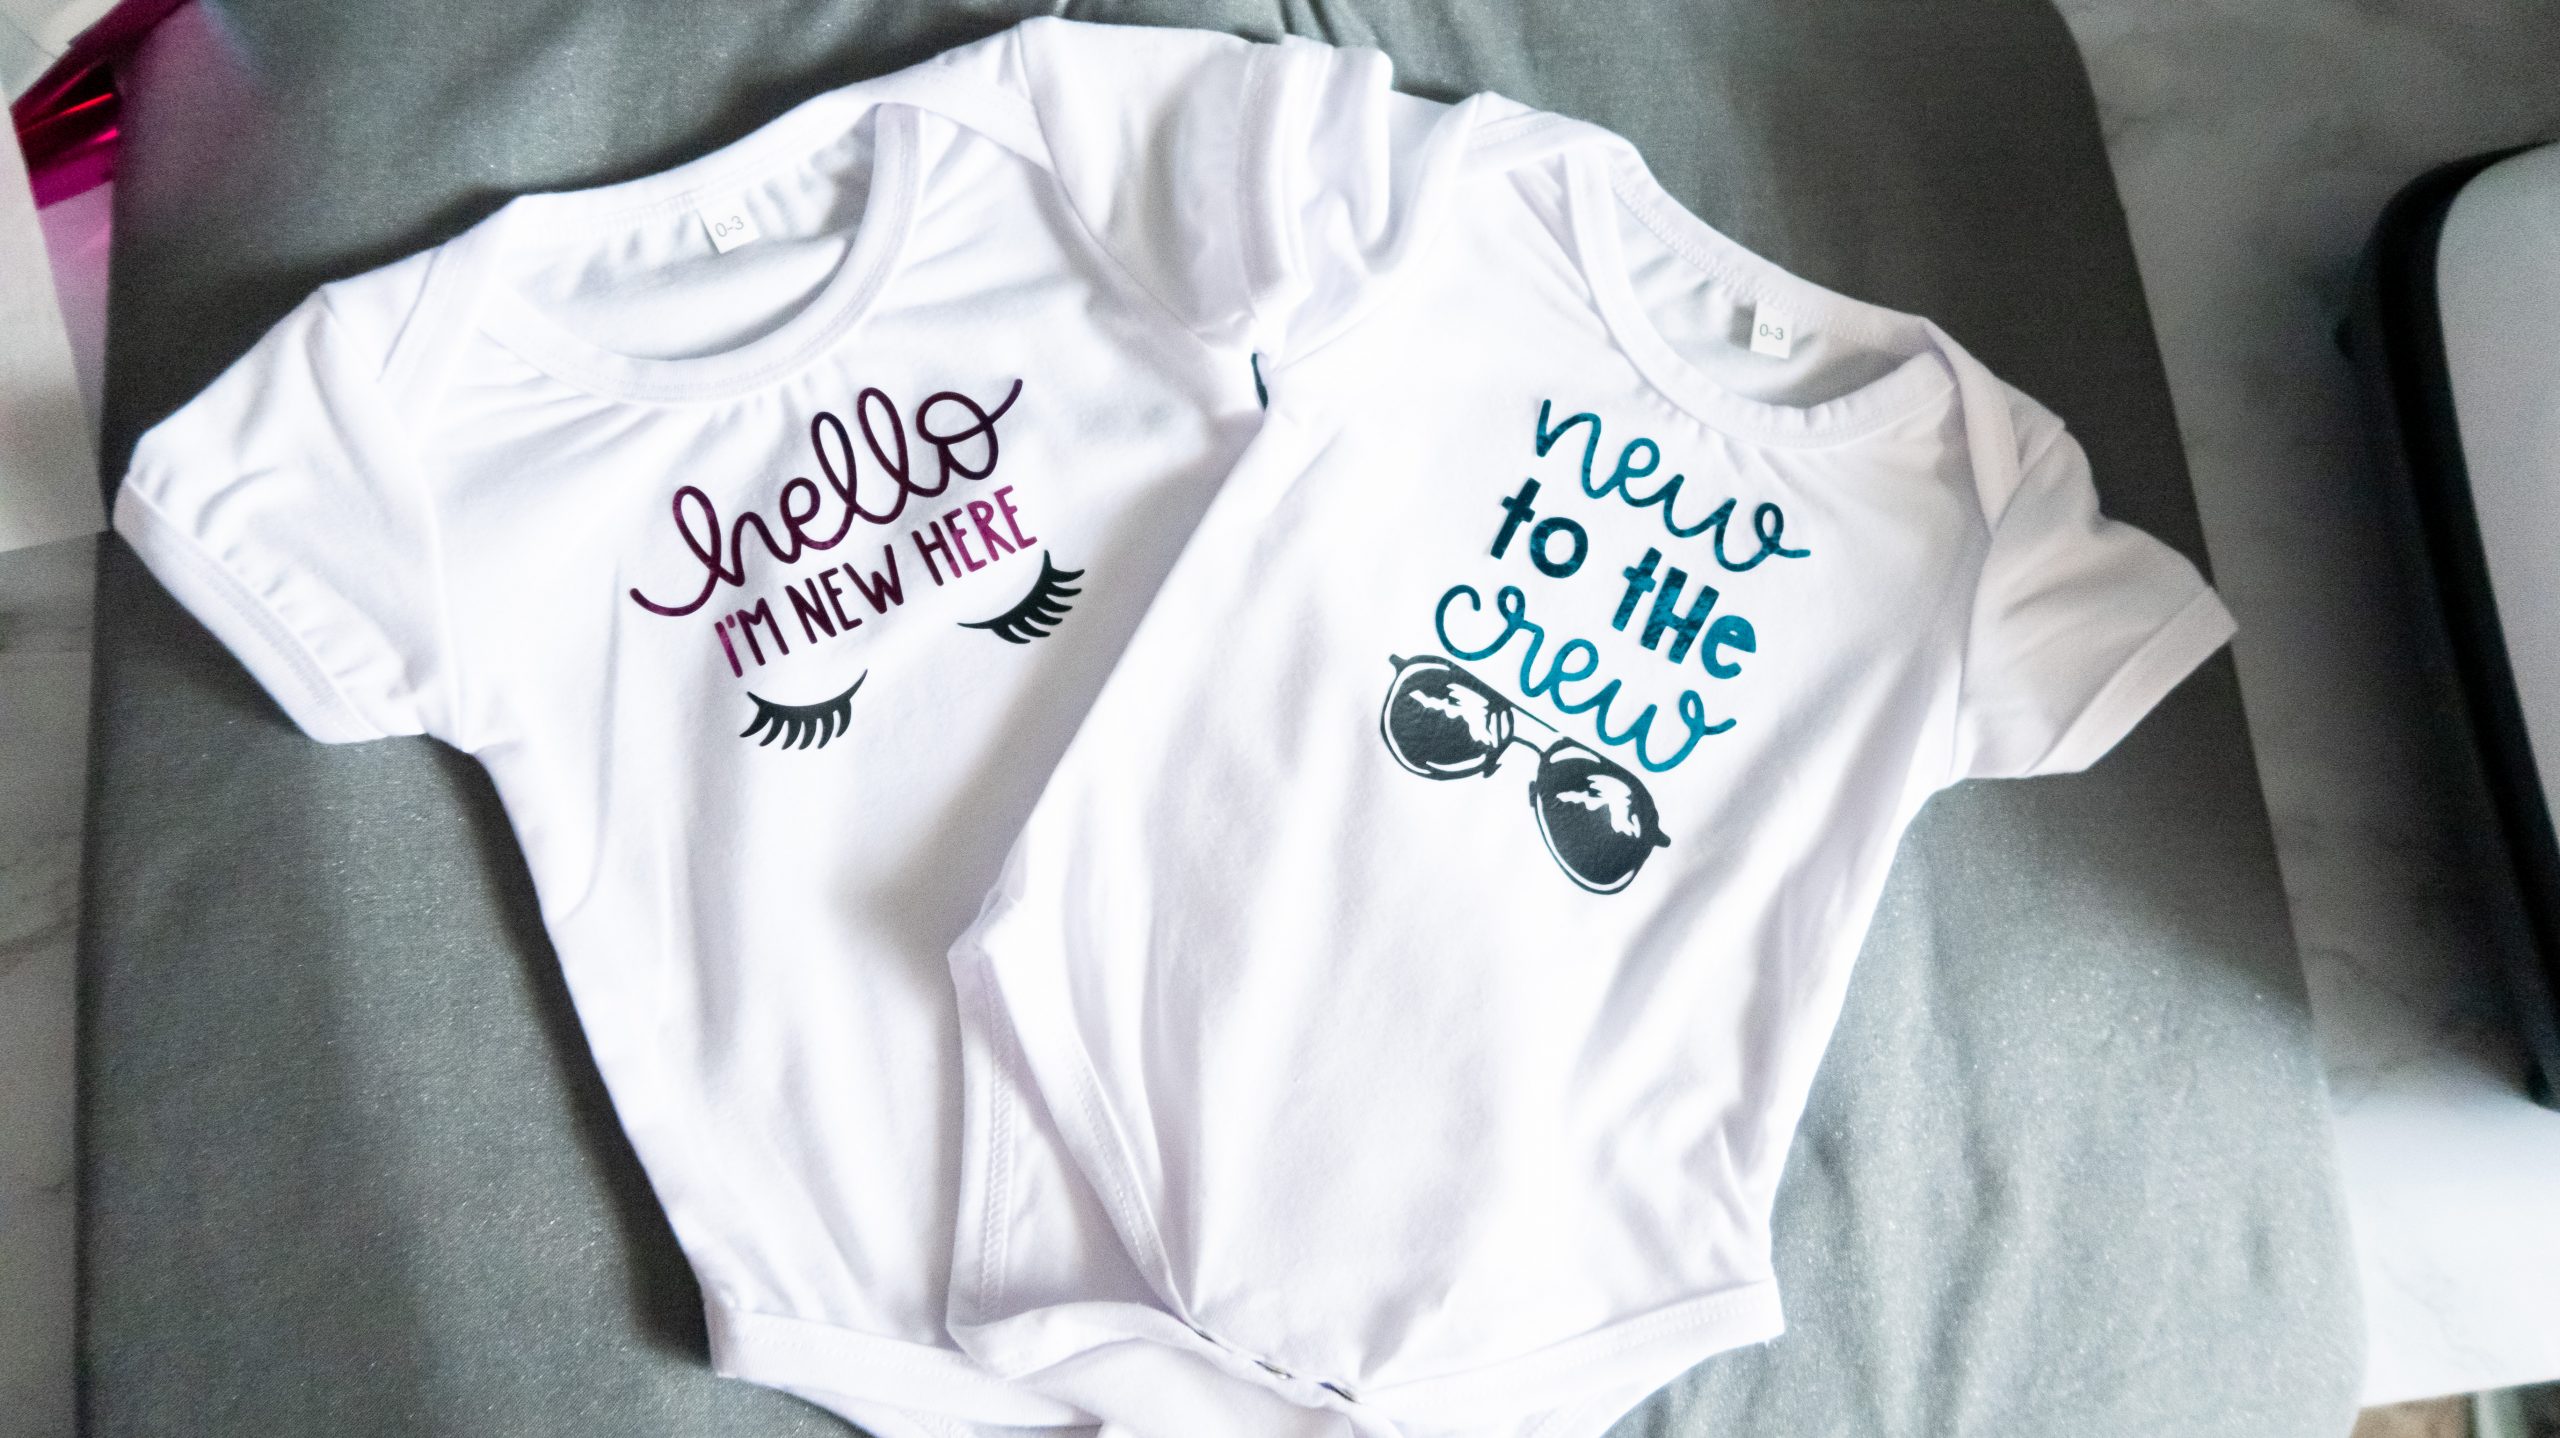

Now that your onesies are all finished, sit back and admire their beauty! You’ll have to wait at least 24 hours before washing them (inside out) anyways ;).
This project was so fun to whip up, and I’m more excited than ever to see which one we will be using – the pink or the blue!

And that’s it, friends! I hope you enjoyed this tutorial and learned something new – don’t forget to leave project requests in the comments below so I can create something you want to see or help you learn to use your machine better!