
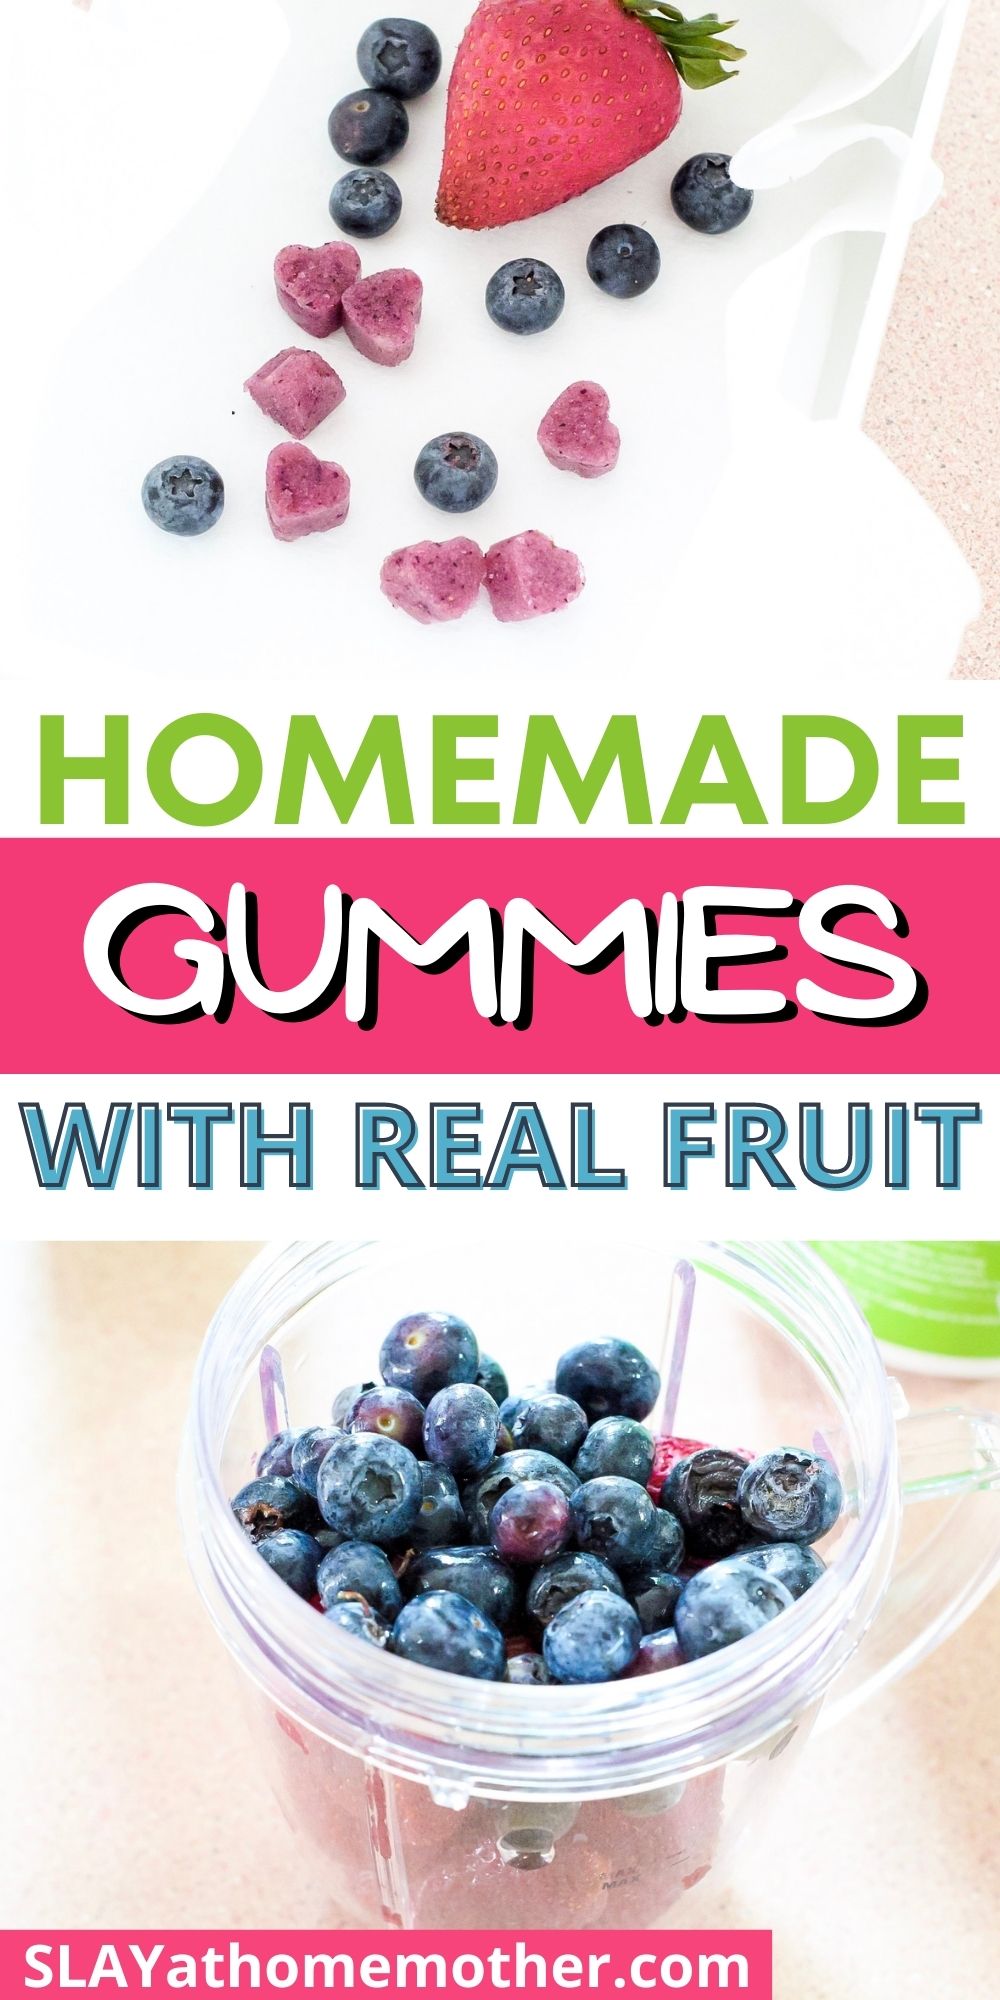
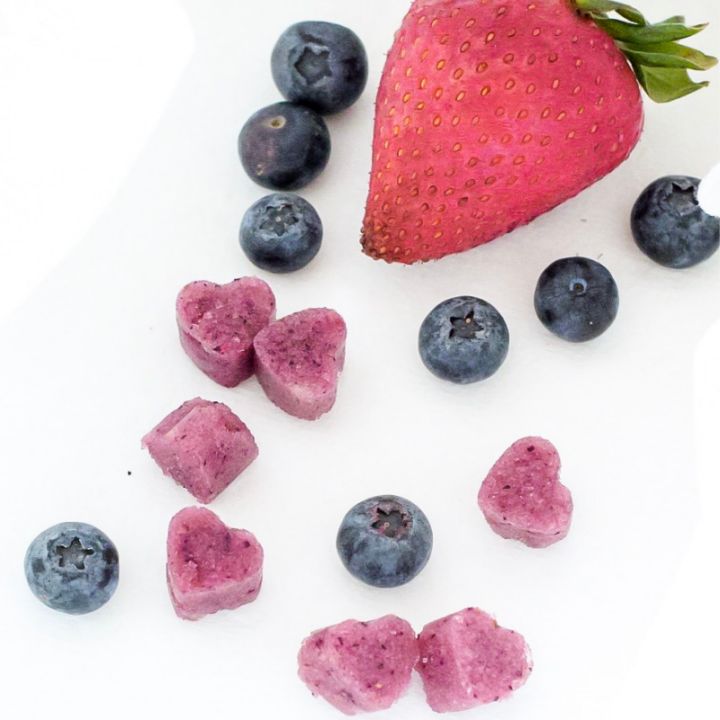
These homemade gummies are healthy and packed with real fruit for an amazing snack option your child will love!

Anyone else have an incredibly picky eater?
My younger son, Jax, is my picky child.
His older brother, Max, used to be picky when it came to foods that were messy or sticky (like jelly or spaghetti) because of his sensory processing disorder, but we’ve been working hard with him over these last several years and he’s finally able to tolerate messy foods again.
Jax, on the other hand, doesn’t have sensory processing disorder.
He has nope-I’m-not-touching-that-ever-so-don’t-bring-it-up-again-or-I’ll-scream-itis.
Needless to say, his pickiness, coupled with the fact that he’s an absolute fireball, makes eating ‘fun’.
NOT.
I’ll be frank, I struggle to get him to eat anything besides maybe cereal bars or his gummy vitamins.
And man, that kid loves him some gummy vitamins.
So to get him to eat healthier, I’ve had to resort to being a Sneaky Pete and making some homemade gummies with all the fresh fruit that was starting to expire in my fridge.
The idea came to me when I was making my three-year-old’s lunch one day, and I looked in the fridge.
I love using variety when I put his lunches together, and even if he doesn’t seem interested in certain foods, I still try to positively introduce them to him.
My eyes darted across our fridge shelves as Jax reached his hands up to touch my belly and whine/demand to be fed.
I looked over my shoulder to see his plate, which was filled with some cut-up chicken and macaroni and cheese.
Looking back at the fridge, I tried to find a fruit that I could add to his plate – maybe something colorful…
And that’s when I saw the strawberries.
They were starting to look sad and soft and were only a day or two away from molding.
I knew if I even tried to cut them up for Jax, he would turn his head away from them because they were soft.
Maybe I could blend them up into a smoothie for the kids?
Or…
I could turn them into gummies!
I love making gummies at home because I can control what goes into them, and know that I’m using only fresh and organic ingredients.
I also find that when I make little treats like these at home for my kids, and I get them involved, they tend to eat more (or at least try whatever it is we’re making)!
My boys go BANANAS over these gummies now, and I’ve perfected the recipe to be naturally sweet (not overly sweet like traditional gummy bears), and delicious.
They get excited when I break out these pink silicone trays because they know they’re getting some fresh homemade gummies that day!
Read on to see how I made these organic YUMMY gummies, and print out the recipe below…
How To Make Homemade Gummies
To make these easy homemade healthy gummies, you’ll need…
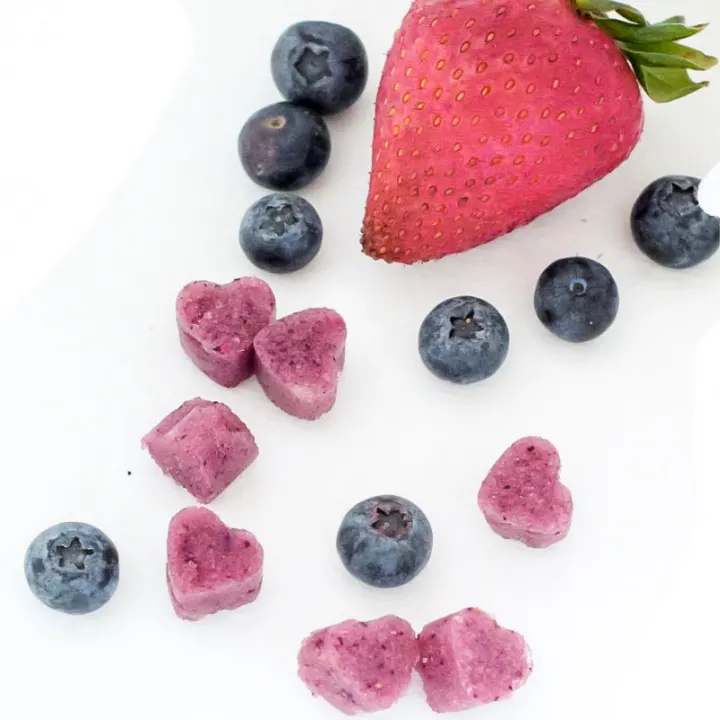
- fresh fruit (I’m using strawberries and blueberries)
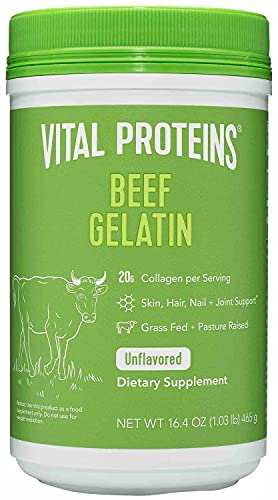
- gelatin powder
- honey
- silicone molds
- blender or mixer

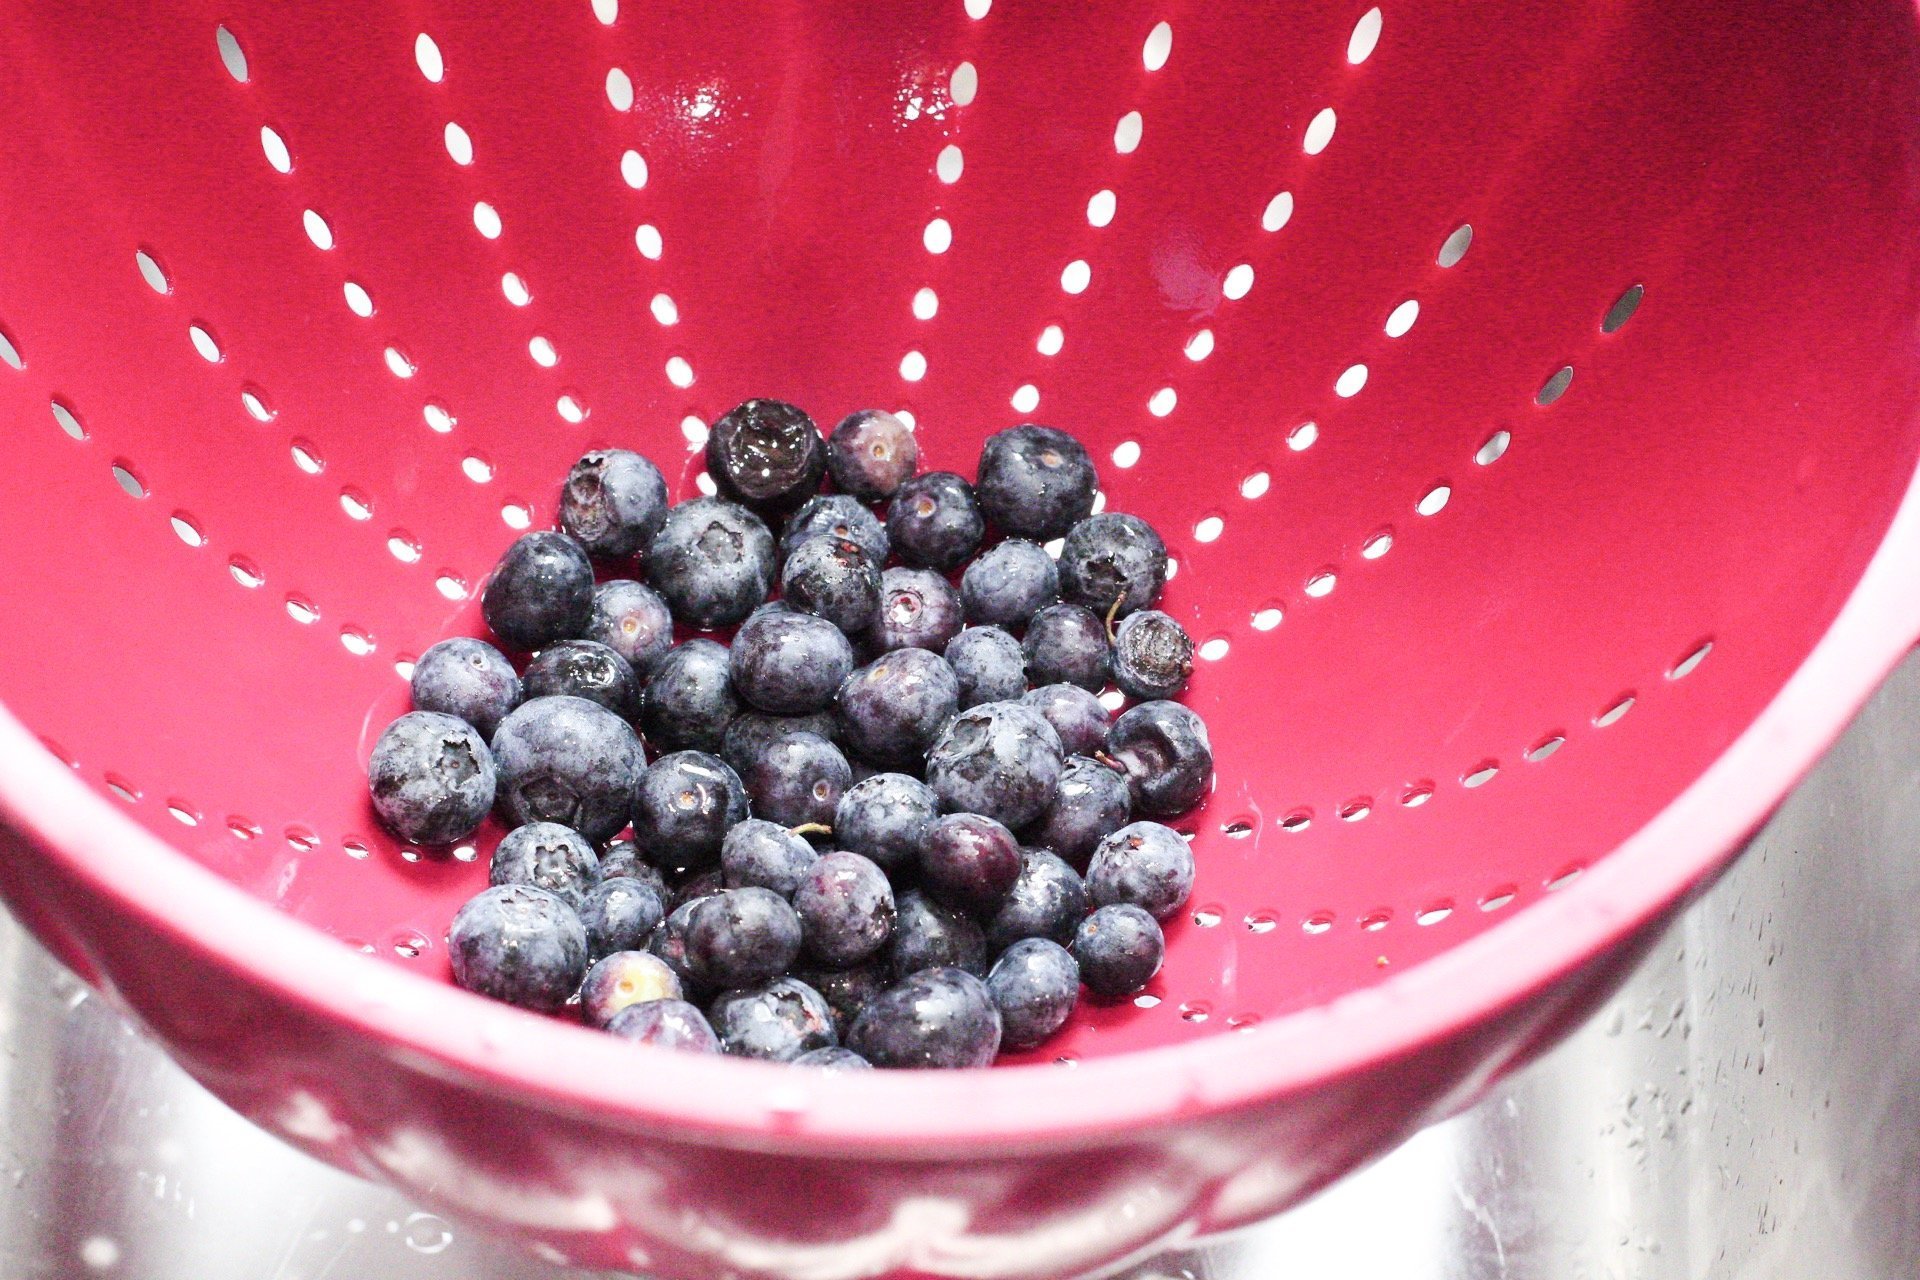
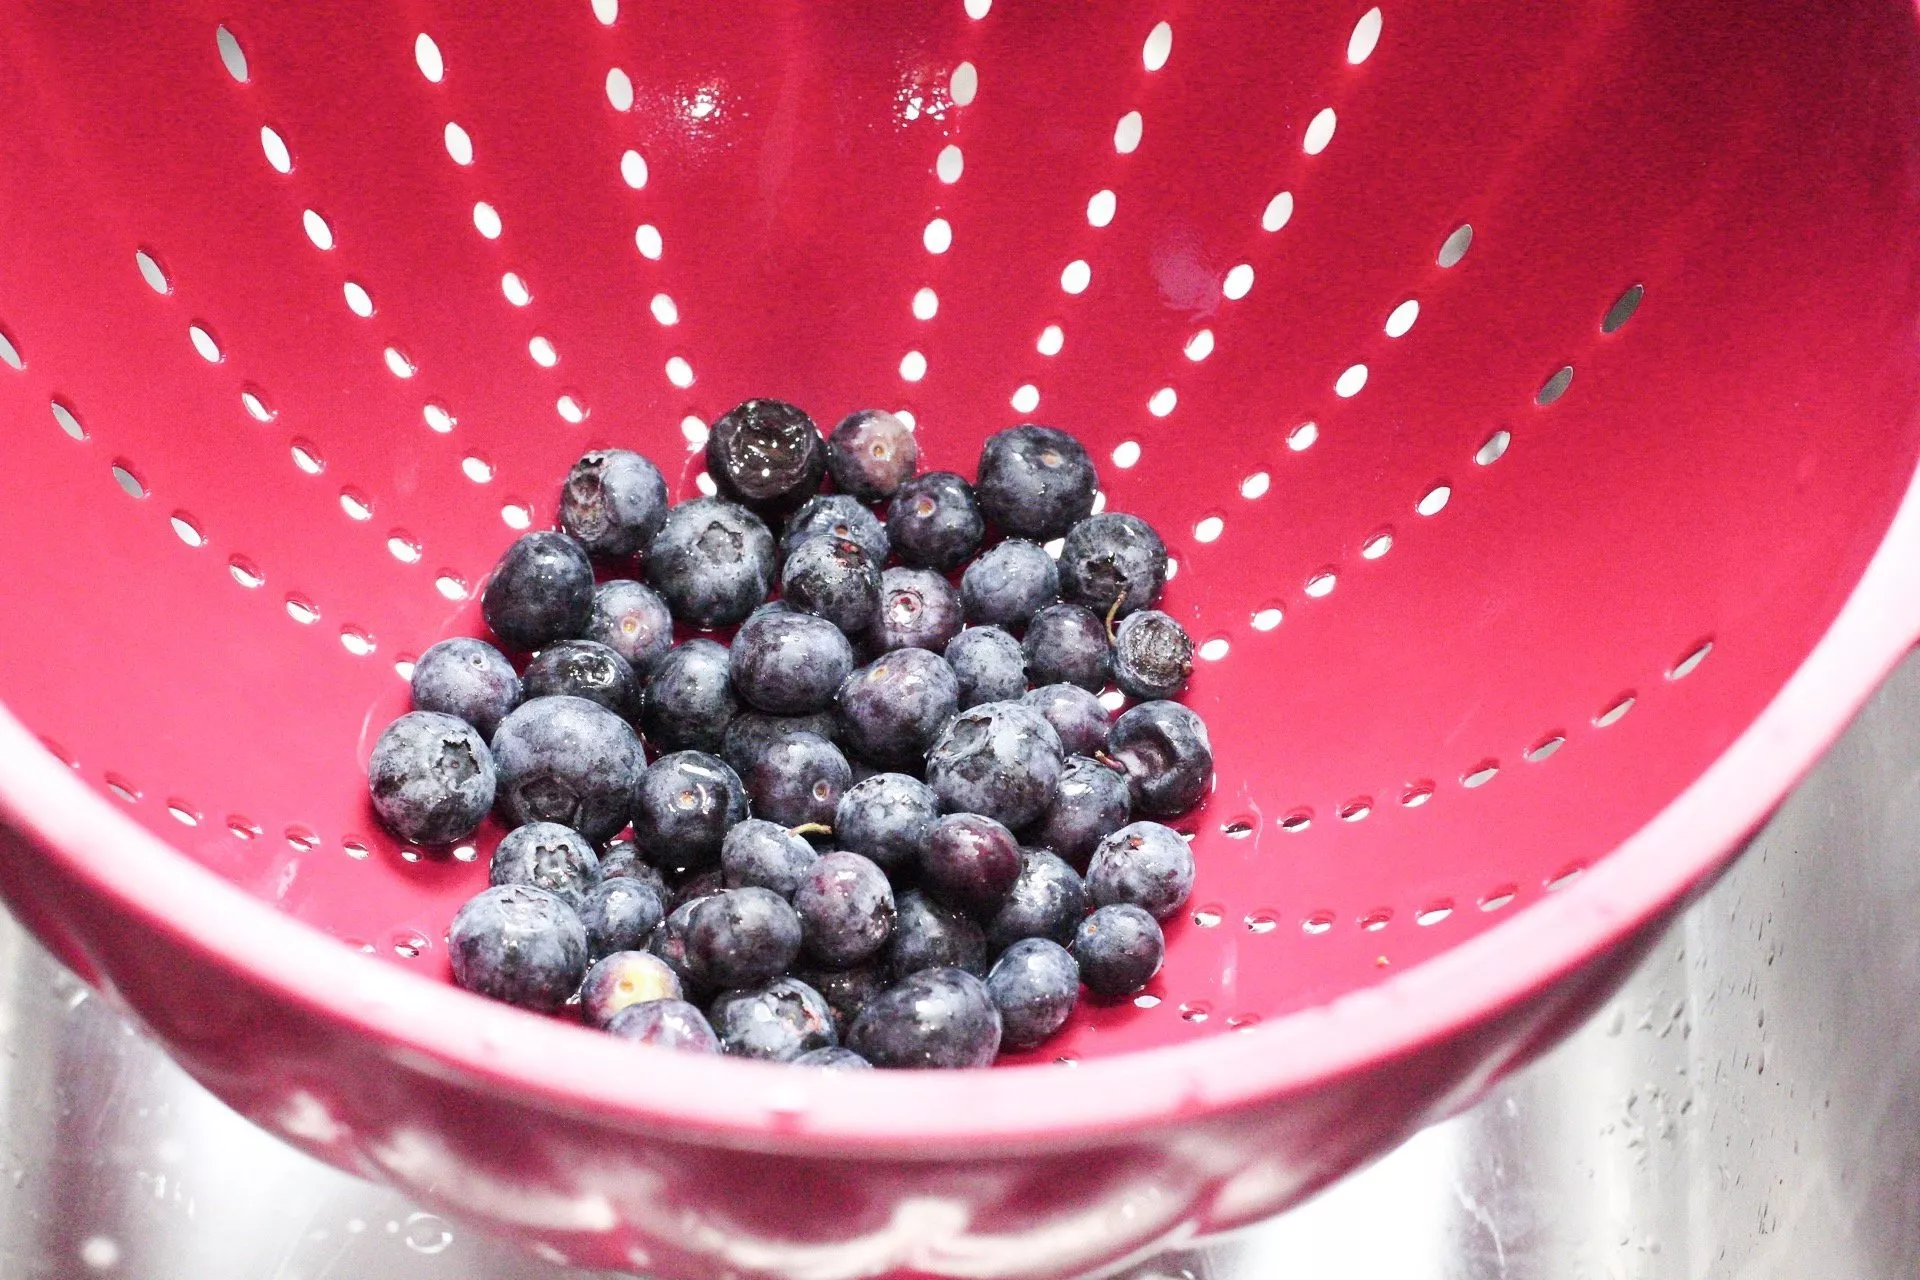
First, start off by washing your fruit in a strainer.
I highly recommend, no matter how you’re using and eating fruit, that you always wash produce.
You can read more about why it’s so important to wash your fruits and veggies HERE.
For this recipe, I used both strawberries and blueberries, but feel free to use what you have whatever you have in your fridge!
Consider fruits that won’t make it to the weekend or are starting to go soft.
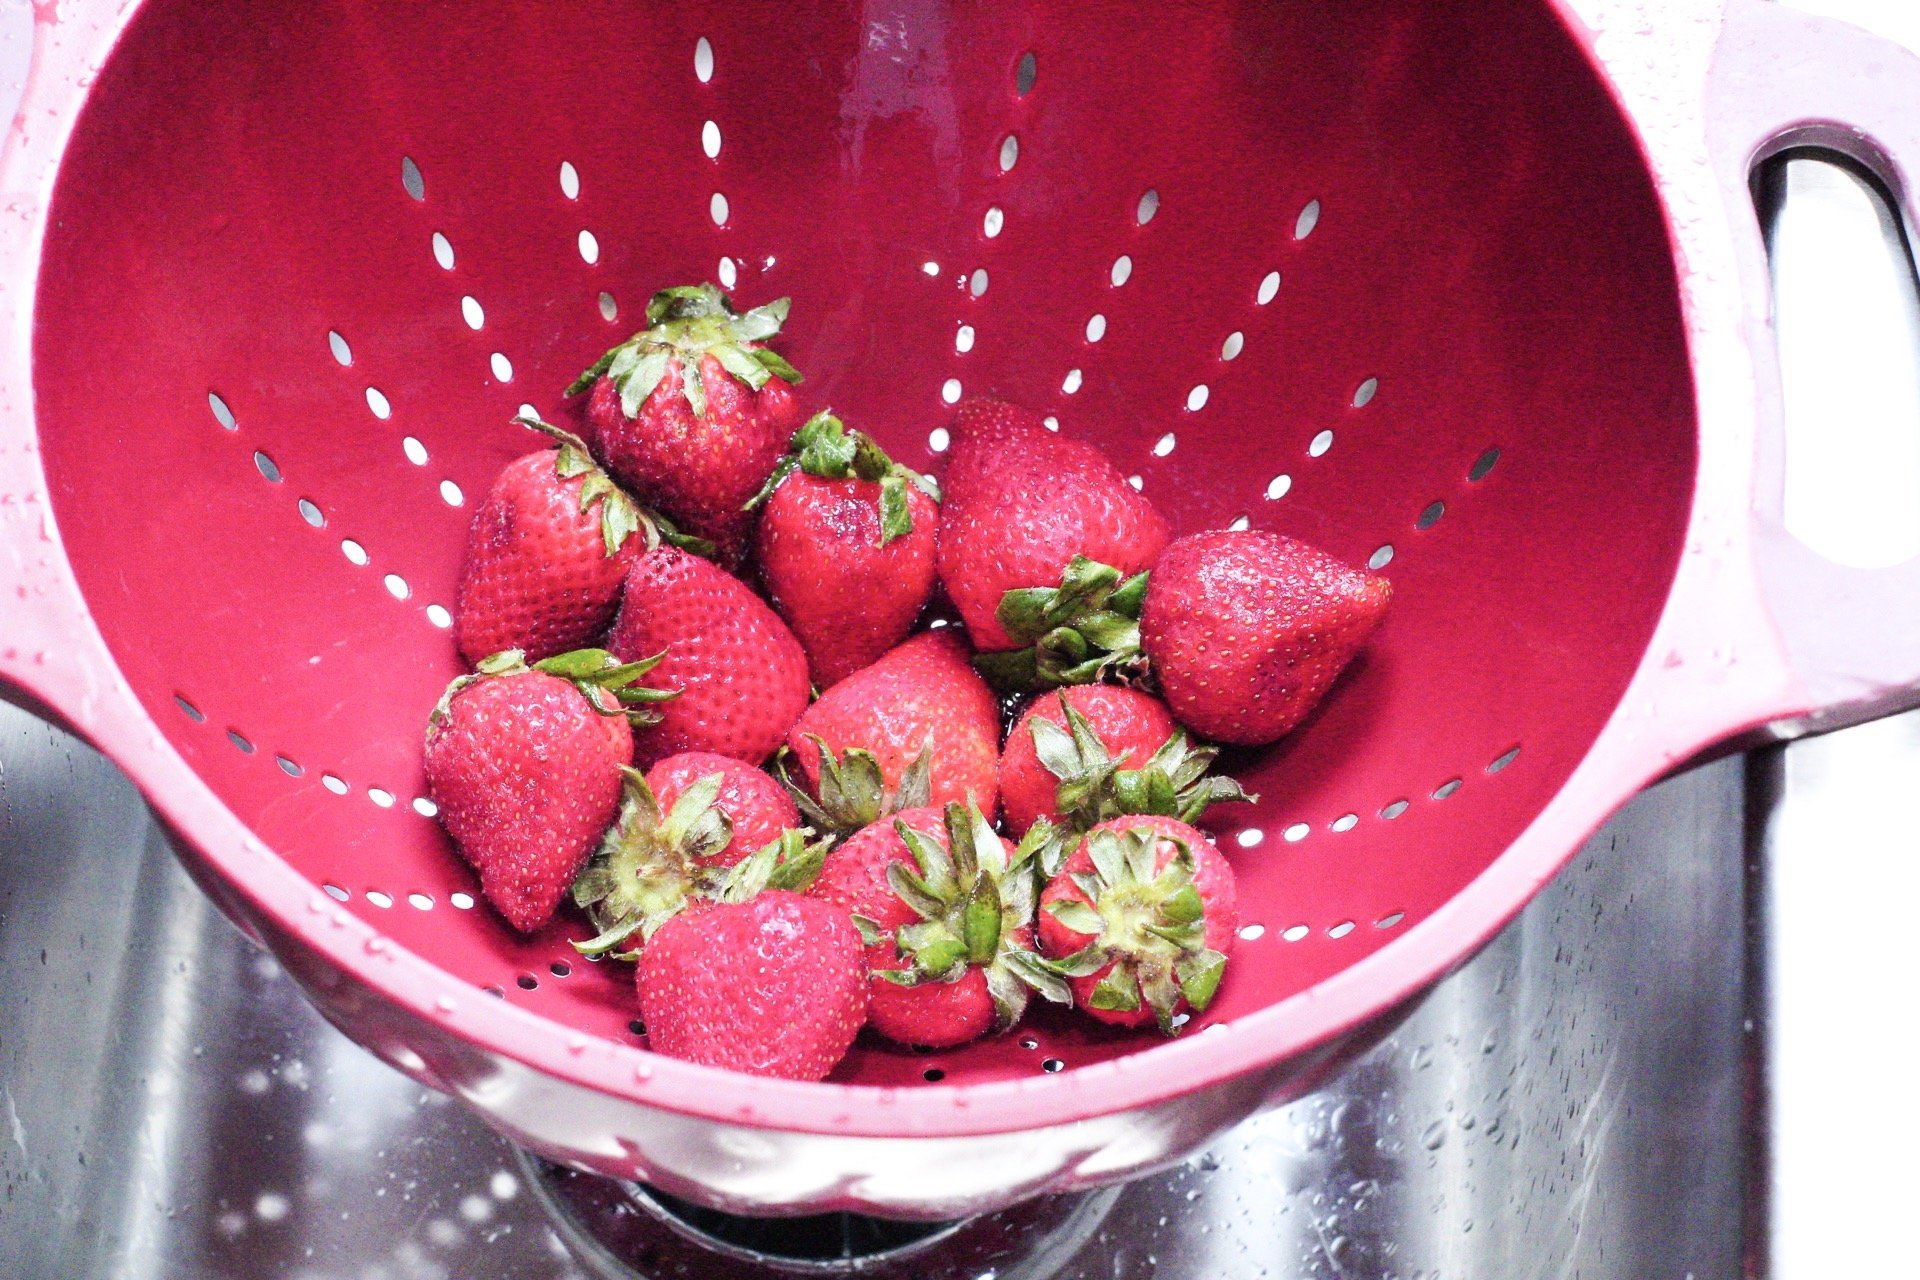

For this recipe, I used approximately 1.5 cups of strawberries, and 1/2 cup or blueberries.
All of the fruit I used was certified organic.

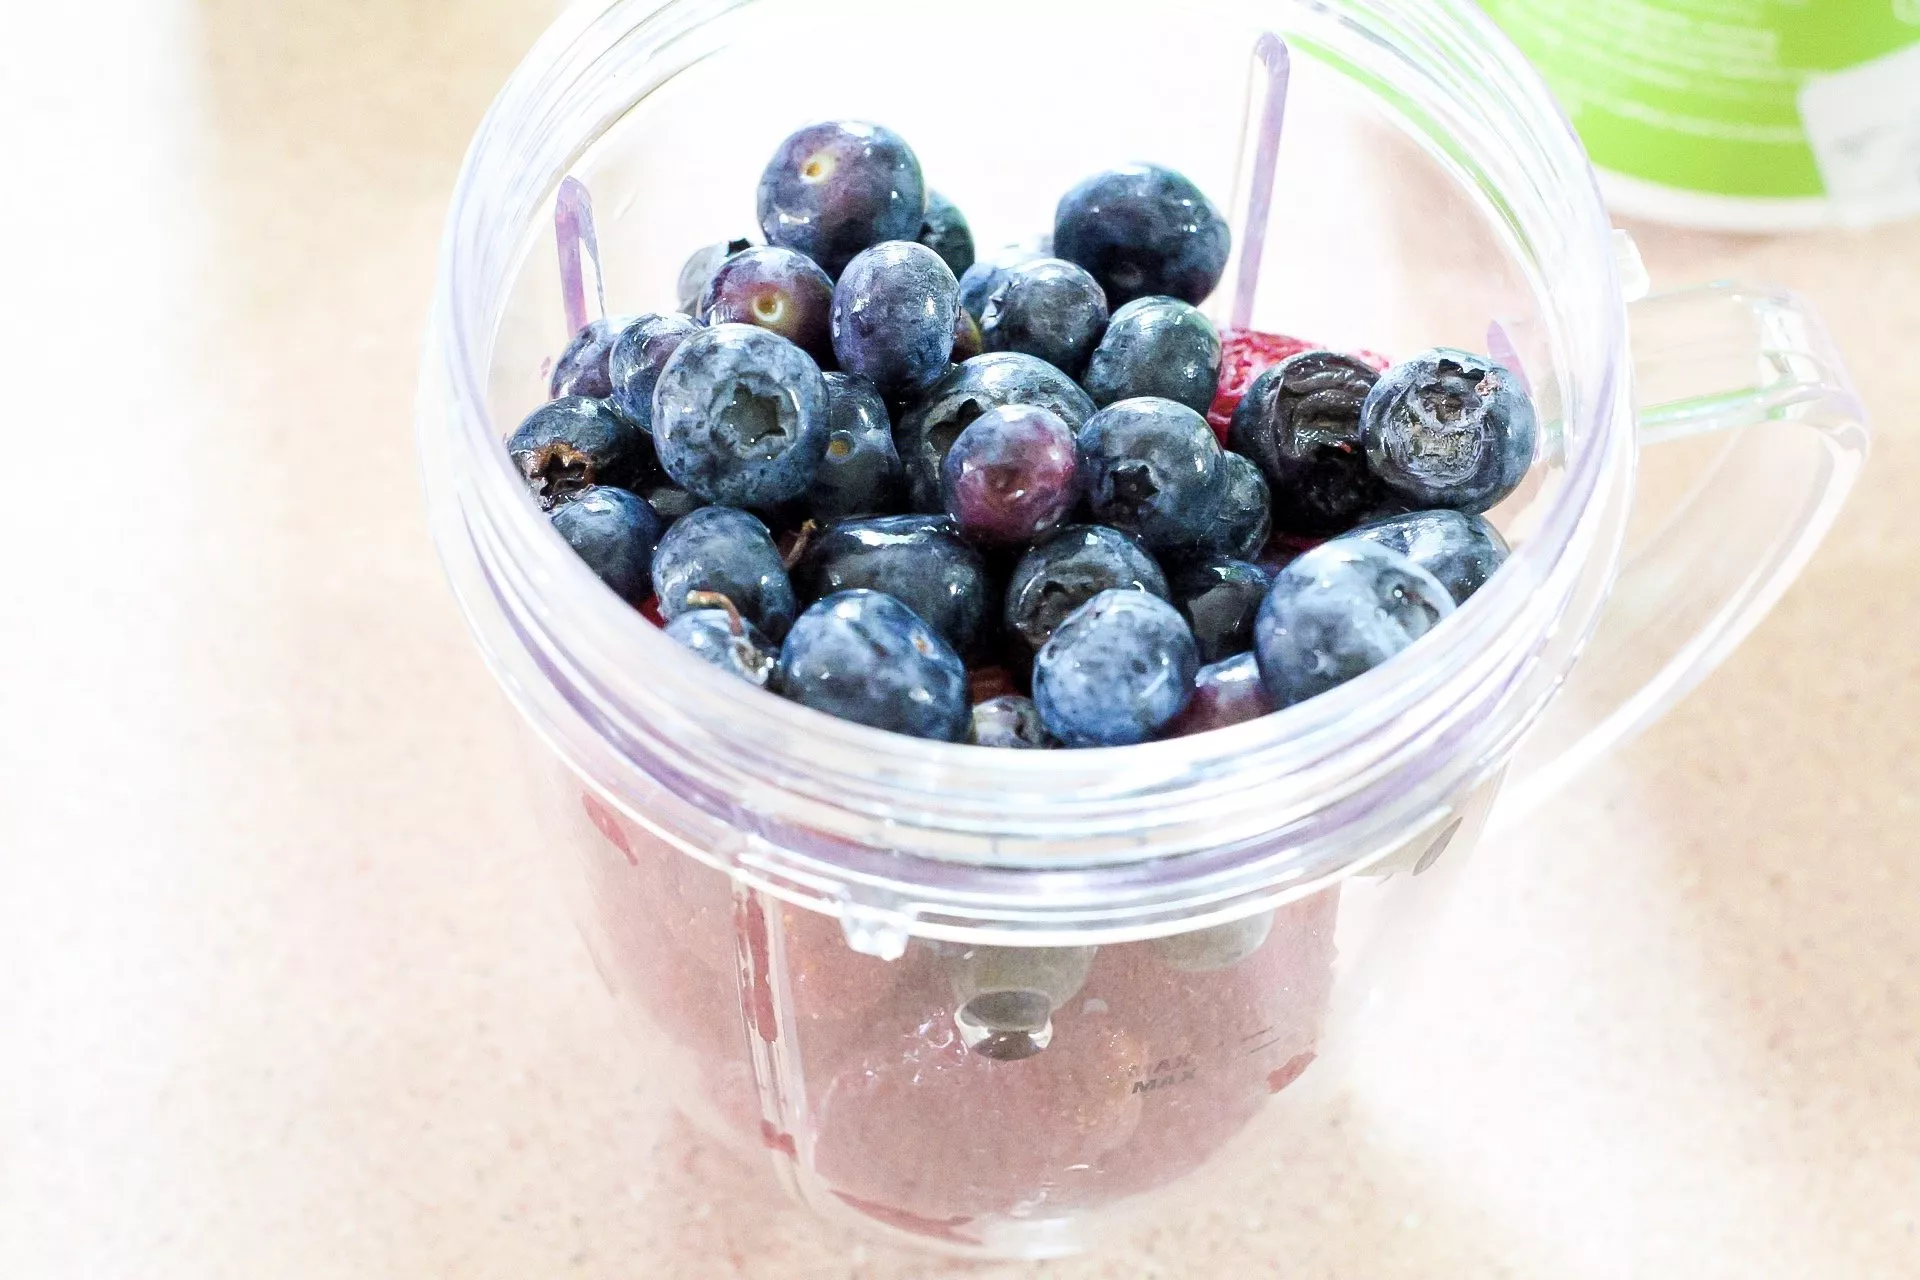
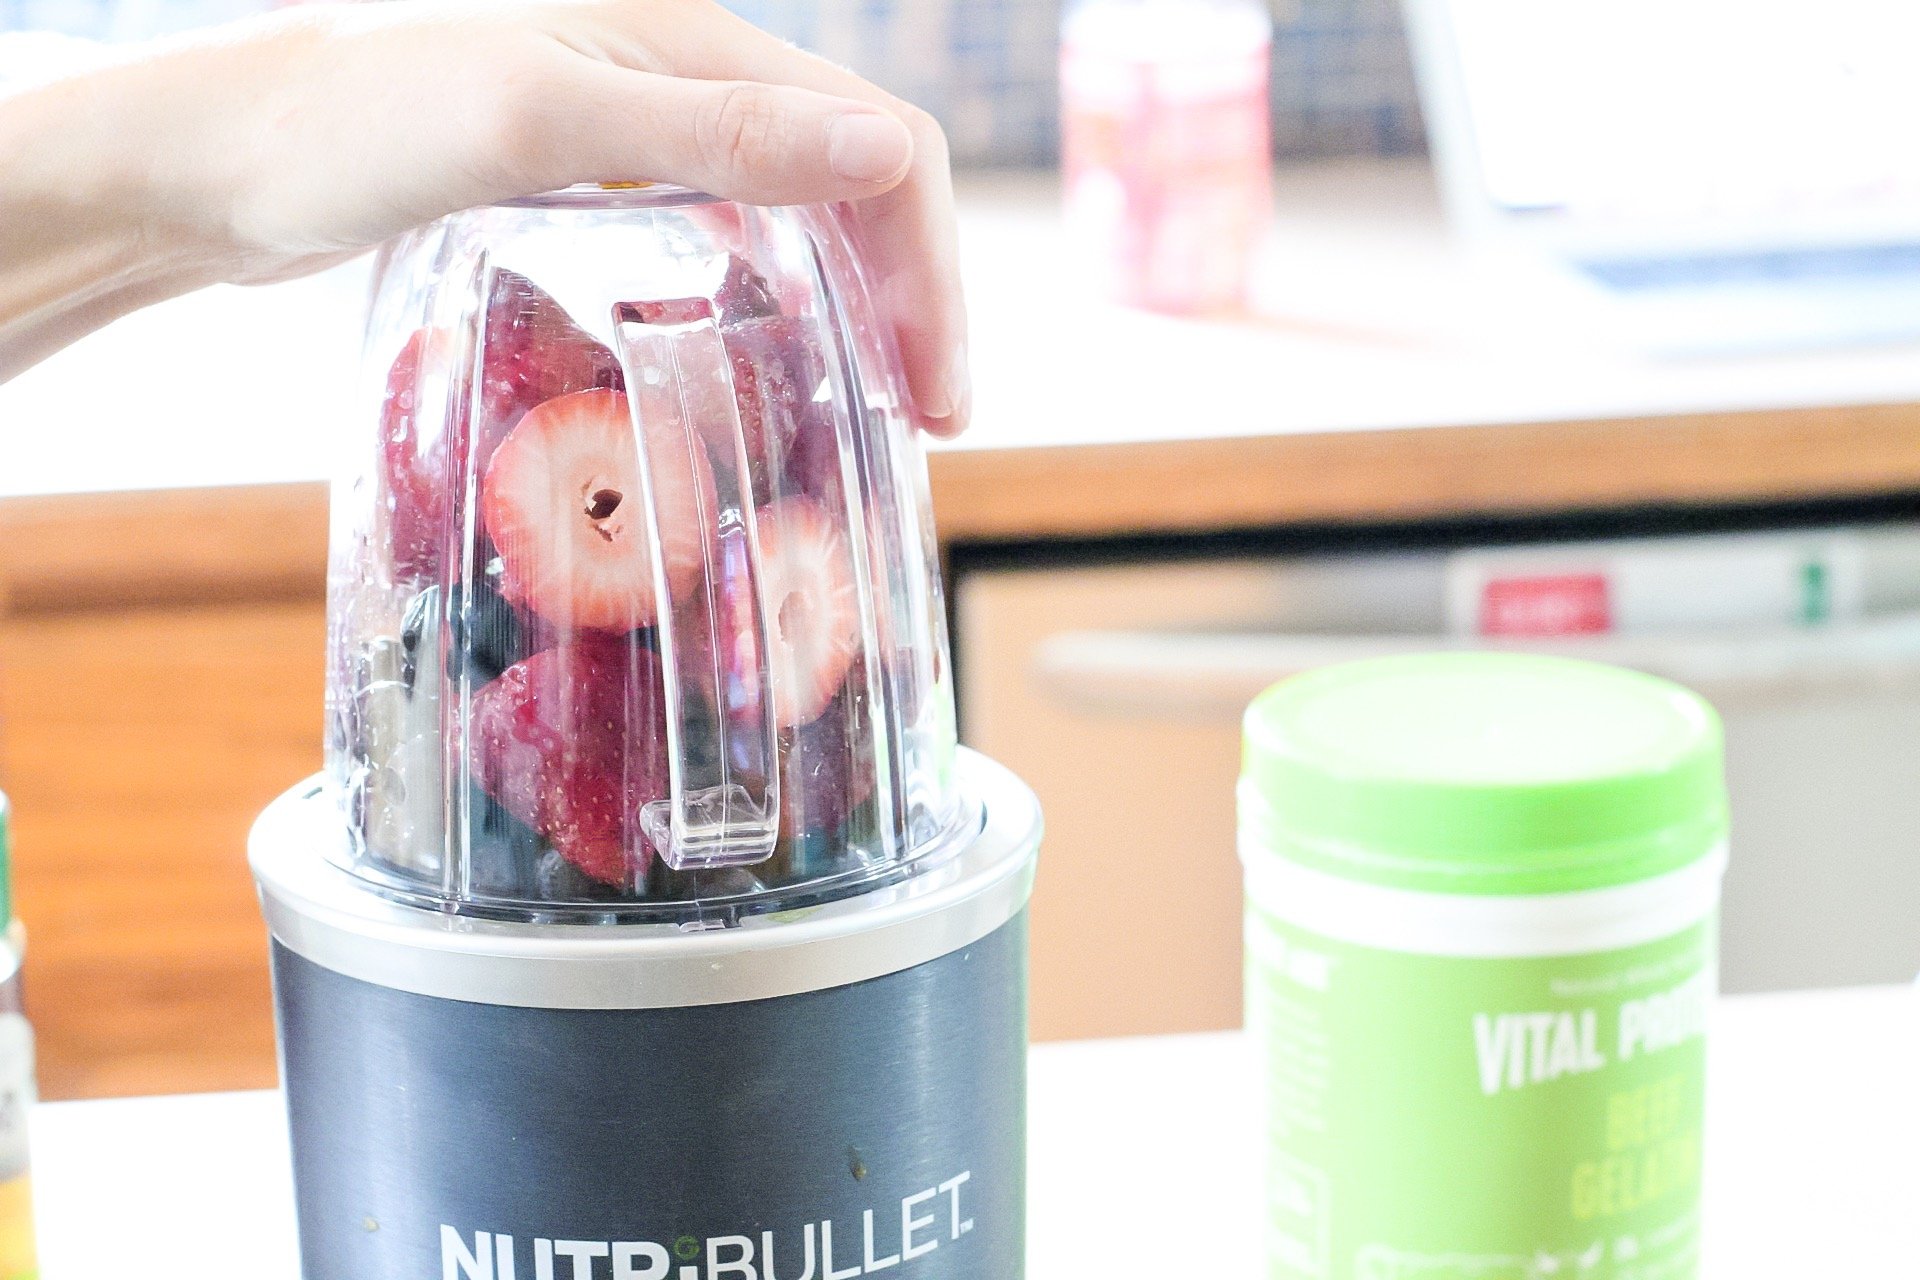
Next, you’ll want to add your washed fruit into a blender.
I blended mine using our NutriBullet because that’s just what we had on hand.
You can use a regular blender, too.


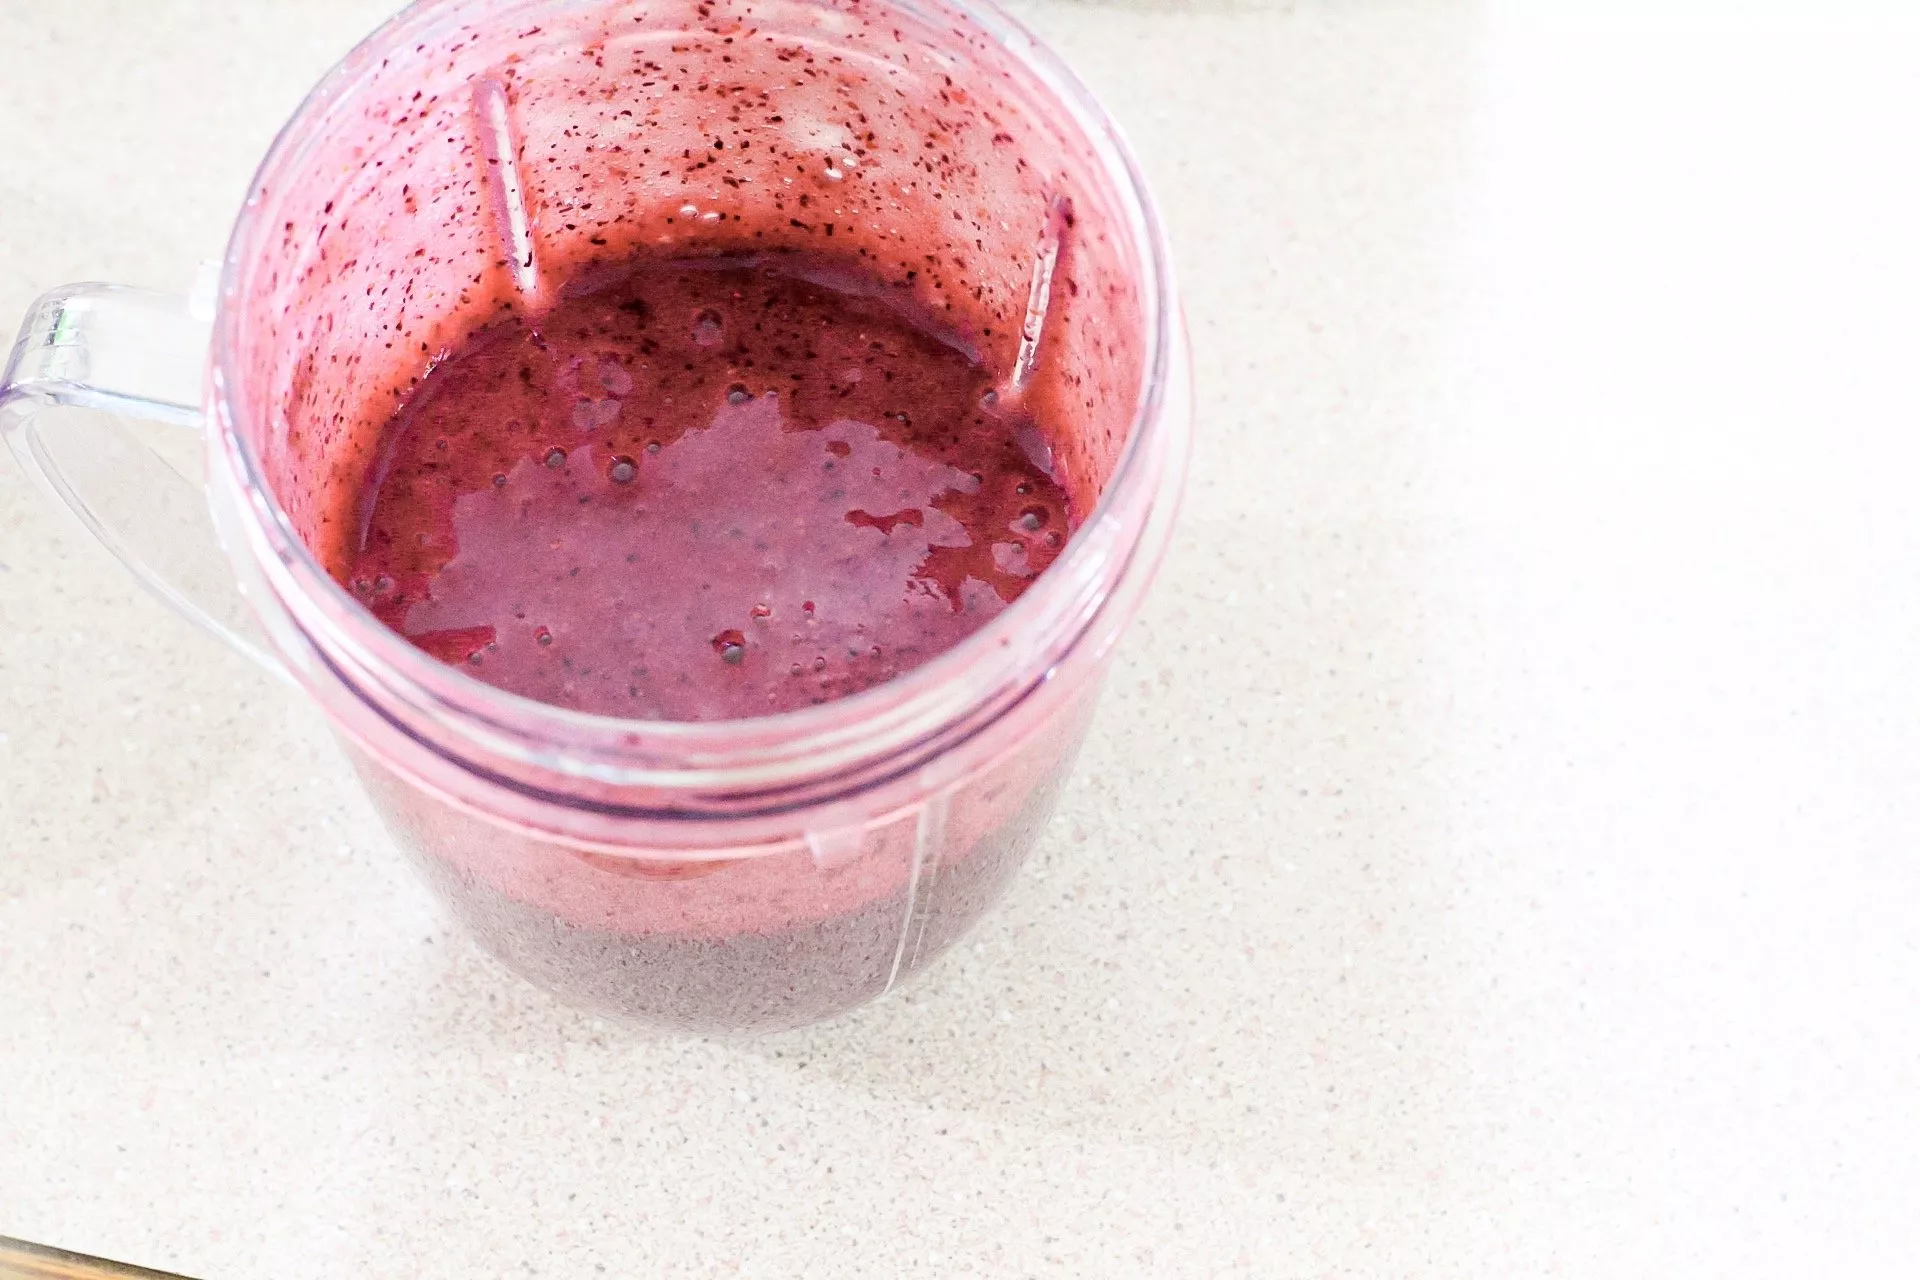
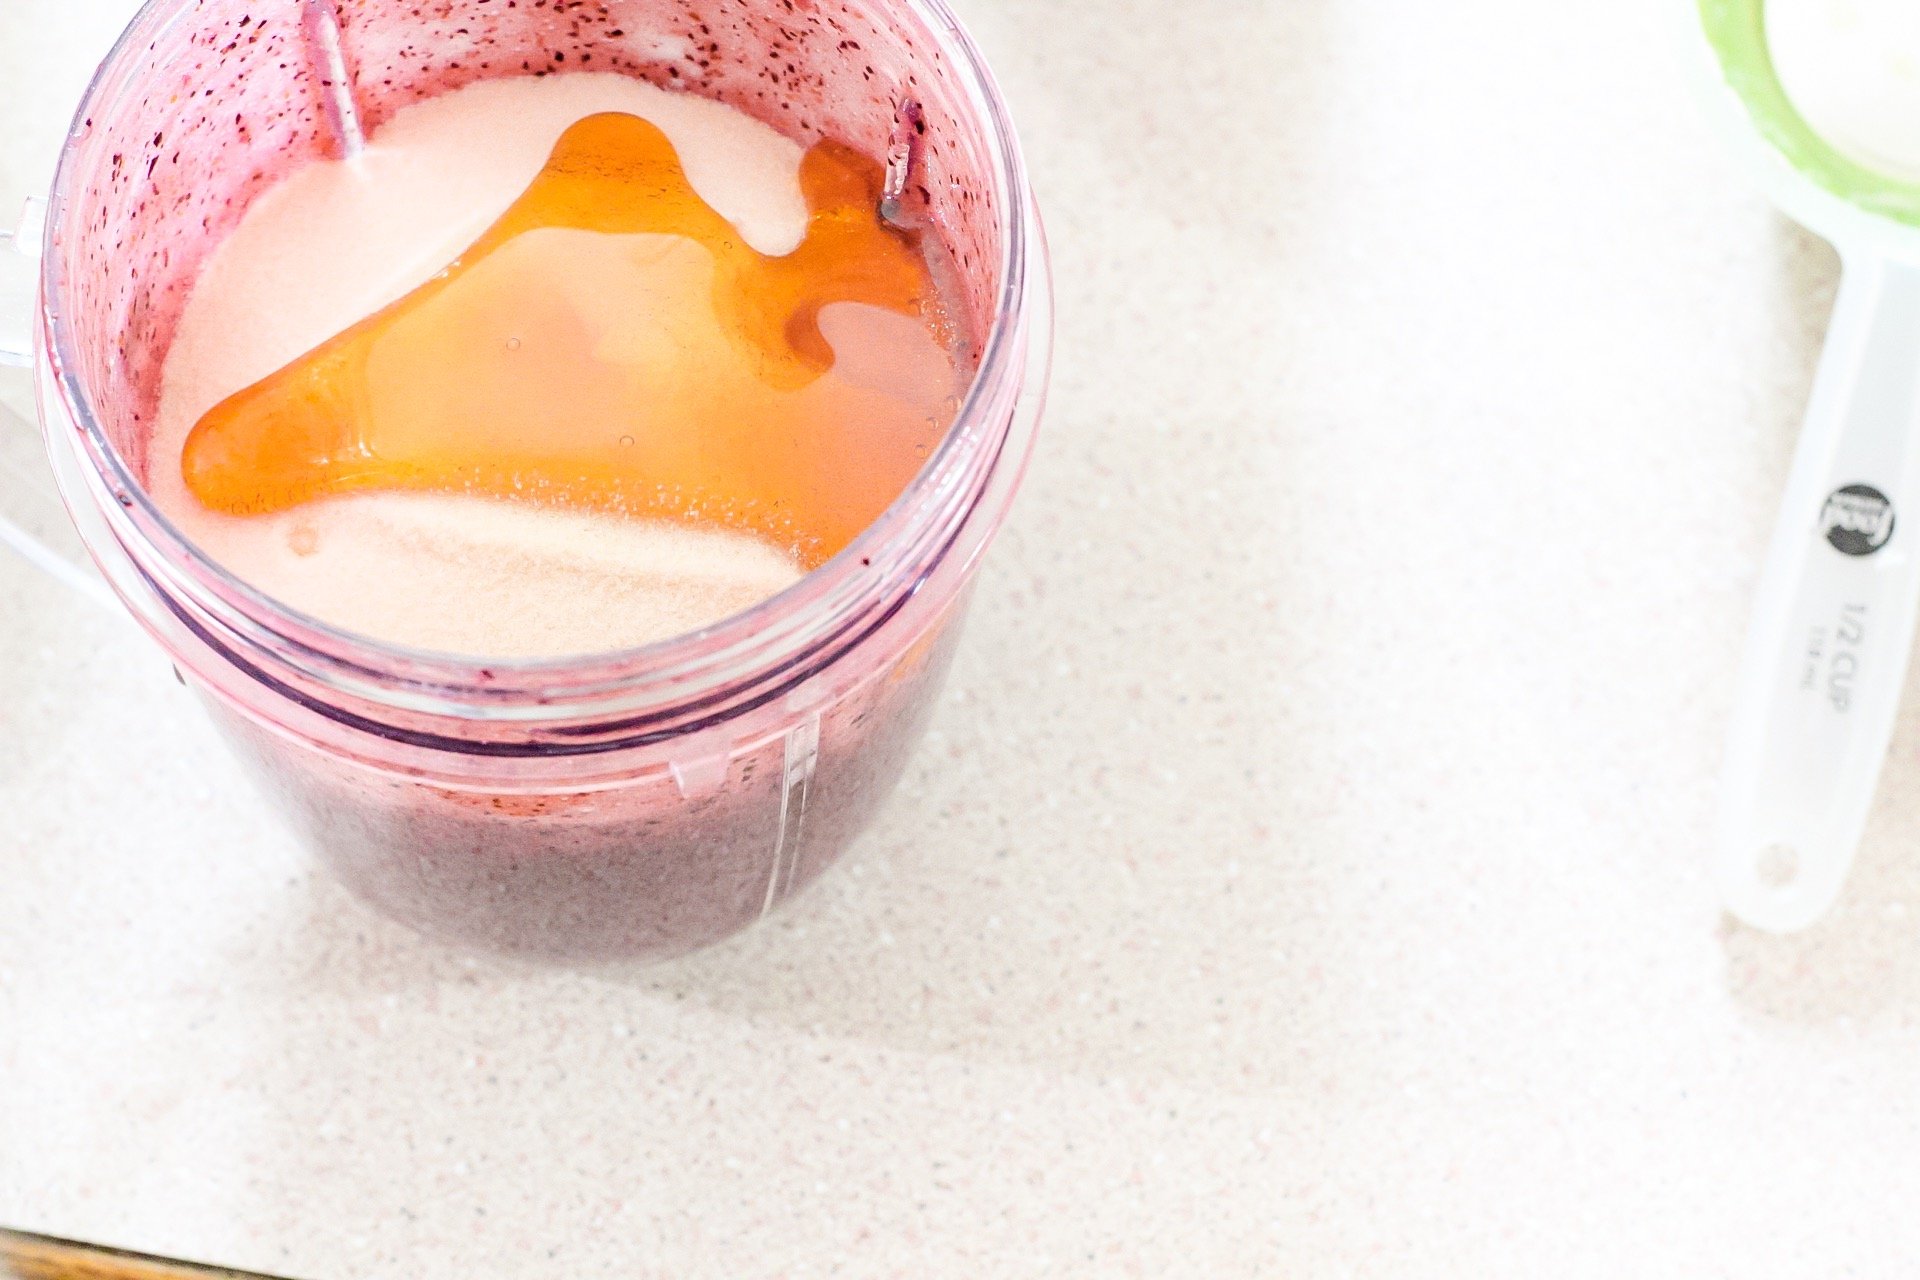
Once your fruit is blended together, add in 1/4 cup gelatin powder, 1/4 cup of water, and some raw organic honey.
I used 2 tbsp of honey for this recipe, but if you’re trying these for the first time and want them to be a little sweeter, you can use 3 tbsp of raw honey.

You May Also Like: DIY Bubble Solution
Once the gummy mixture has been blended, work quickly to spread the mixture into silicone molds.
I like to scoop and spread with a butter knife, which helps put the mixture into the mold shapes while clearing the top of the molds so the gummies don’t connect together.
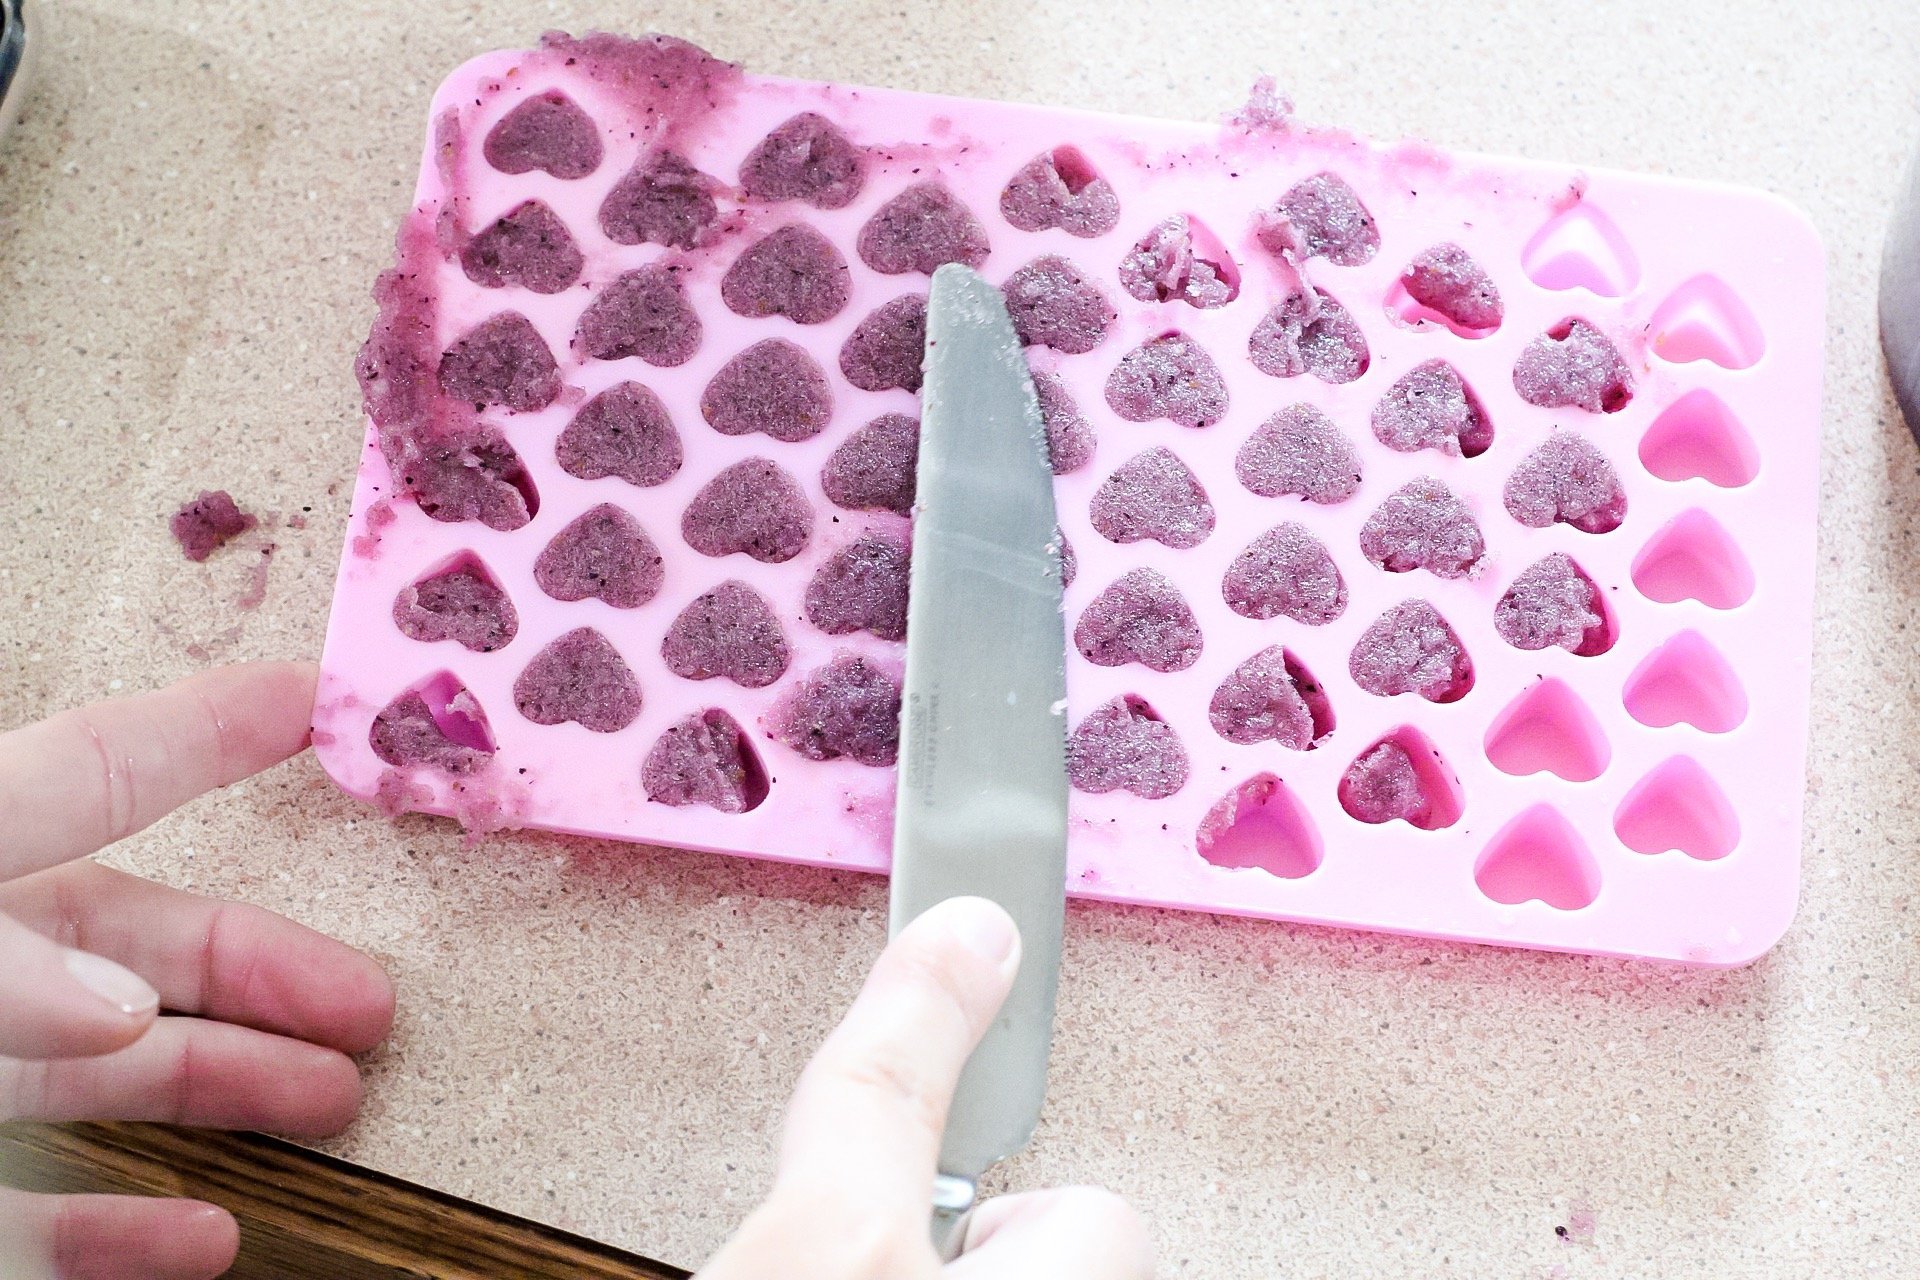

Once you have filled your silicone molds (here are the exact ones I used – they make the cutest, tiniest little gummies!), place your trays into the fridge for 30-60 minutes so they can set.

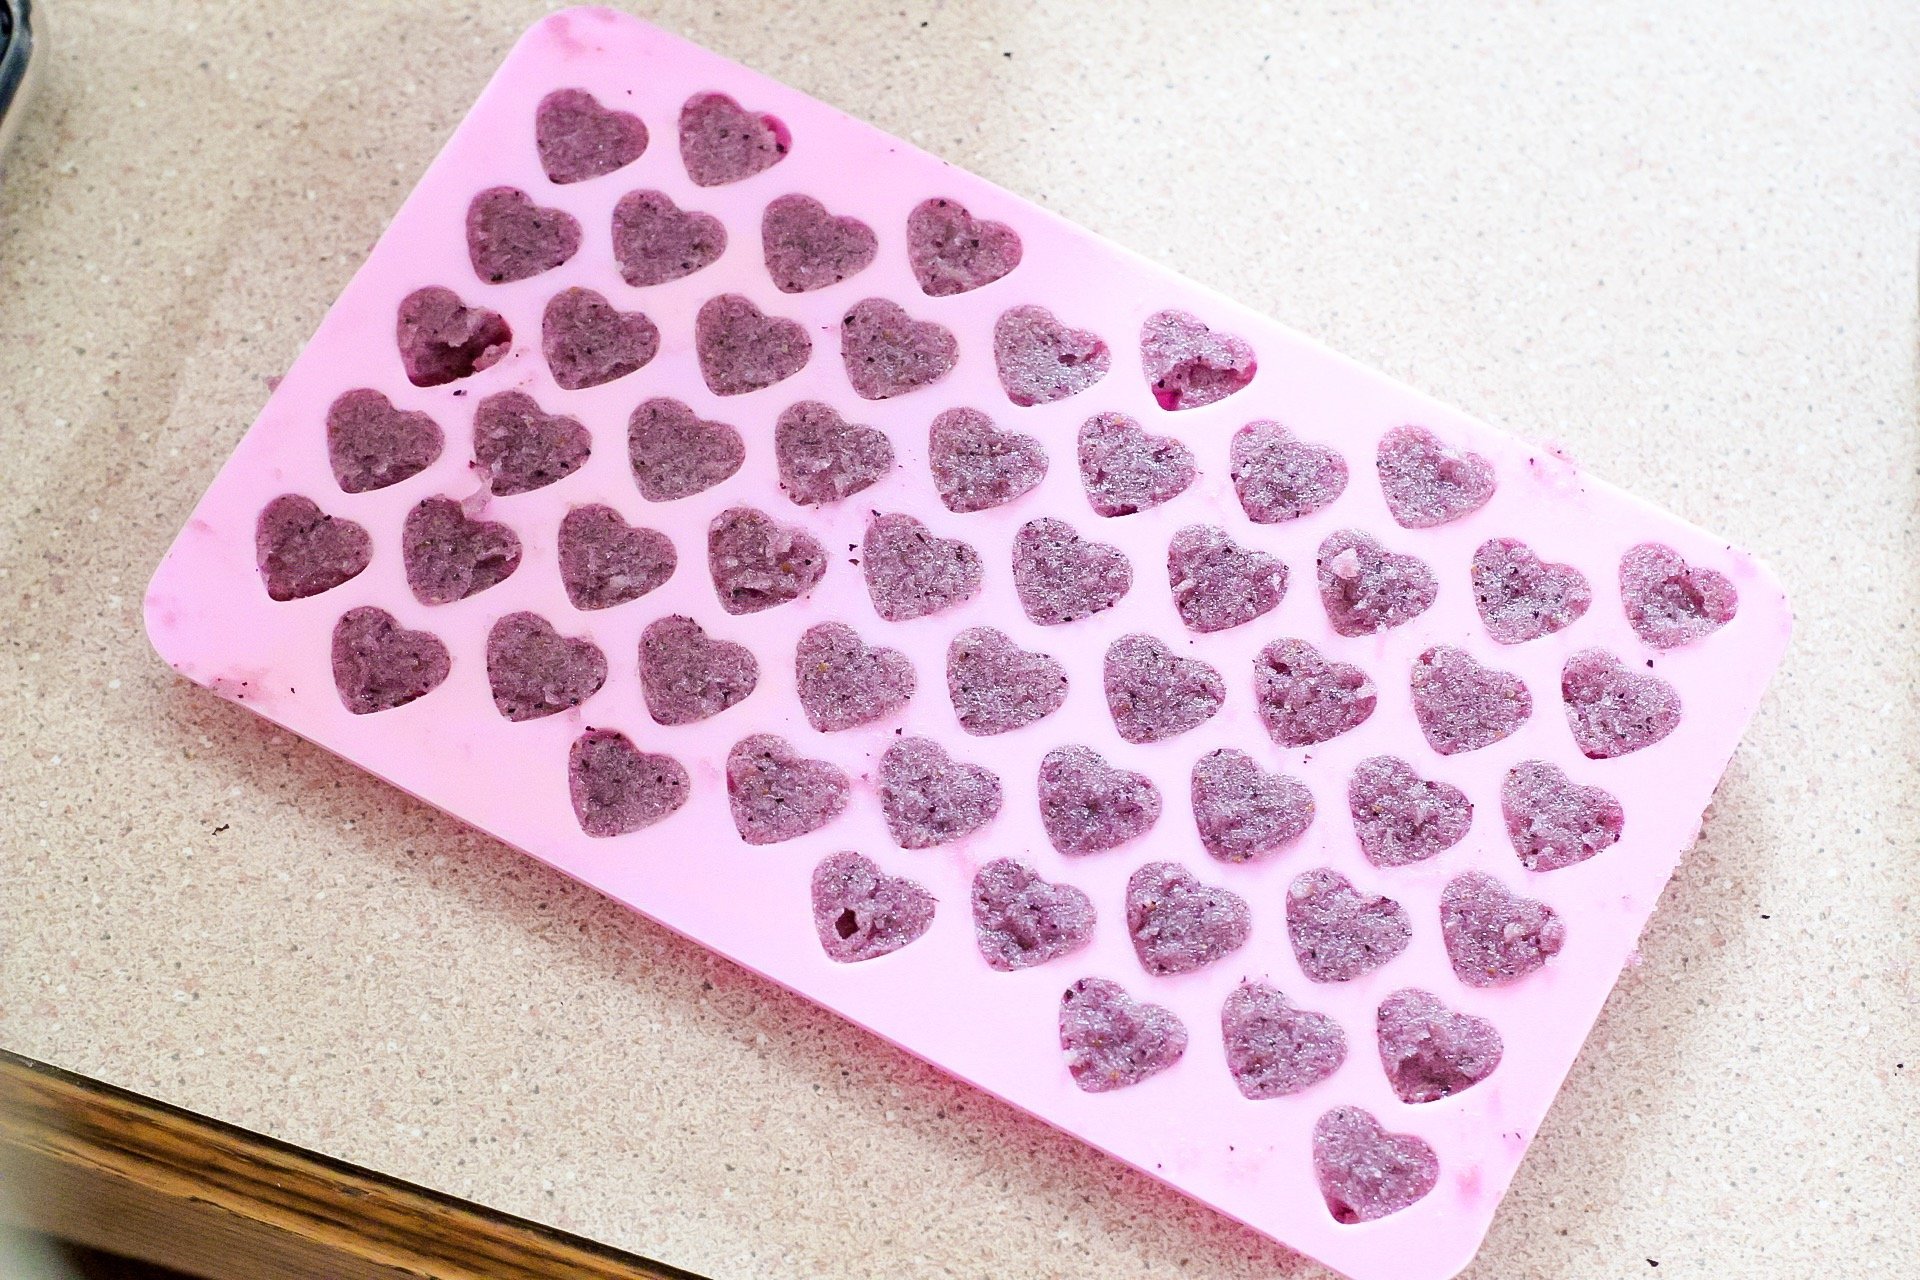
 After 30-60 minutes, remove the trays from your fridge and test them with your finger.
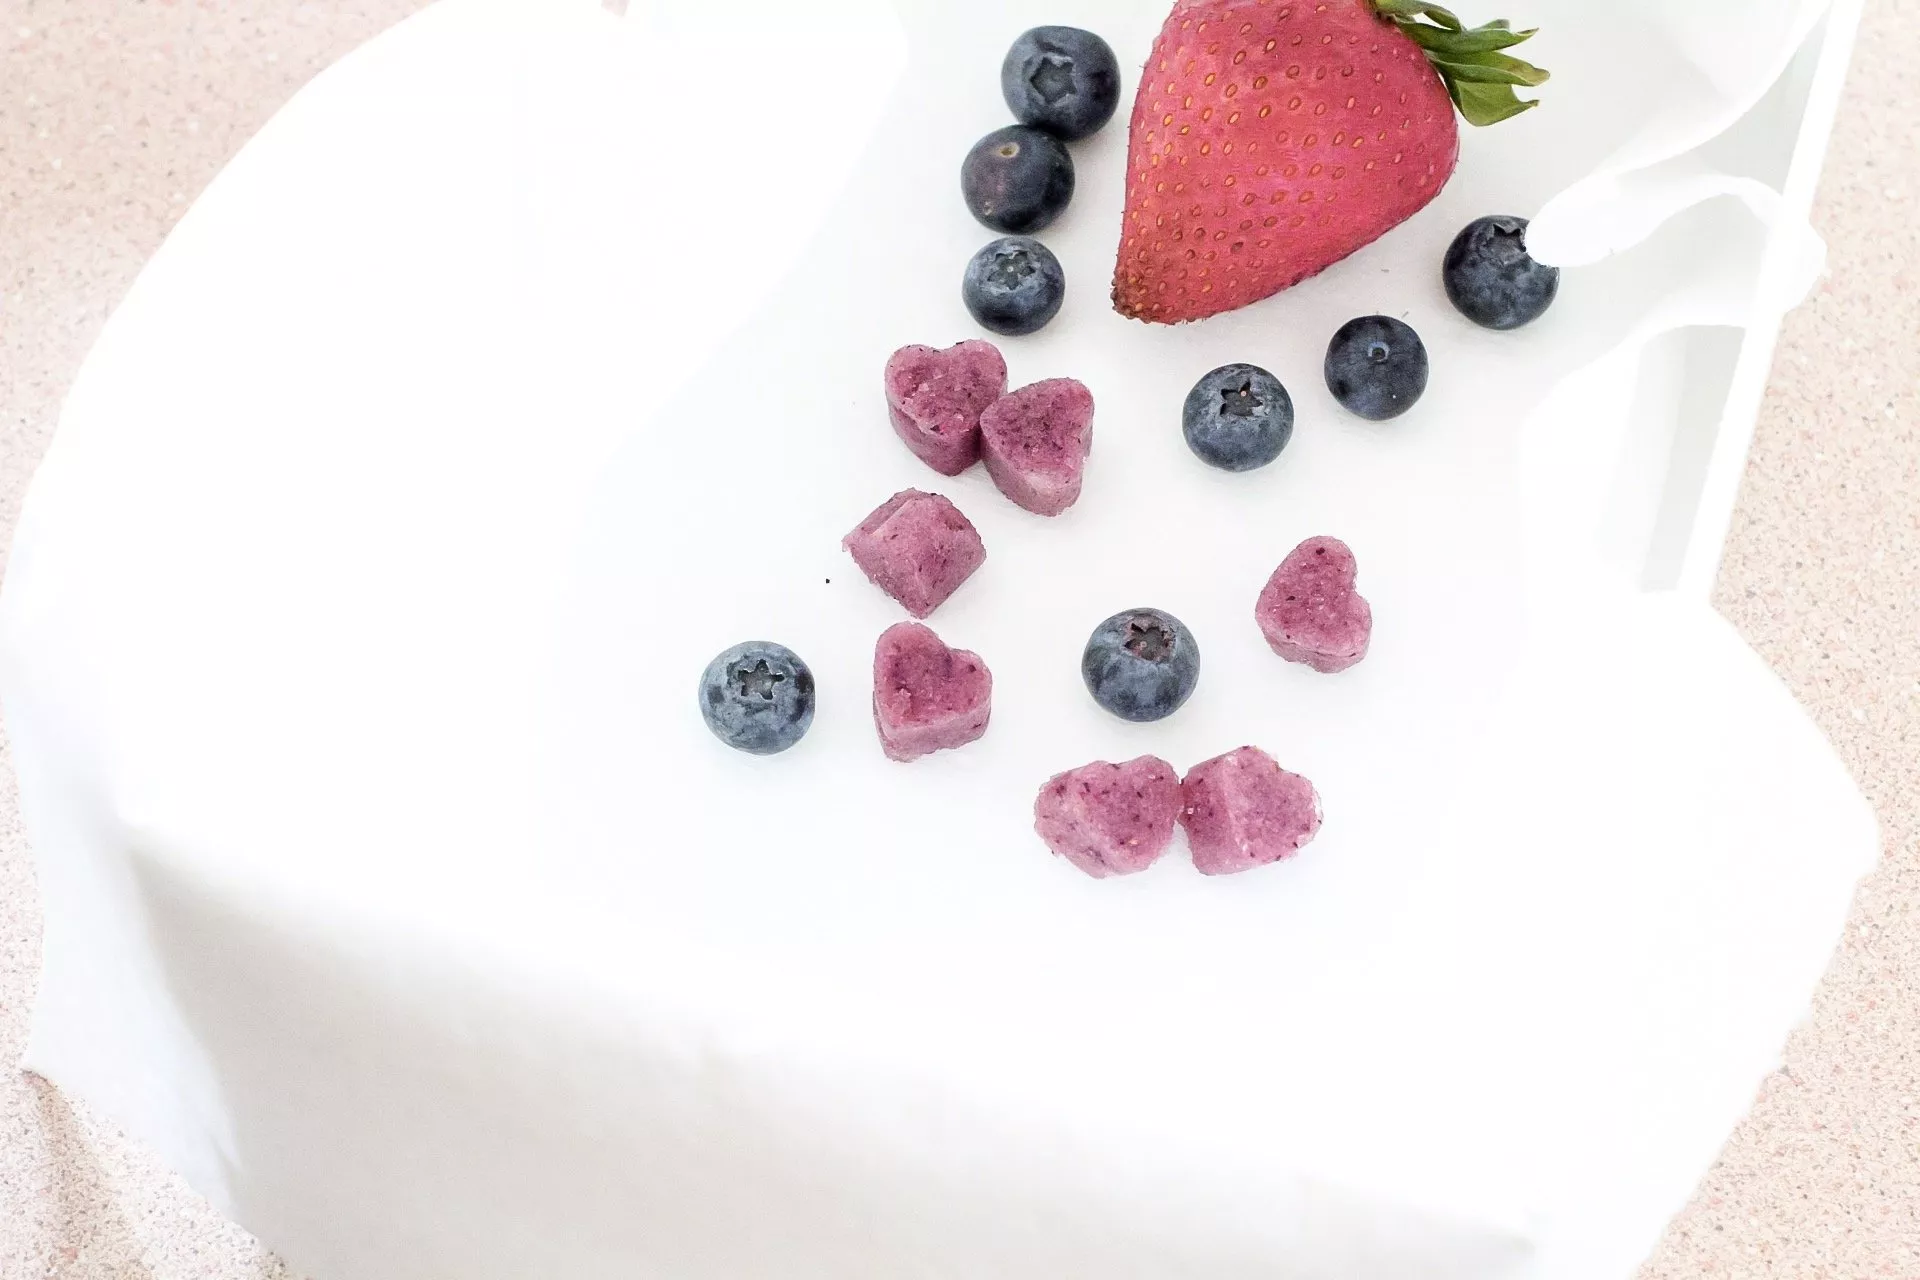
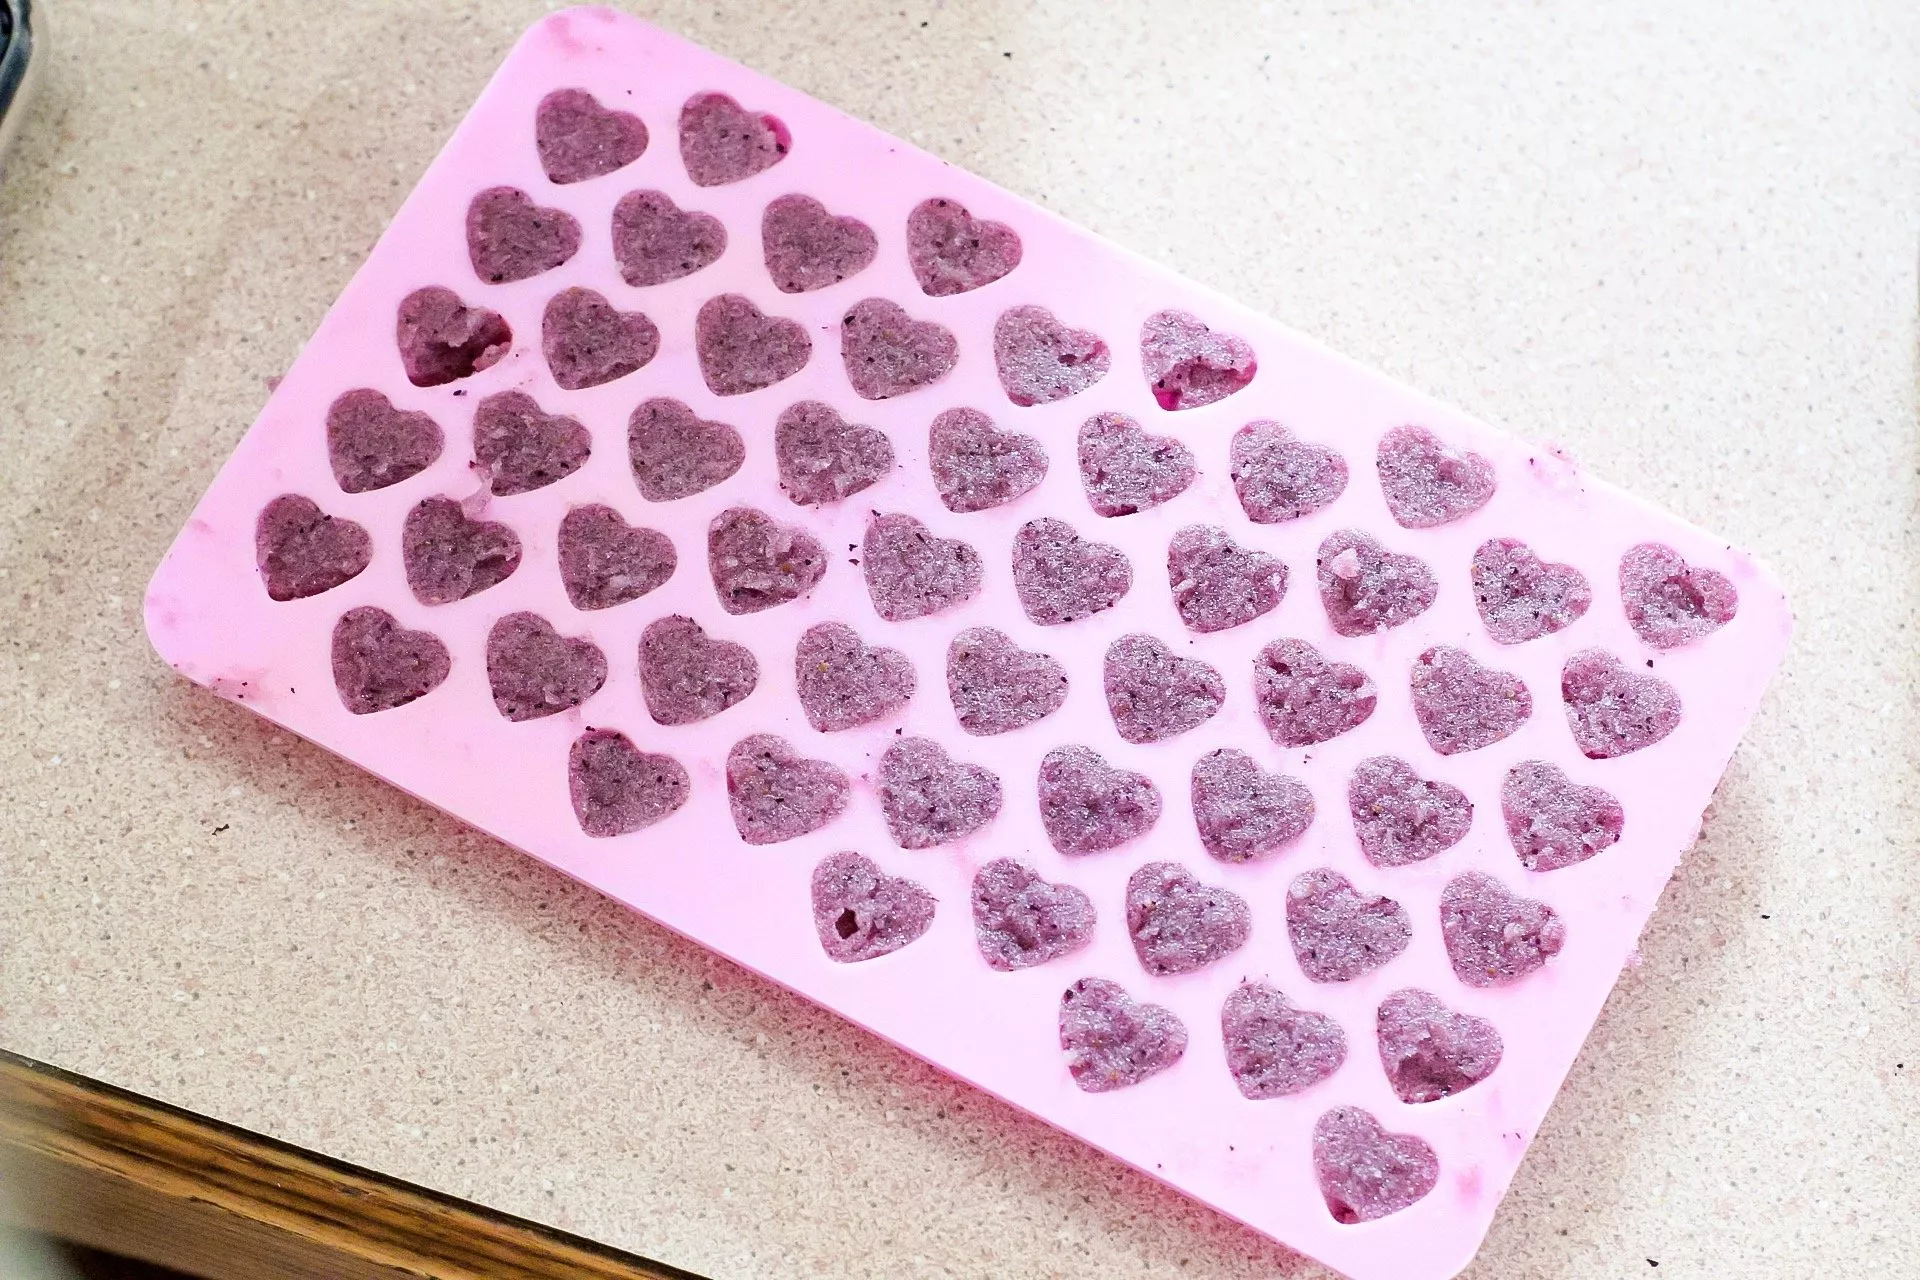
The gummies should be firm with a little bit of give to them, and should easily pop out of the molds when ready.
Pop a few out to try, and store the rest in an airtight container up to a week in the fridge.
Homemade Gummies Recipe With Fruit & Honey
Homemade Gummies
Ingredients
- 1.5 cups fresh strawberries
- 1/2 cup fresh blueberries
- 1/4 cup gelatin
- 1/4 cup water
- 2-3 tbsp. raw honey
Instructions
- Rinse strawberries and blueberries in a strainer. Blend until smooth.
- Add in gelatin powder, water, and honey. Blend until smooth. (Test sweetness - add in more raw honey if you want it to be sweeter, and blend until smooth.)
- Work quickly to spread and spread mixture into silicone molds. Run butter knife over the top of the mold to remove the excess mixture.
- Place filled trays into the fridge for about 30 minutes before testing gummies for firmness. Gummies may need up to 60 minutes to completely firm and set.
- Remove from fridge, gently pop gummies out of silicone molds, and enjoy!
Notes
These gummies can be stored in an airtight container for up to one week in the fridge.
Recommended Products
As an Amazon Associate and member of other affiliate programs, I earn from qualifying purchases.


Nutrition Information:
Yield: 60 Serving Size: 1Amount Per Serving: Calories: 10Total Fat: 0gSaturated Fat: 0gTrans Fat: 0gUnsaturated Fat: 0gCholesterol: 0mgSodium: 1mgCarbohydrates: 2gFiber: 0gSugar: 2gProtein: 0g
I hope you enjoyed this recipe – if you happen to make it, be sure to tag me on Instagram (@slayathomemother) so I can see it!
*Post originally published May 2019, updated December 2021.


Vicky
Saturday 17th of June 2023
Can it be frozen too? Or just thaw out the fruit?
Erin
Monday 27th of February 2023
Hi there. Love the recipe! Was hoping to make tomorrow but the only 'gelatin' we currently have is a jello pack. Do you think it will work with that kind of gelatin as well? Thanks!