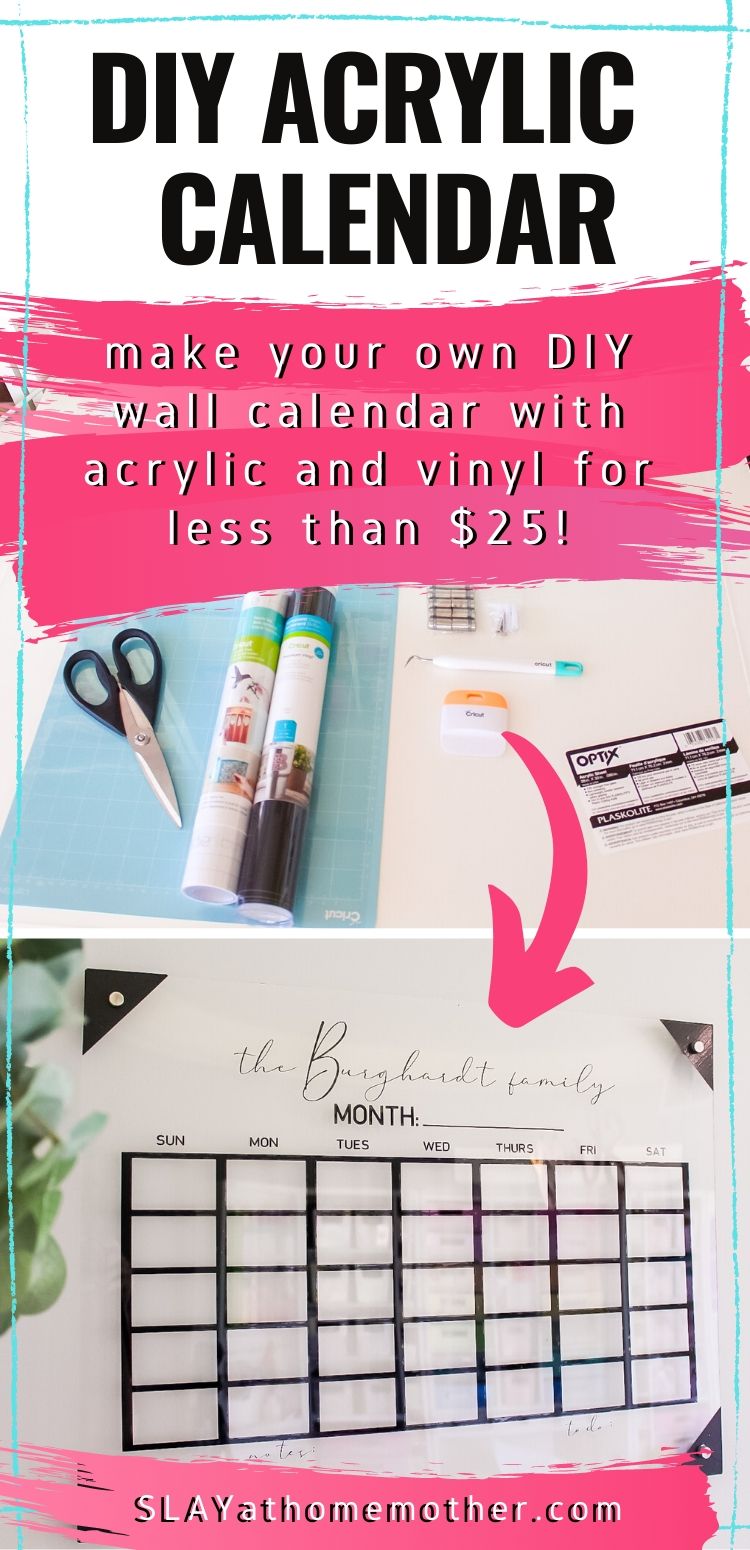
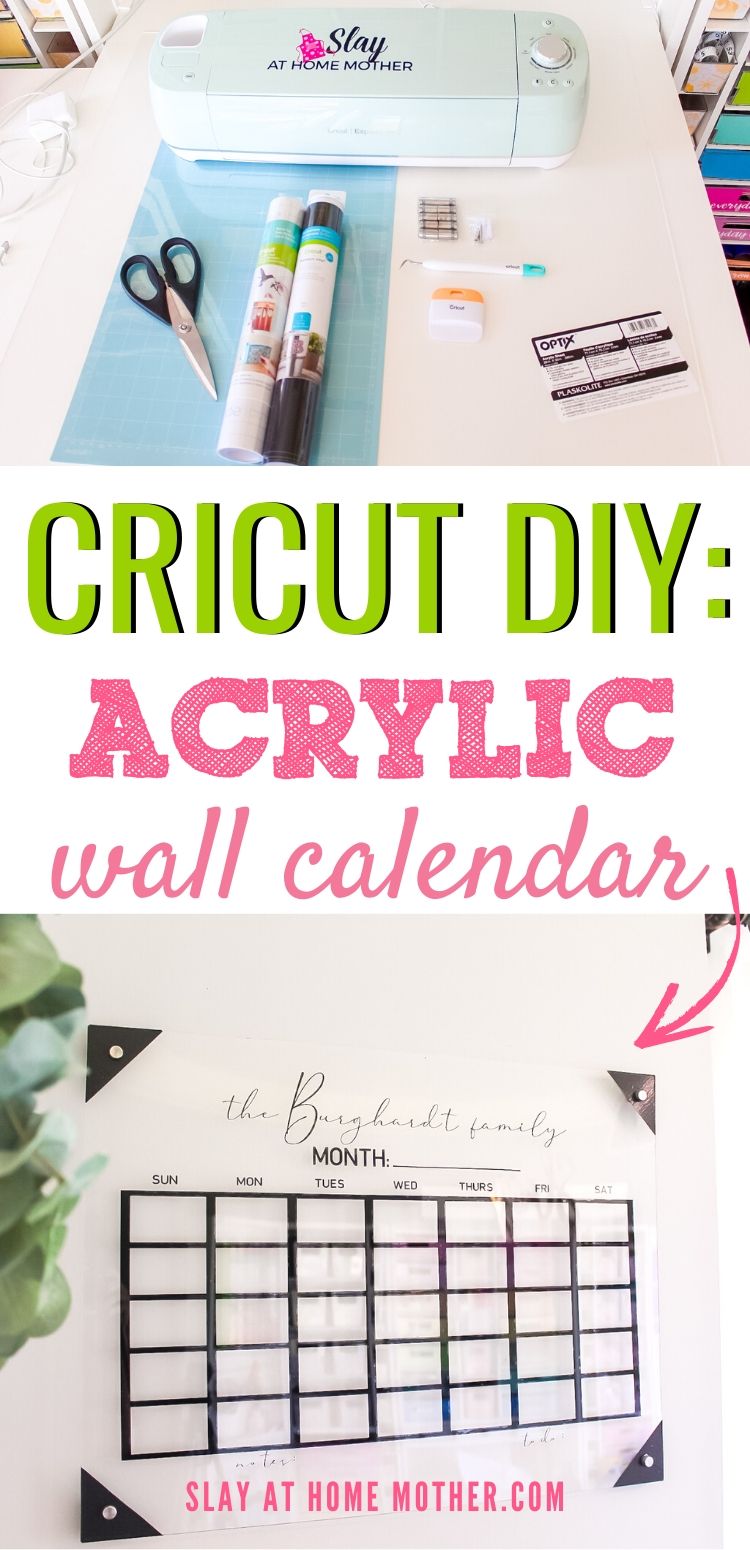
Make your own DIY Acrylic Calendar for $25 or less with this easy Cricut tutorial…
Hello, lovelies!
Today’s post and DIY is all about getting organized!
As a family of five, I’ve noticed our schedule has gotten even crazier with the addition of sweet miss Zoey.
I don’t know why I didn’t think to do this before, but I created a family calendar!
This way, we can organize all of our family get-togethers, appointments, Zoom calls, birthdays, reminders, and to-dos.
I was actually *this* close to buying one online and was scoping out some gorgeous acrylic calendars when the $110 price tag (before shipping) smacked me in the face.
But why buy one when I can make it!
I set out on a journey to make my own, and let me tell you – it turned out pretty awesome.
I’m crazy excited to share it with you guys in this post and even have a free Design Space link for you to create your own below…
*This post contains affiliate links, however, all opinions are my own, as always.
Materials You’ll Need To Make A DIY Acrylic Calendar
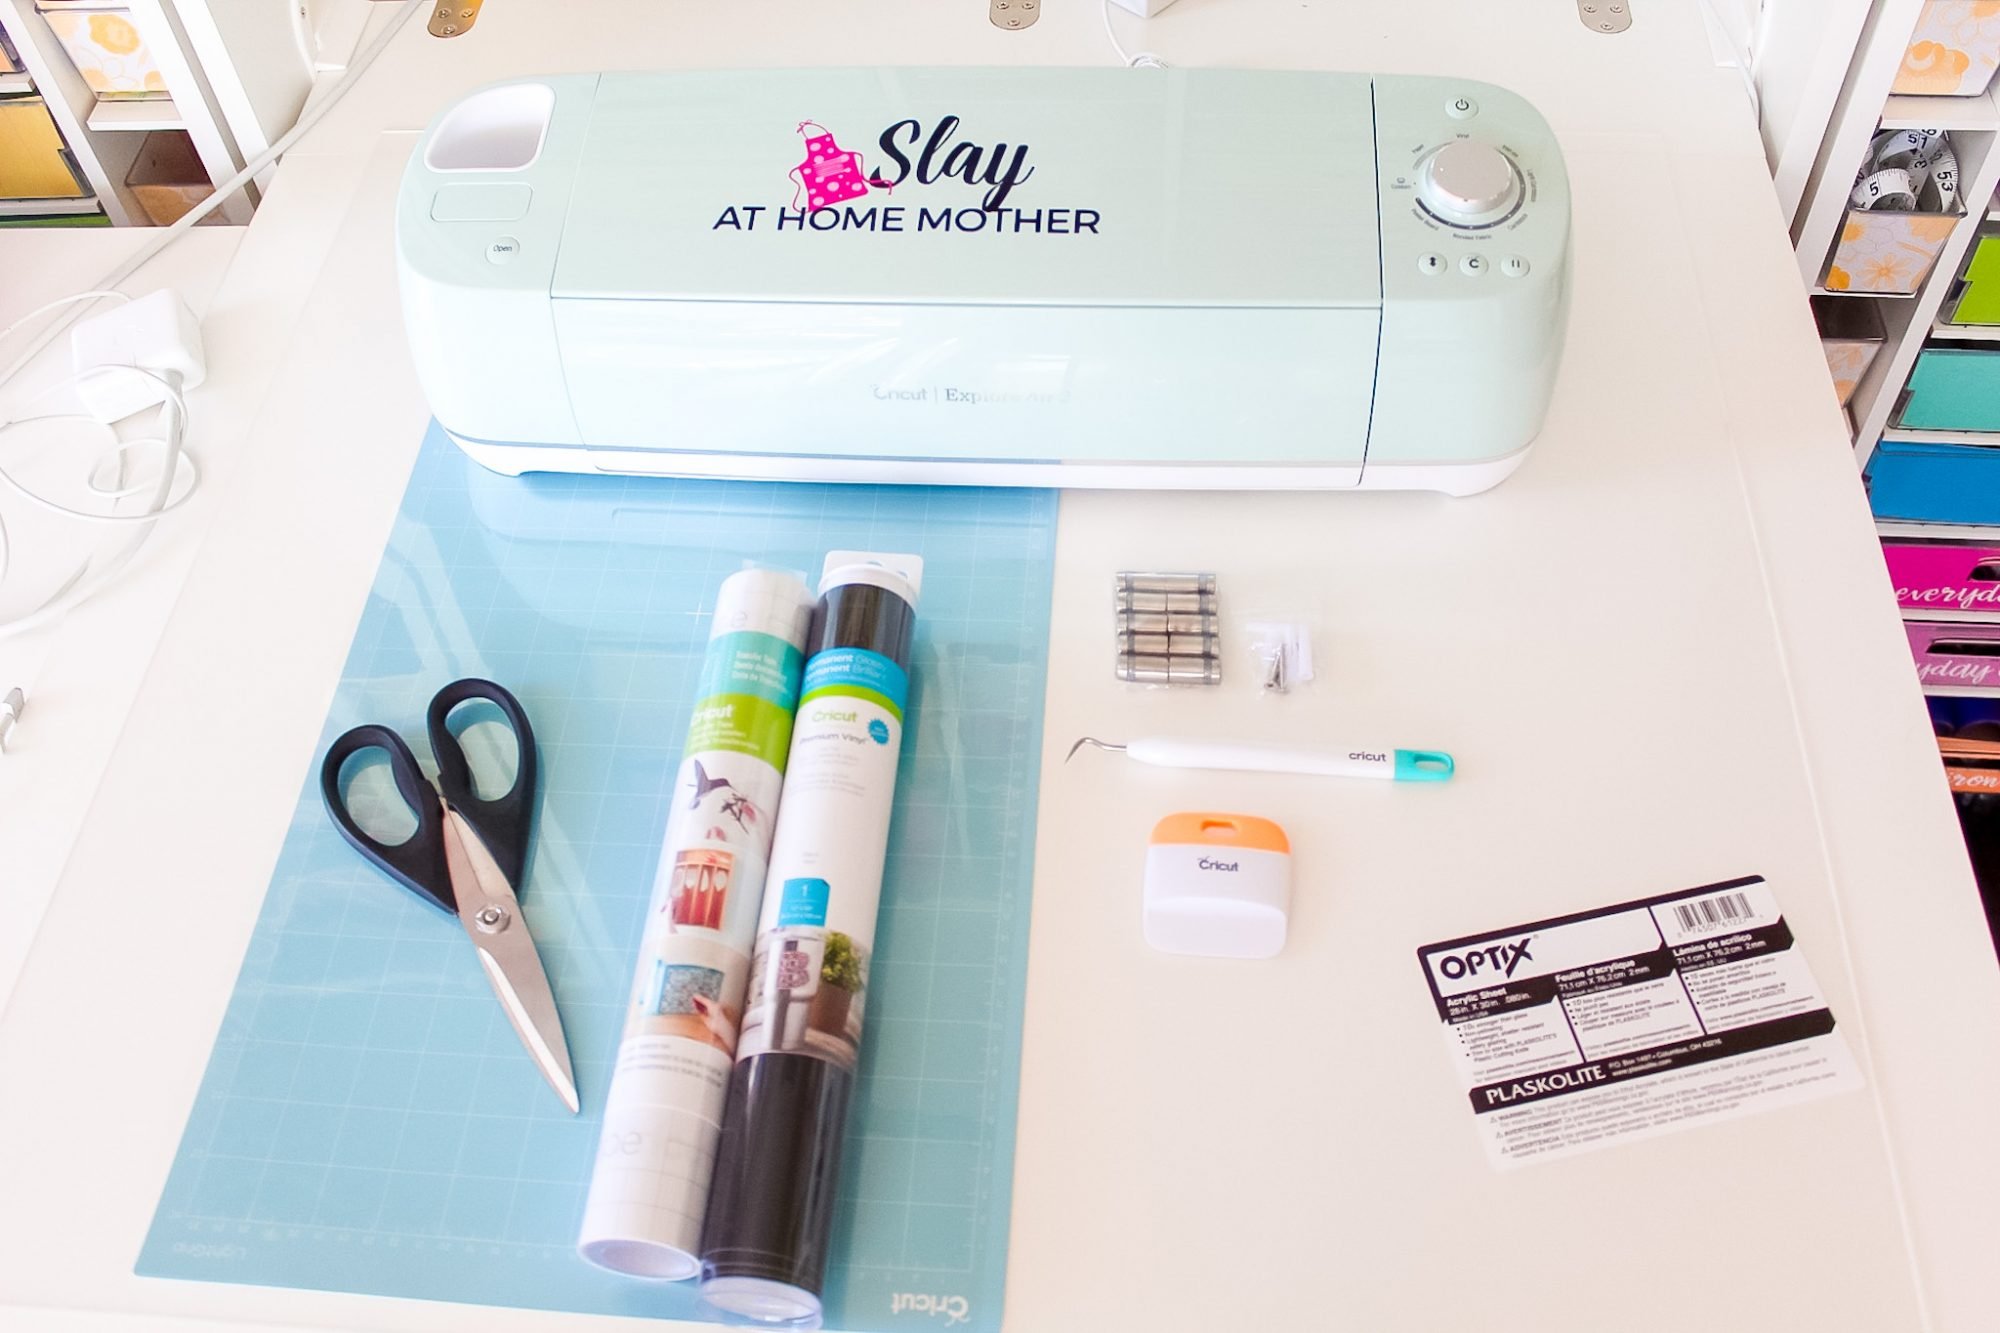
Here’s what you’ll need to make this DIY Acrylic Family Calendar…
- acrylic sheet (about 0.080 inches thick)
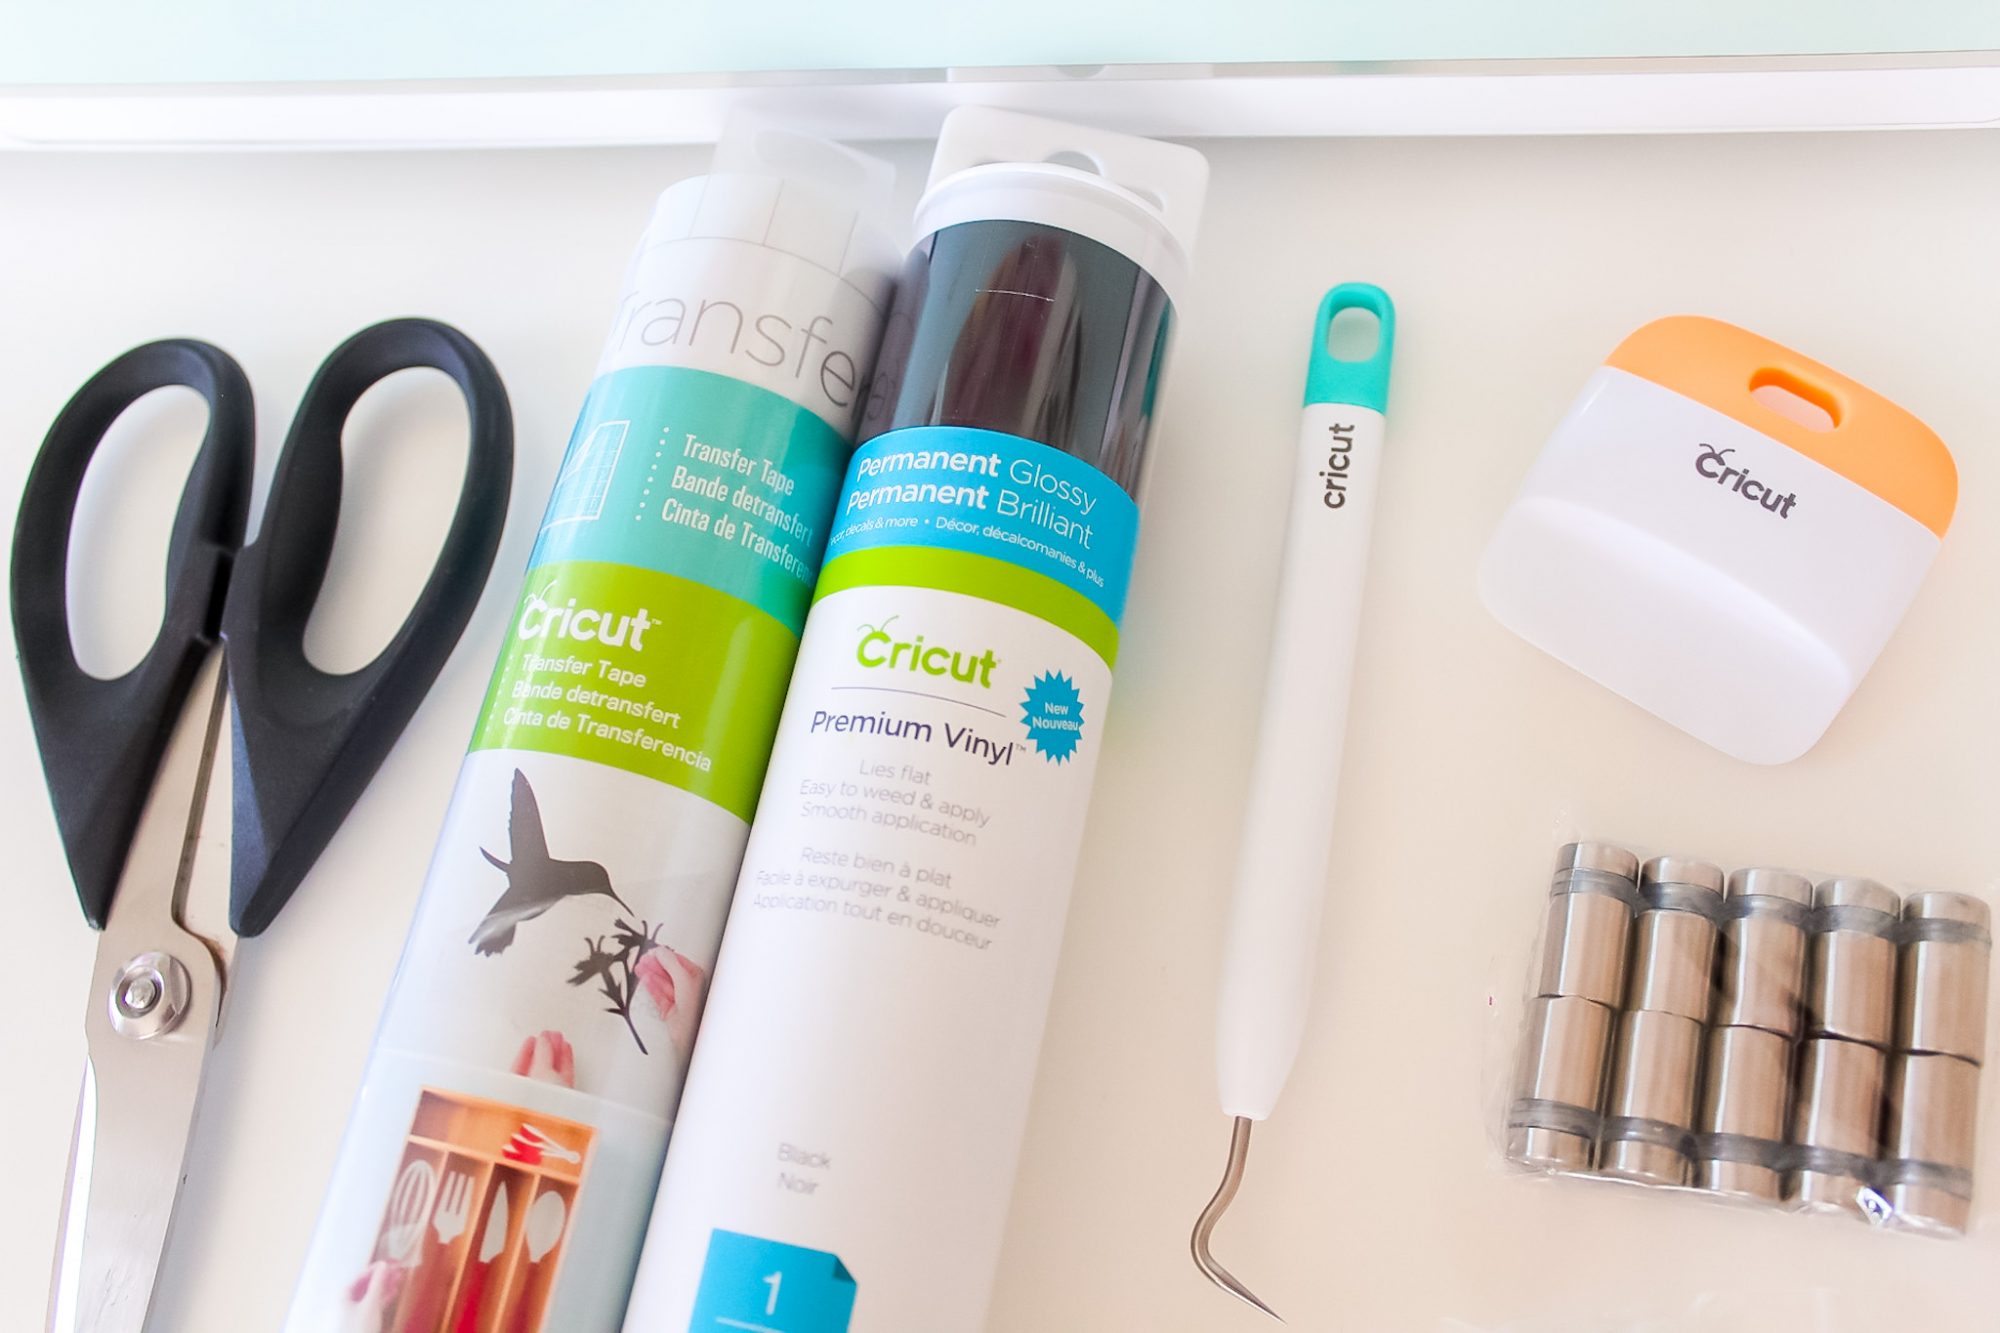
- permanent vinyl in the color of your choice
- 24″ LightGrip cutting mat
- plastic cutting knife or rotary table
- hanging hardware (this is the set I used)
- weeder and scraper (available in the Cricut basic toolset)
- transfer tape
- ruler or measuring tape
- level
- Cricut Explore Air 2 or Maker with fine-point blade
In this tutorial, I’m featuring a sheet of acrylic that is larger than the calendar I’m making because I’m going to make multiple items out of this sheet!
I wanted to show you some other options of things you can make around your home besides just a calendar if that’s what you want to do as well.
The acrylic sheet you purchase at the home improvement store can be cut in-store by a qualified employee – just flag them down and they’ll be more than happy to do this for you!
They can also perform multiple cuts in store for you as well, all you need to do is buy the acrylic sheet and ask.
For reference, I bought a 28″x30″ acrylic sheet, which I plan on turning into three different projects, including this calendar.
I don’t want to waste any of the acrylic, so I’m maximizing the projects I can make with it!
I’ll be linking those other DIY’s from this acrylic sheet here in this post once they’re finished up, but keep multiple projects for your acrylic sheet in mind when purchasing so your home improvement store can make those cuts for you if you need them to.
Choosing an Acrylic Sheet
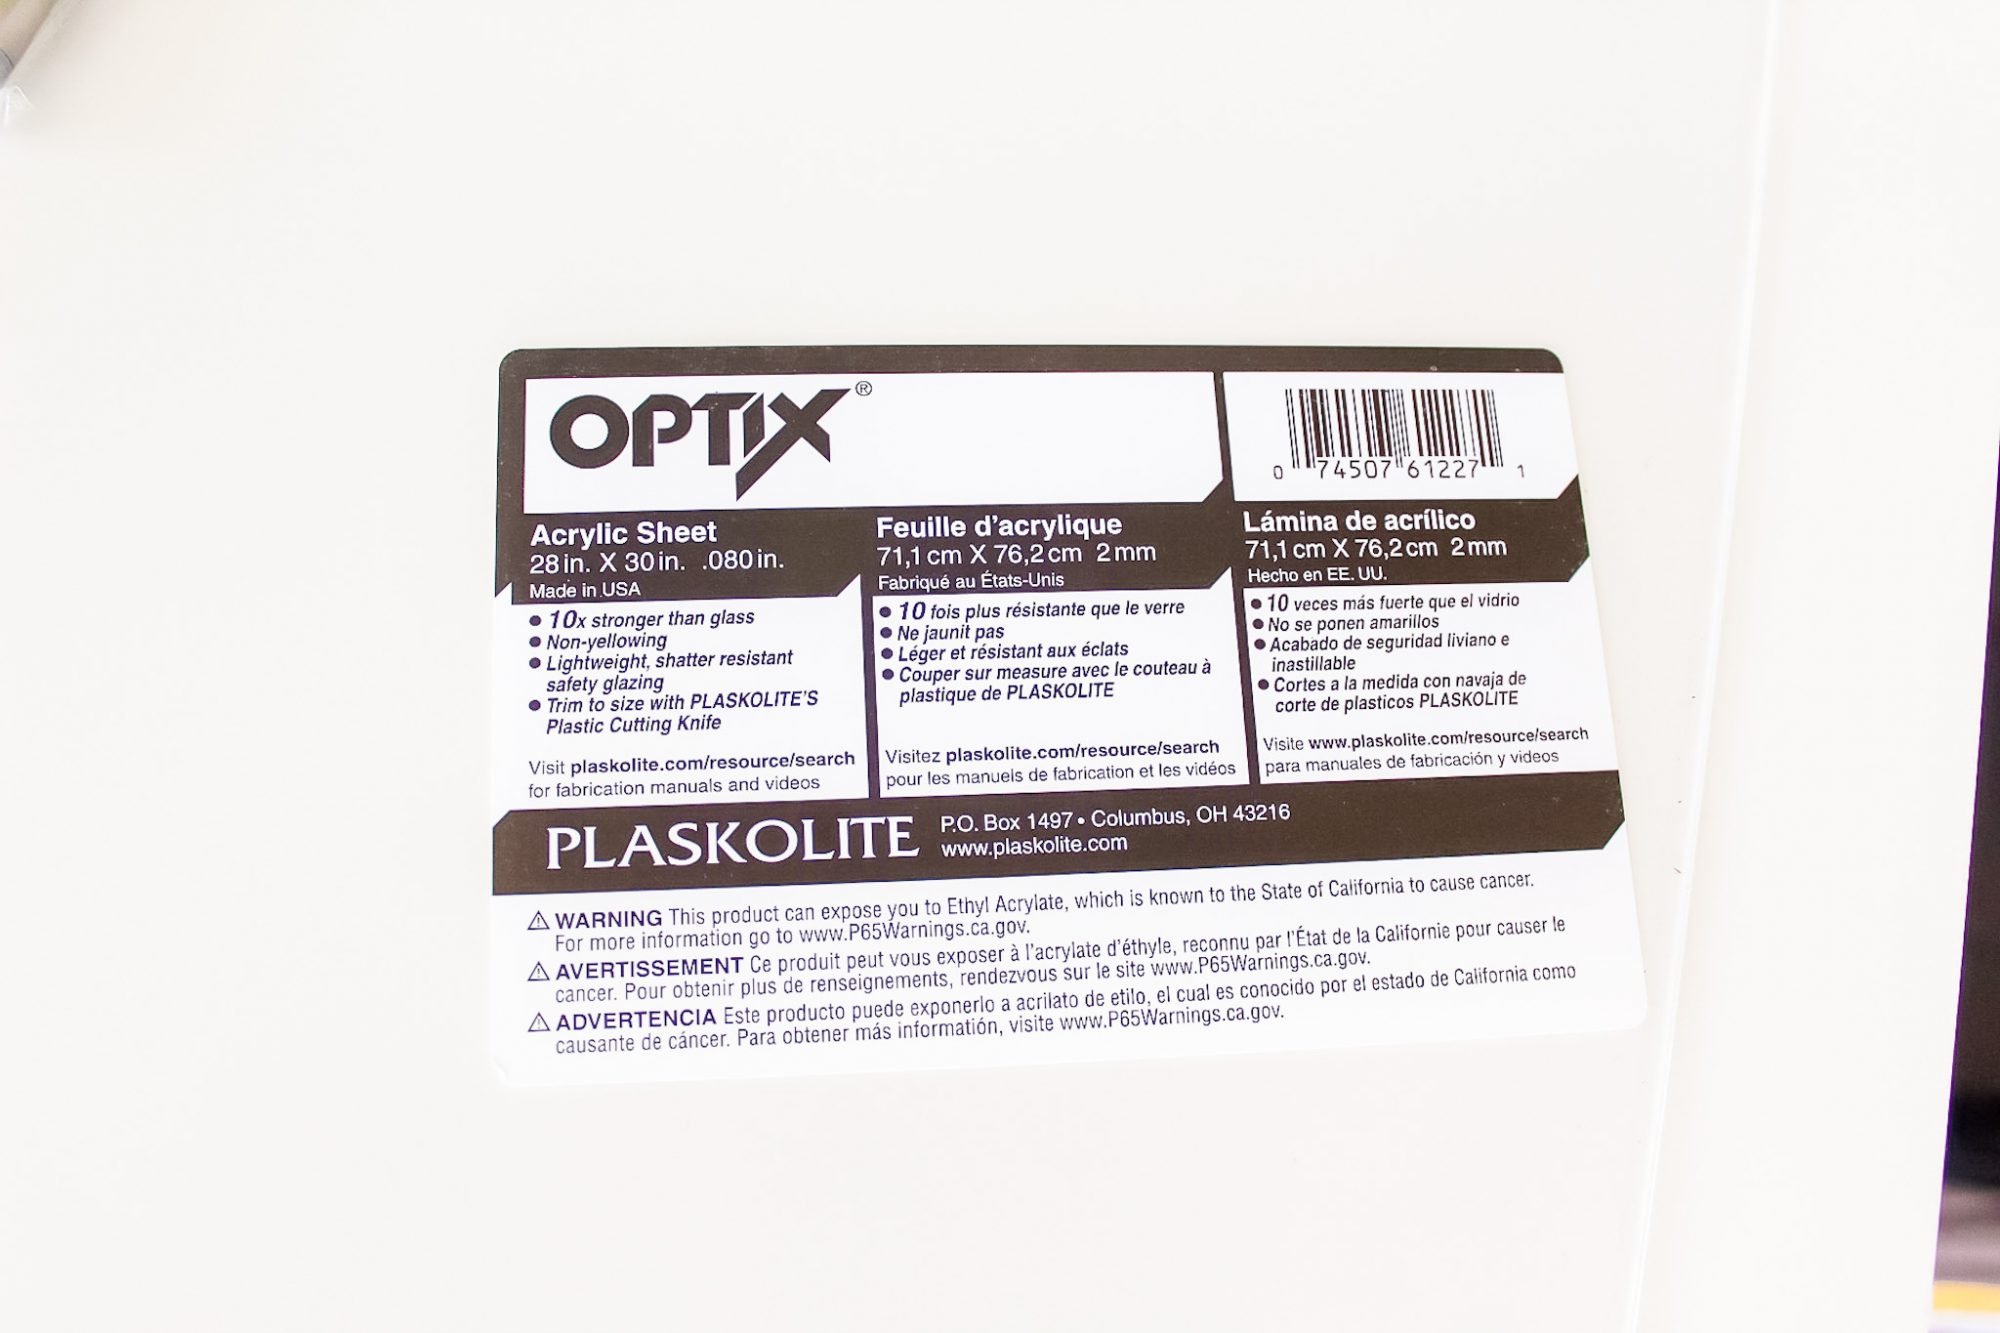
When choosing an acrylic sheet for your calendar, be sure to choose one that has a plastic covering (most do), and has NON-YELLOWING on the label.
If you can’t find the exact size you need, you can usually find a close size as acrylic sheets come in a variety of sizes, and it can be cut for you in the store.
Be sure to pick up the proper cutting tools needed for trimming your acrylic sheet to size, if needed, while you are in the store.
This 28″x30″ sheet cost us $19 and some change.
Choosing The Size For Your Acrylic Calendar
Measure the space you want to put your calendar in.
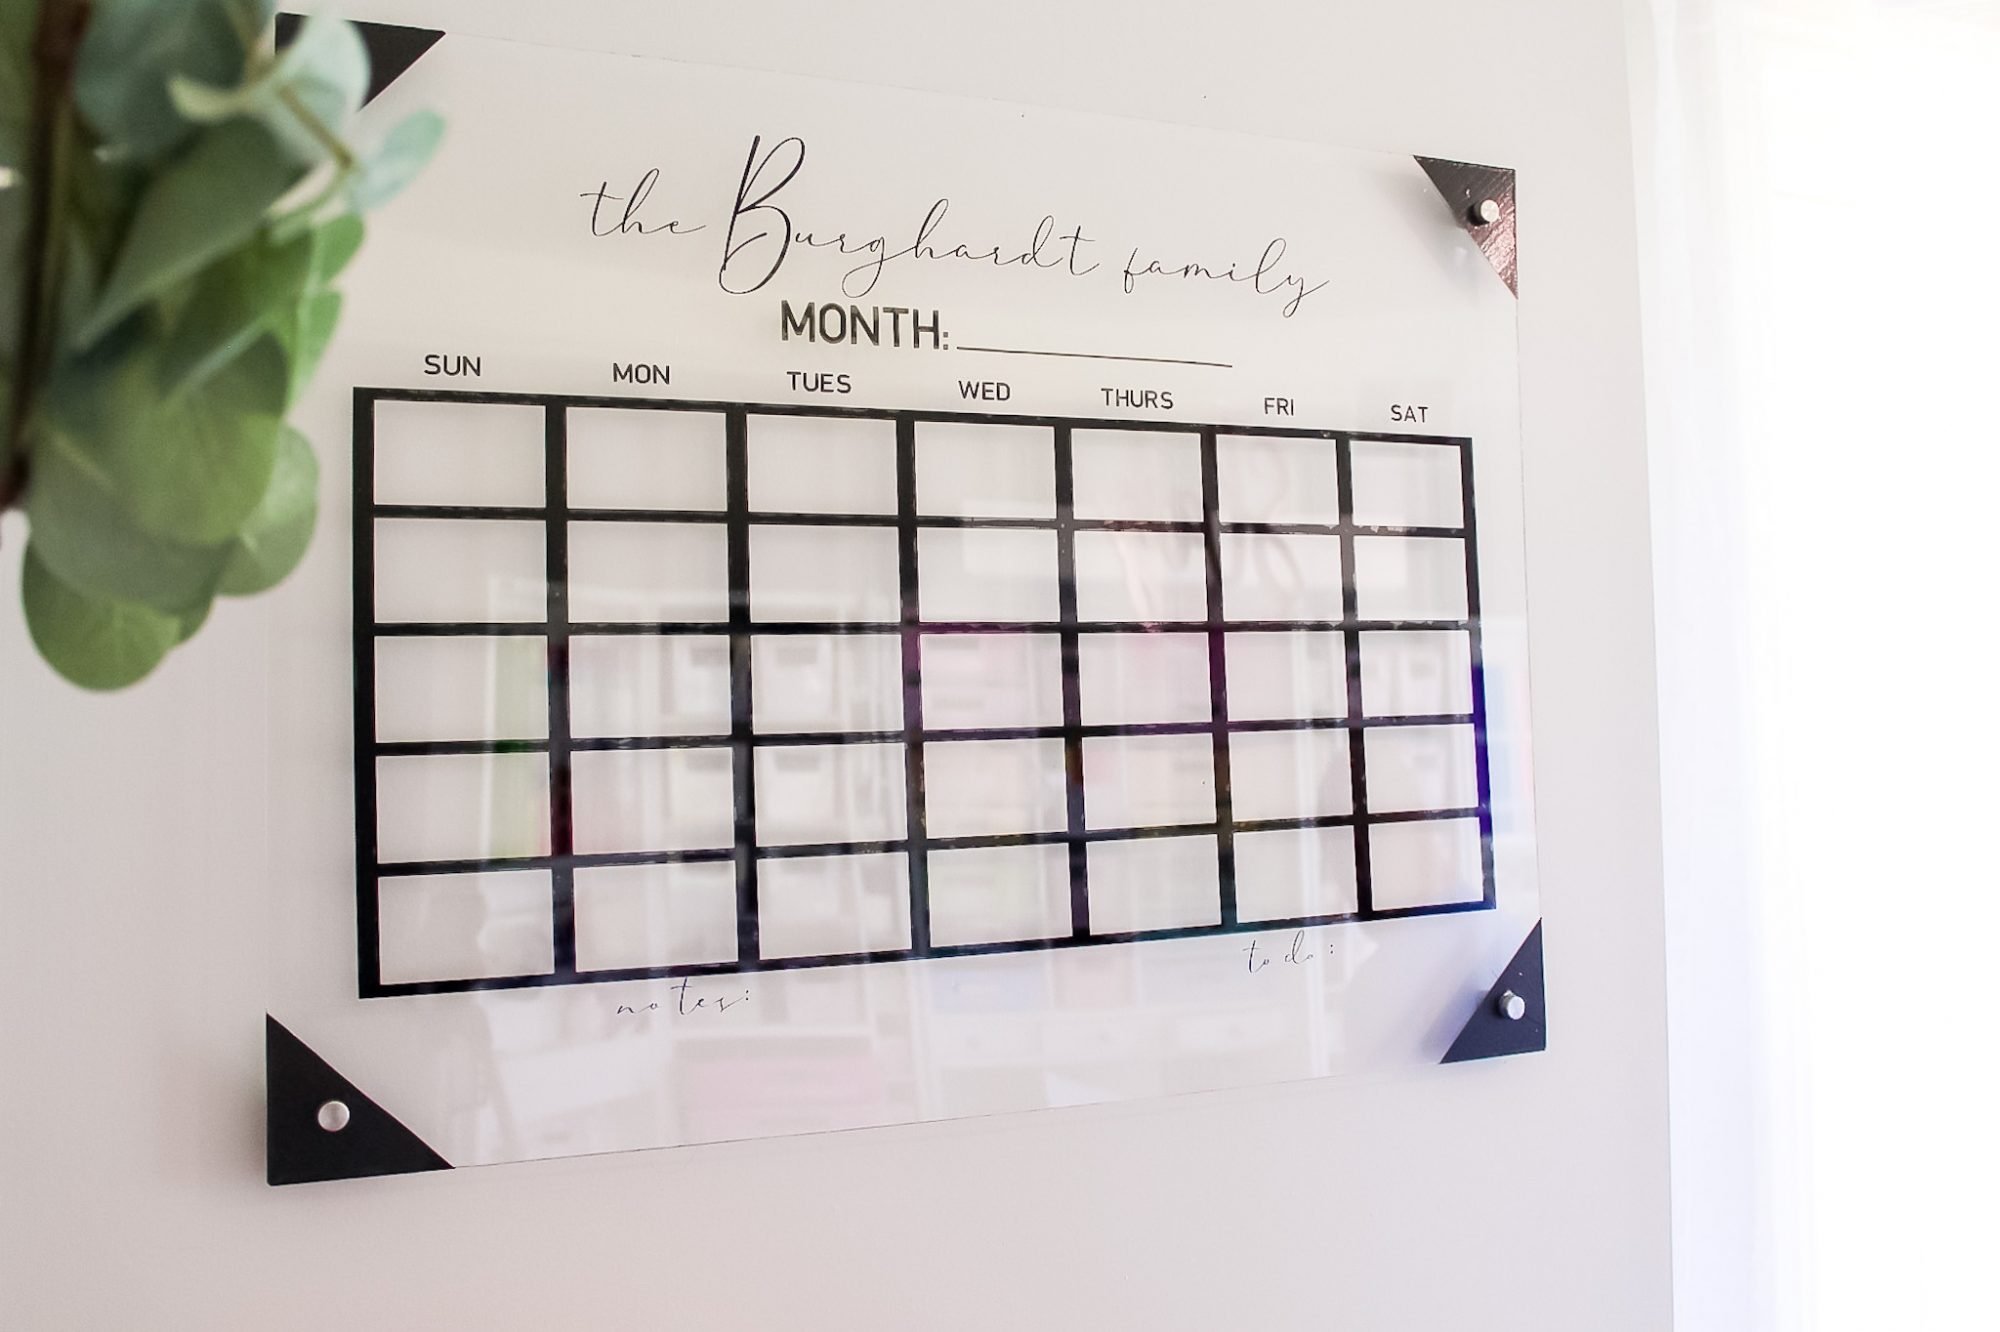
For reference, I am making our calendar 24″x18″, which is a decent size for a wall calendar and a common size you’d find when purchasing one brand new from a site like Etsy.
If you’re working with limited wall space, consider whether you’d like to have your calendar landscape (wider than it is tall), portrait (taller than it is wide), or square.
How To Cut An Acrylic Sheet
There are four basic ways to cut an acrylic sheet.
Let me first start off by saying that I am not a professional in acrylics, I’m just a happy DIY-er that loves to create and craft.
I’m drawing a lot of knowledge and how-to from my husband, Christopher, on this project.
That being said, always be careful when dealing with acrylics, glass, plexiglass, or other new materials that you aren’t familiar with and can carry sharp or uneven edges.
Be sure to wear safety glasses and abide by any and all safety precautions.
Cut Acrylic In The Store
You can save yourself a lot of headache by planning ahead and having a store employee cut your acrylic sheet for you after purchasing!
Cutting Acrylic with A Hand Saw
You can use a hand saw to cut your acrylic sheet, if you have one on hand. This method takes a bit of concentration and works best if you have a saw with uniform teeth.
Cut Acrylic Using An Jigsaw Saw
This is the method we are using to cut our acrylic and is self-explanatory. 🙂
Cut Acrylic Using A Scoring Knife
Measure your cut line and use a scoring knife to cut grooves every few inches or so along the line.
Place your sheet over a hard-edged table or counter with the grooves facing up and on the edge on the hard surface.
Press down hard to snap off the unwanted portion.
Designing And Cutting Vinyl Decals For Your Acrylic Calendar
If you’re interested in my acrylic calendar design, you can access that HERE.
For your calendar, you can consider the layout you want for your calendar with:
- days of the week
- what day of the week to start with (some people like Monday-Sunday calendars vs. the traditional Sunday-Saturday)
- title (what you’d like it to say at the top)…
- “The Smith Family”
- “Month:”
- “Corinne’s Content Calendar”
- additional boxes for writing
- “Notes”
- “Menu”
- “Reminders”
- “Tasks”
- “To Do”
The great part about creating your own calendar, besides saving money instead of buying one, is being able to customize it to fit your needs!
Create An Outline For Your Calendar
Once you’ve got your basic components figured out, it’s time to design your calendar in Cricut Design Space.
To make sure your design elements (squares, month, days of the week, etc.) stay within a certain size, I would recommend creating an outline box for your calendar.
This outline will not get cut when it’s time to cut your vinyl, it will be hidden before pressing the ‘Make It‘ button and just ensures you don’t make a design that is too large for your acrylic canvas.
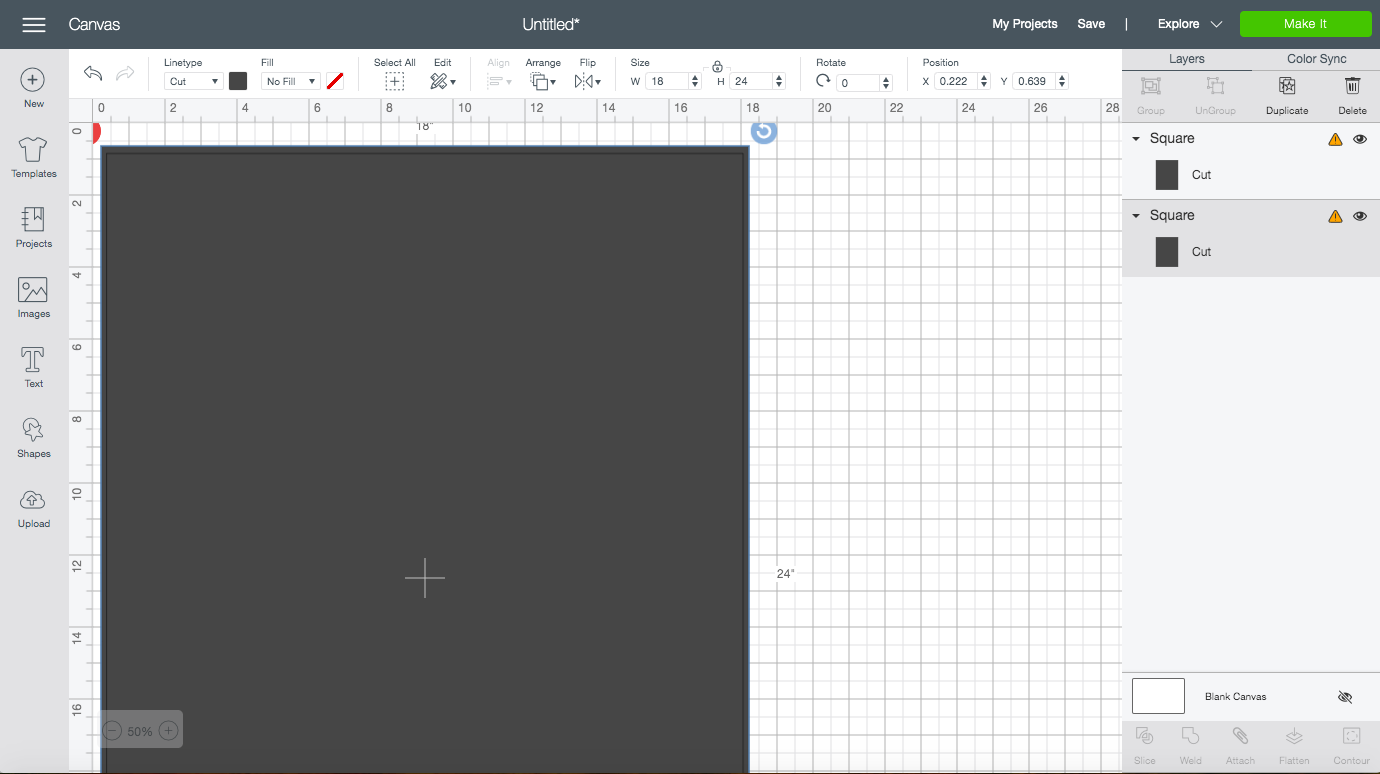
I create my outlines by inserting a square over top of another square, Centering them (this is available under the Align tab along the top of Design Space, and Slicing them.
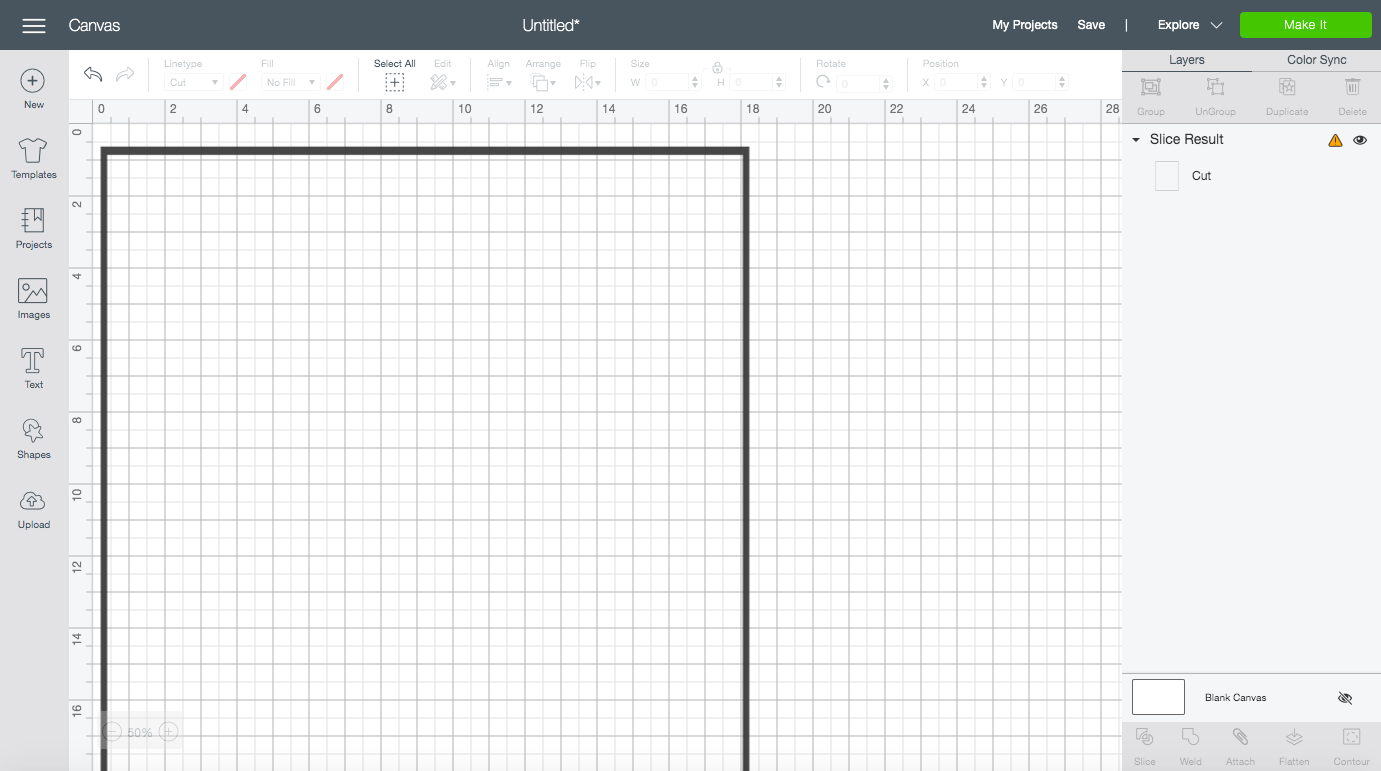
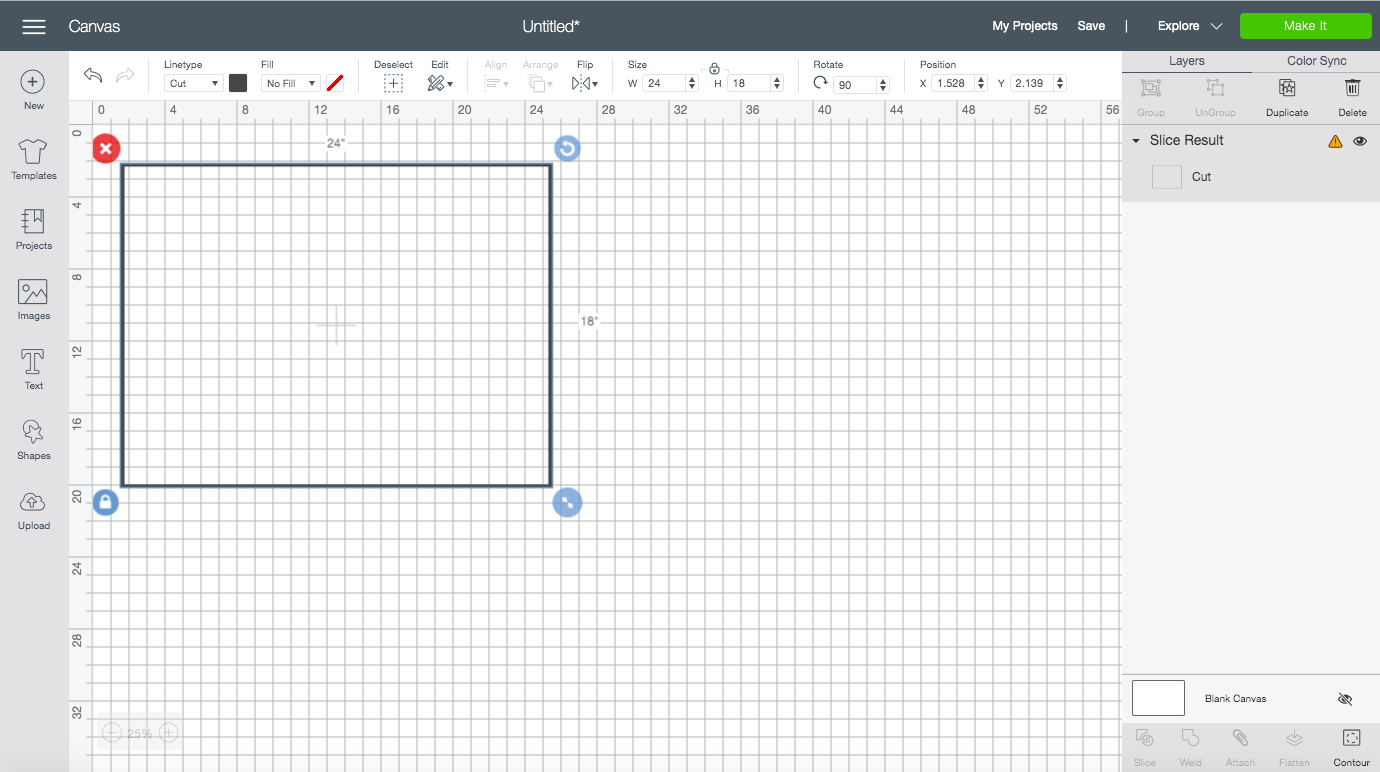
Next, you can Unlock the square outline you’ve created (there is a little icon shaped like a closed lock at the bottom left of the square outline – clicking that will open the lock), and manually insert the measurements of your calendar under the Size section along the top toolbar.
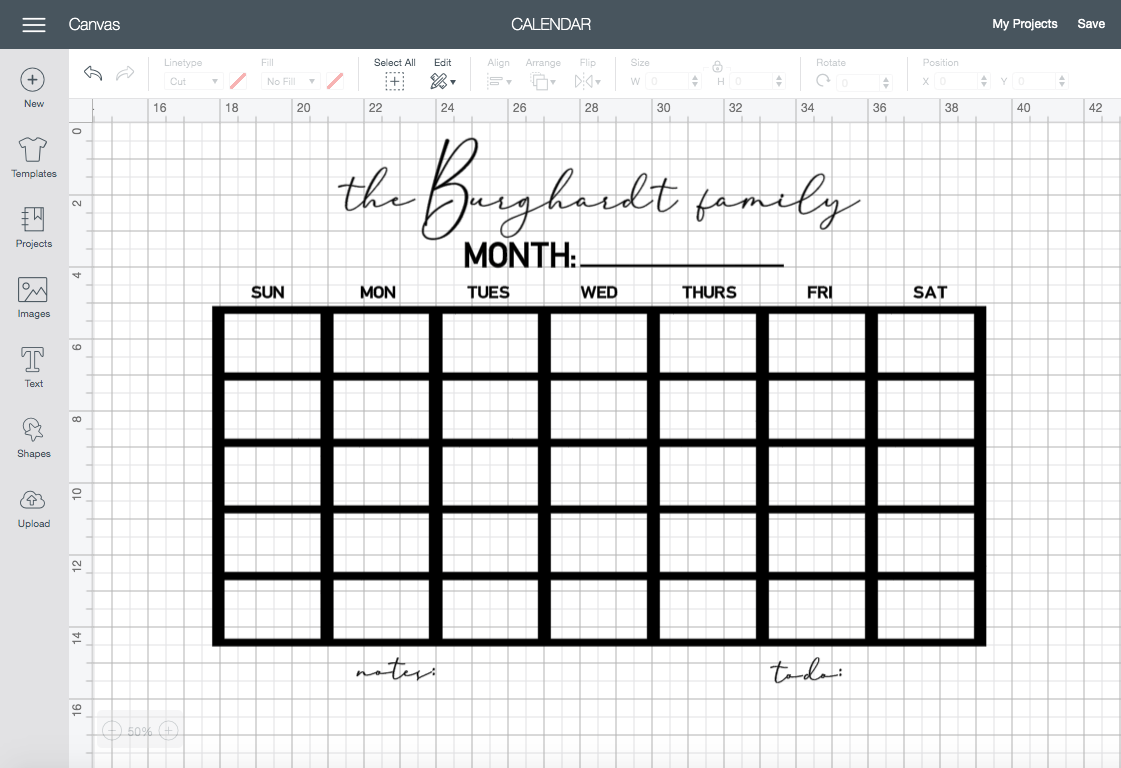
For my calendar, you can see in the screenshot below that I have entered 24″Wx18″H under ‘Size’.
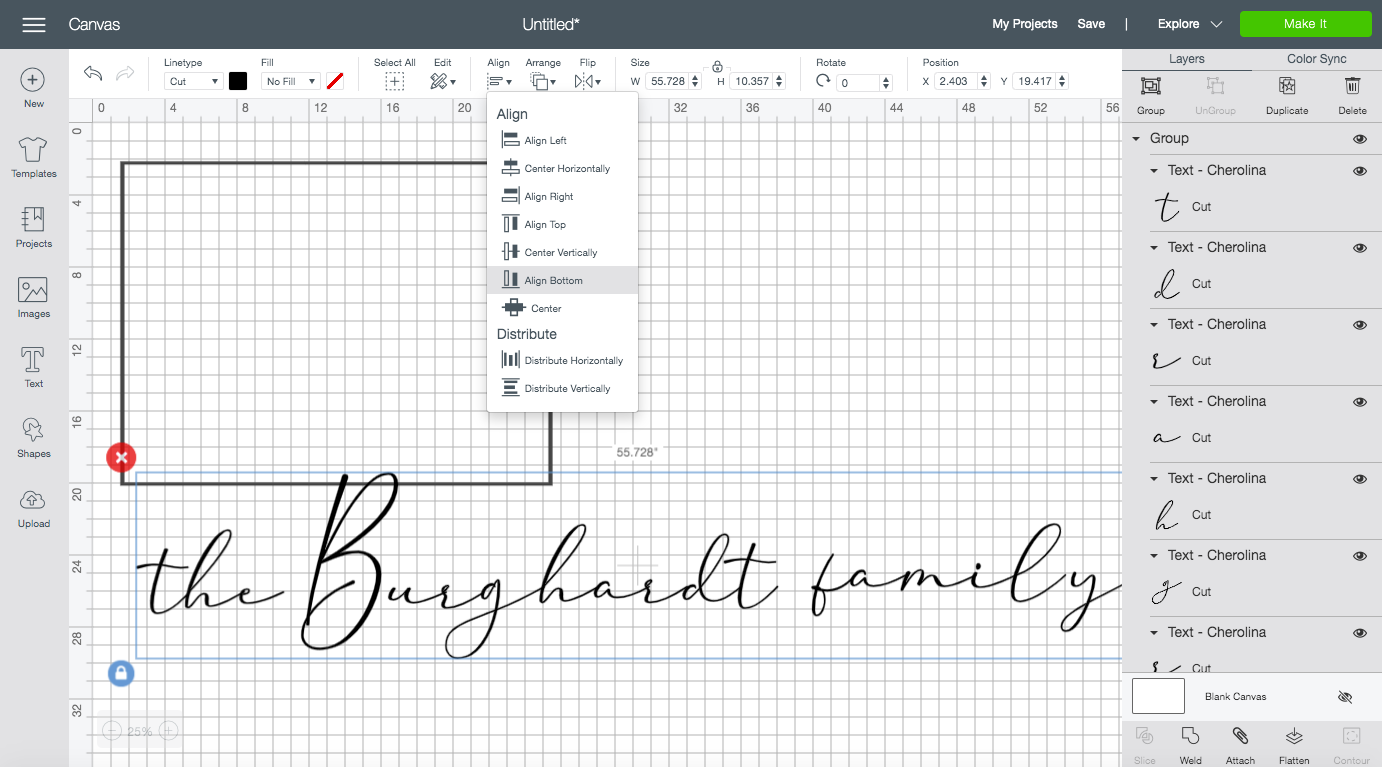
Next, come up with the top text you want for your calendar.
For ours, I chose to use our last name since I’ll be using it for more than just my work stuff.
If you have Cricut Access, you can use fonts you have stored on your computer (even those you have purchased or download from other sites) to use as I have.
Set up your calendar as you wish!
I tried to set up my own squares, and it was a struggle, let me tell you. When I discovered the calendar image, I was SO THANKFUL!
You can also click the Unlock icon (towards the bottom left corner) on the calendar image to alter it to the size you want it to be.
 Once you’ve added in all of your calendar elements, double-check your design with the outline we made in the beginning of this tutorial with the rest of your design to ensure it fits.
I ended up Attaching the days of the week, month with an empty line, and the calendar squares together so I didn’t have to try to line them up later.
I also attached the ‘notes’ and ‘to do’ sections at the bottom.
This is totally your preference, but I found it to be easier, personally.
Cutting Your Calendar Decal For An Acrylic Calendar
For an acrylic calendar larger than 11.5″ in either height or width, you’ll need the 24″ LightGrip mat.
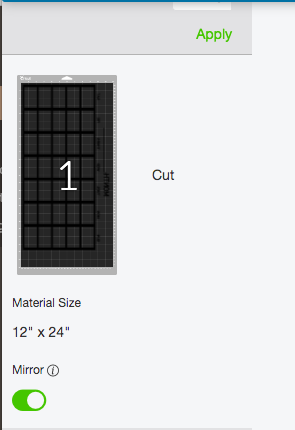
Because I wanted to freely write and erase on my acrylic calendar without worrying about messing up any of my vinyl decals, I decided to Mirror my design and apply the decals to the reverse side of my calendar.
Again, this is a personal preference, but I highly recommend doing this!
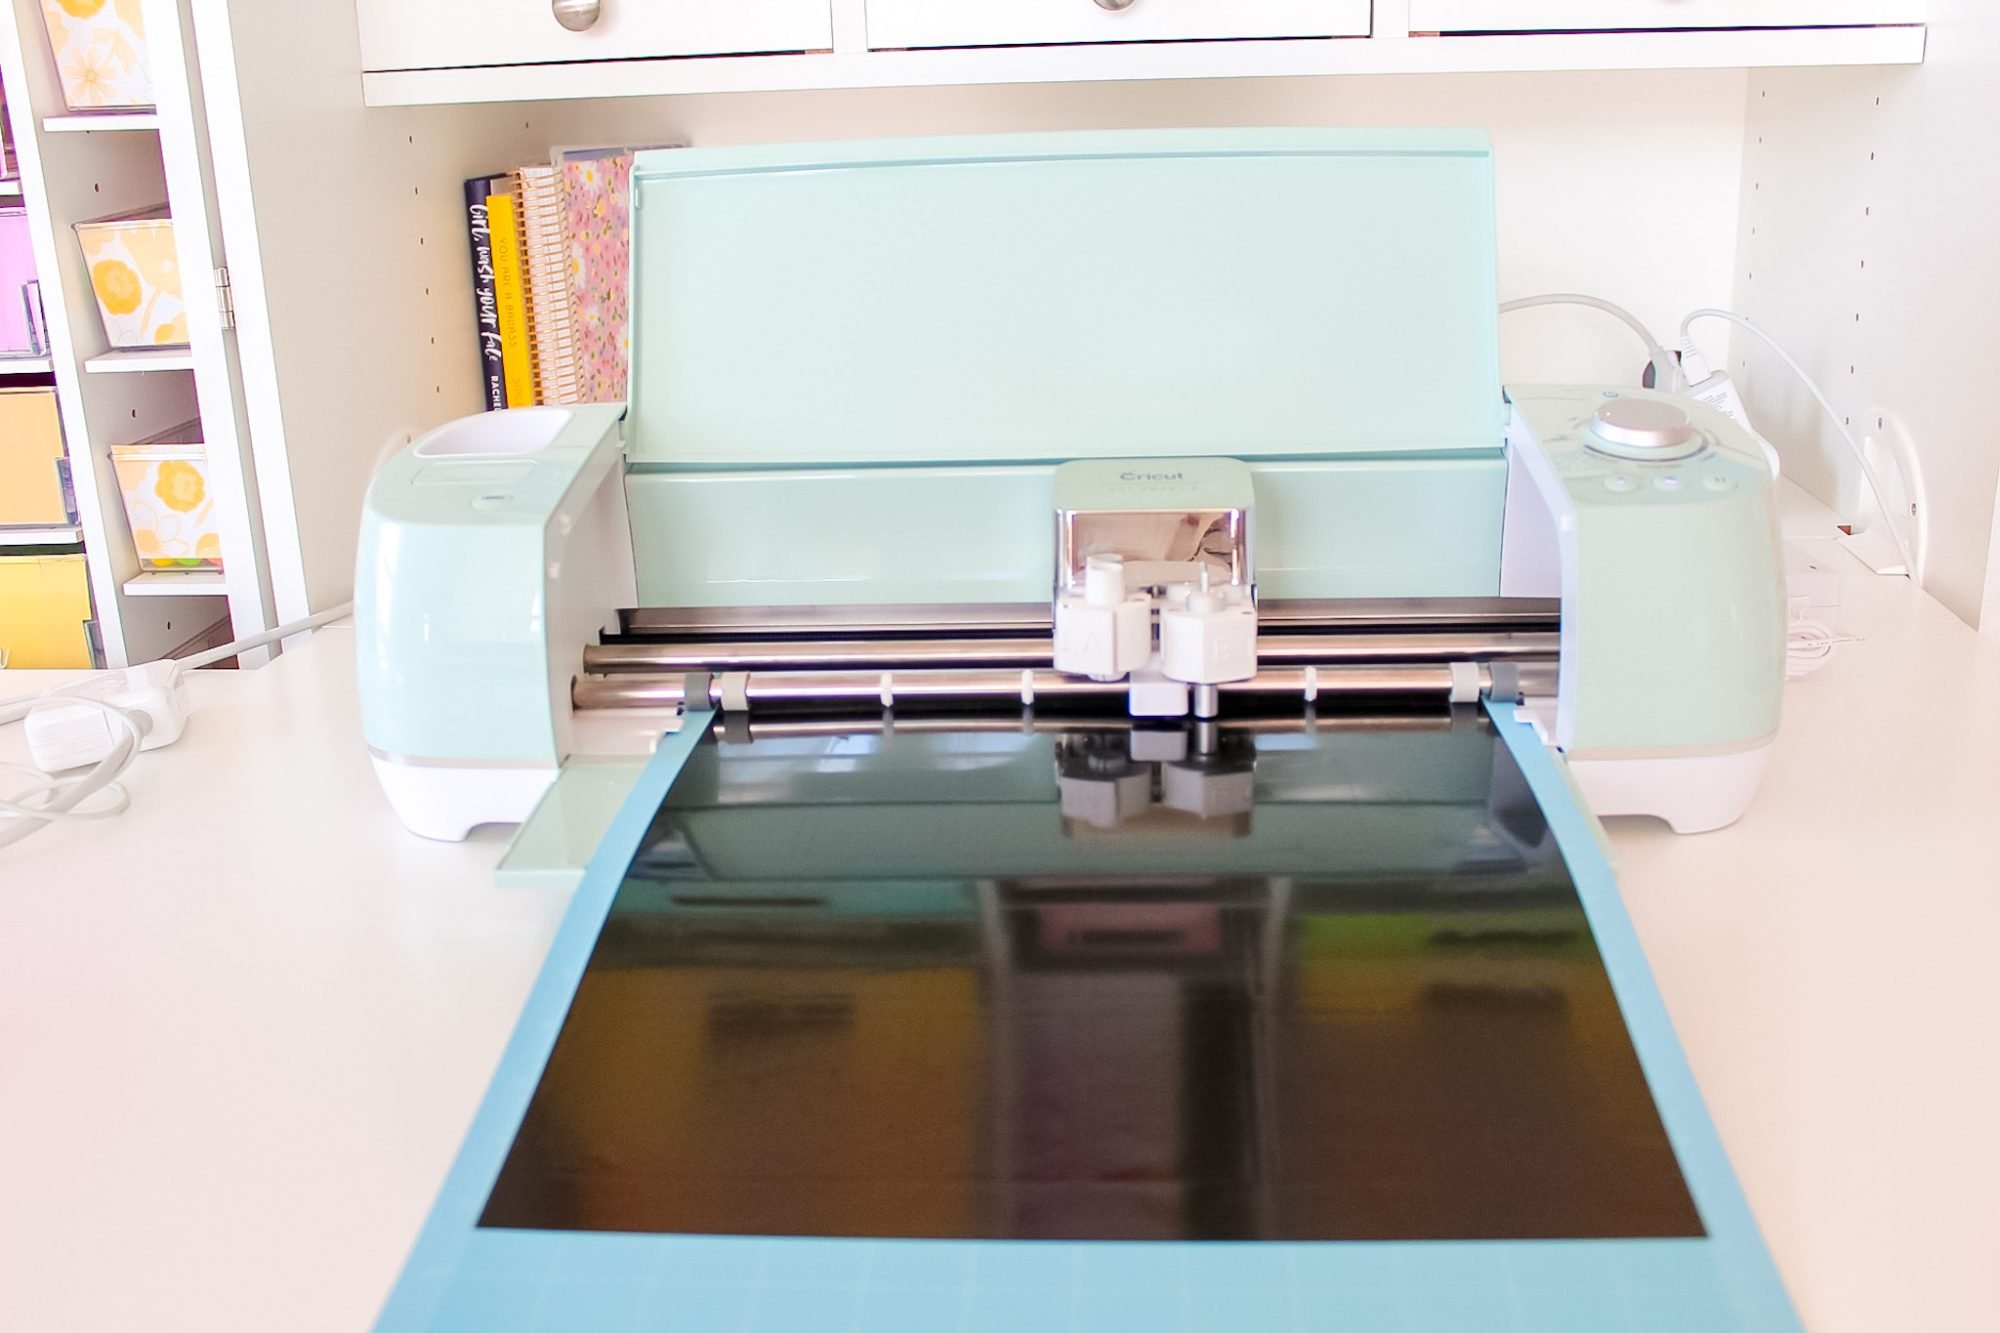
Cut your permanent vinyl using the fine-point blade that comes with your Cricut machine on a LightGrip mat.
Weed away excess vinyl from your design.
Notice that my text and image is mirrored because I’ll be applying it to the backside of my calendar.

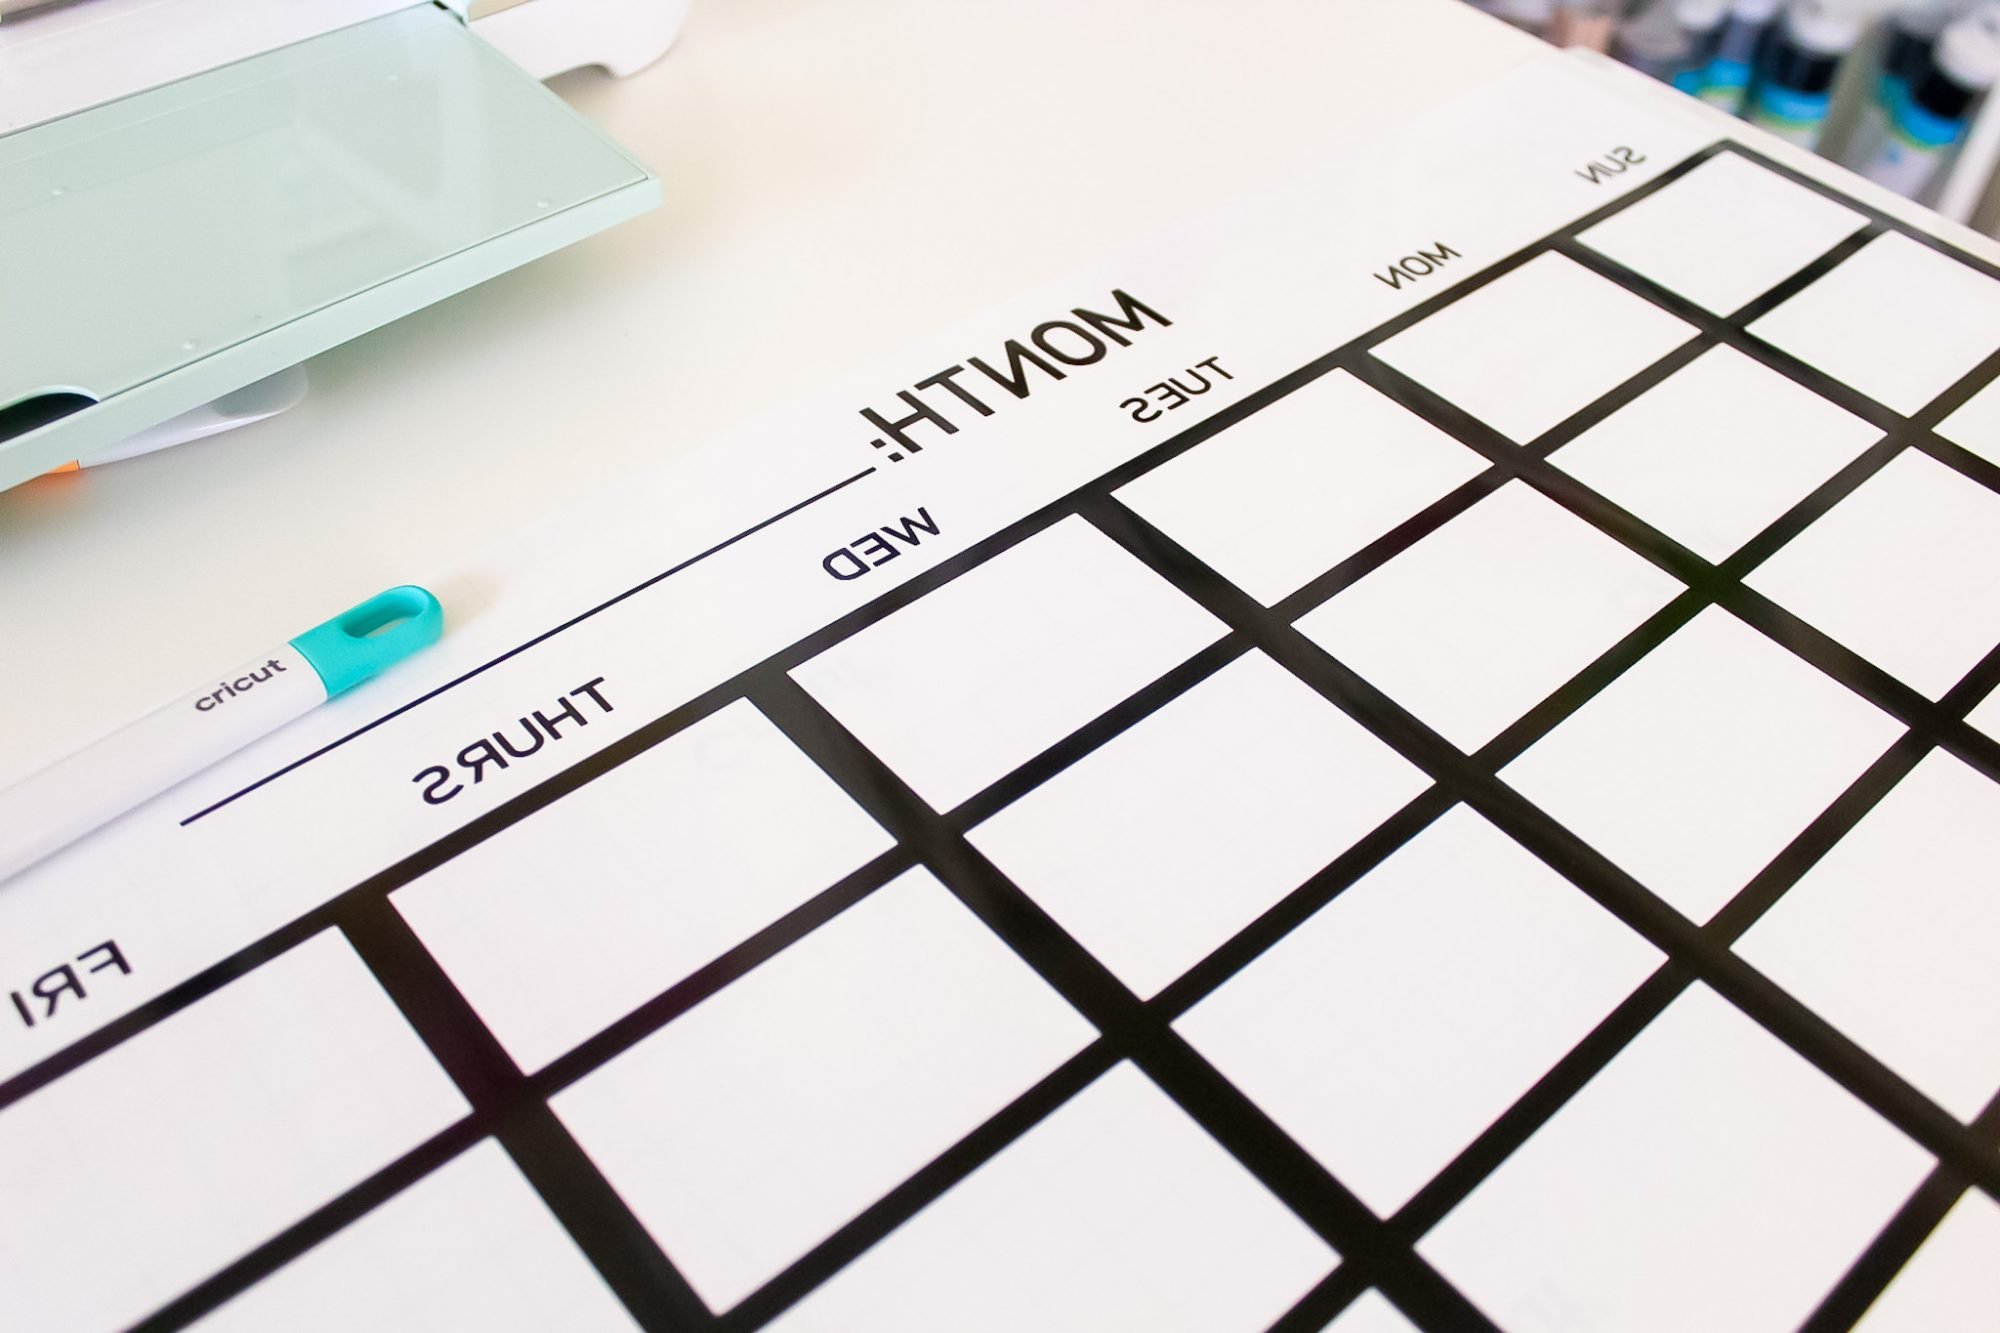
Next, transfer your design to transfer tape.
I had my husband help me with this step since it was a larger decal and our baby daughter wouldn’t give me both hands ;).
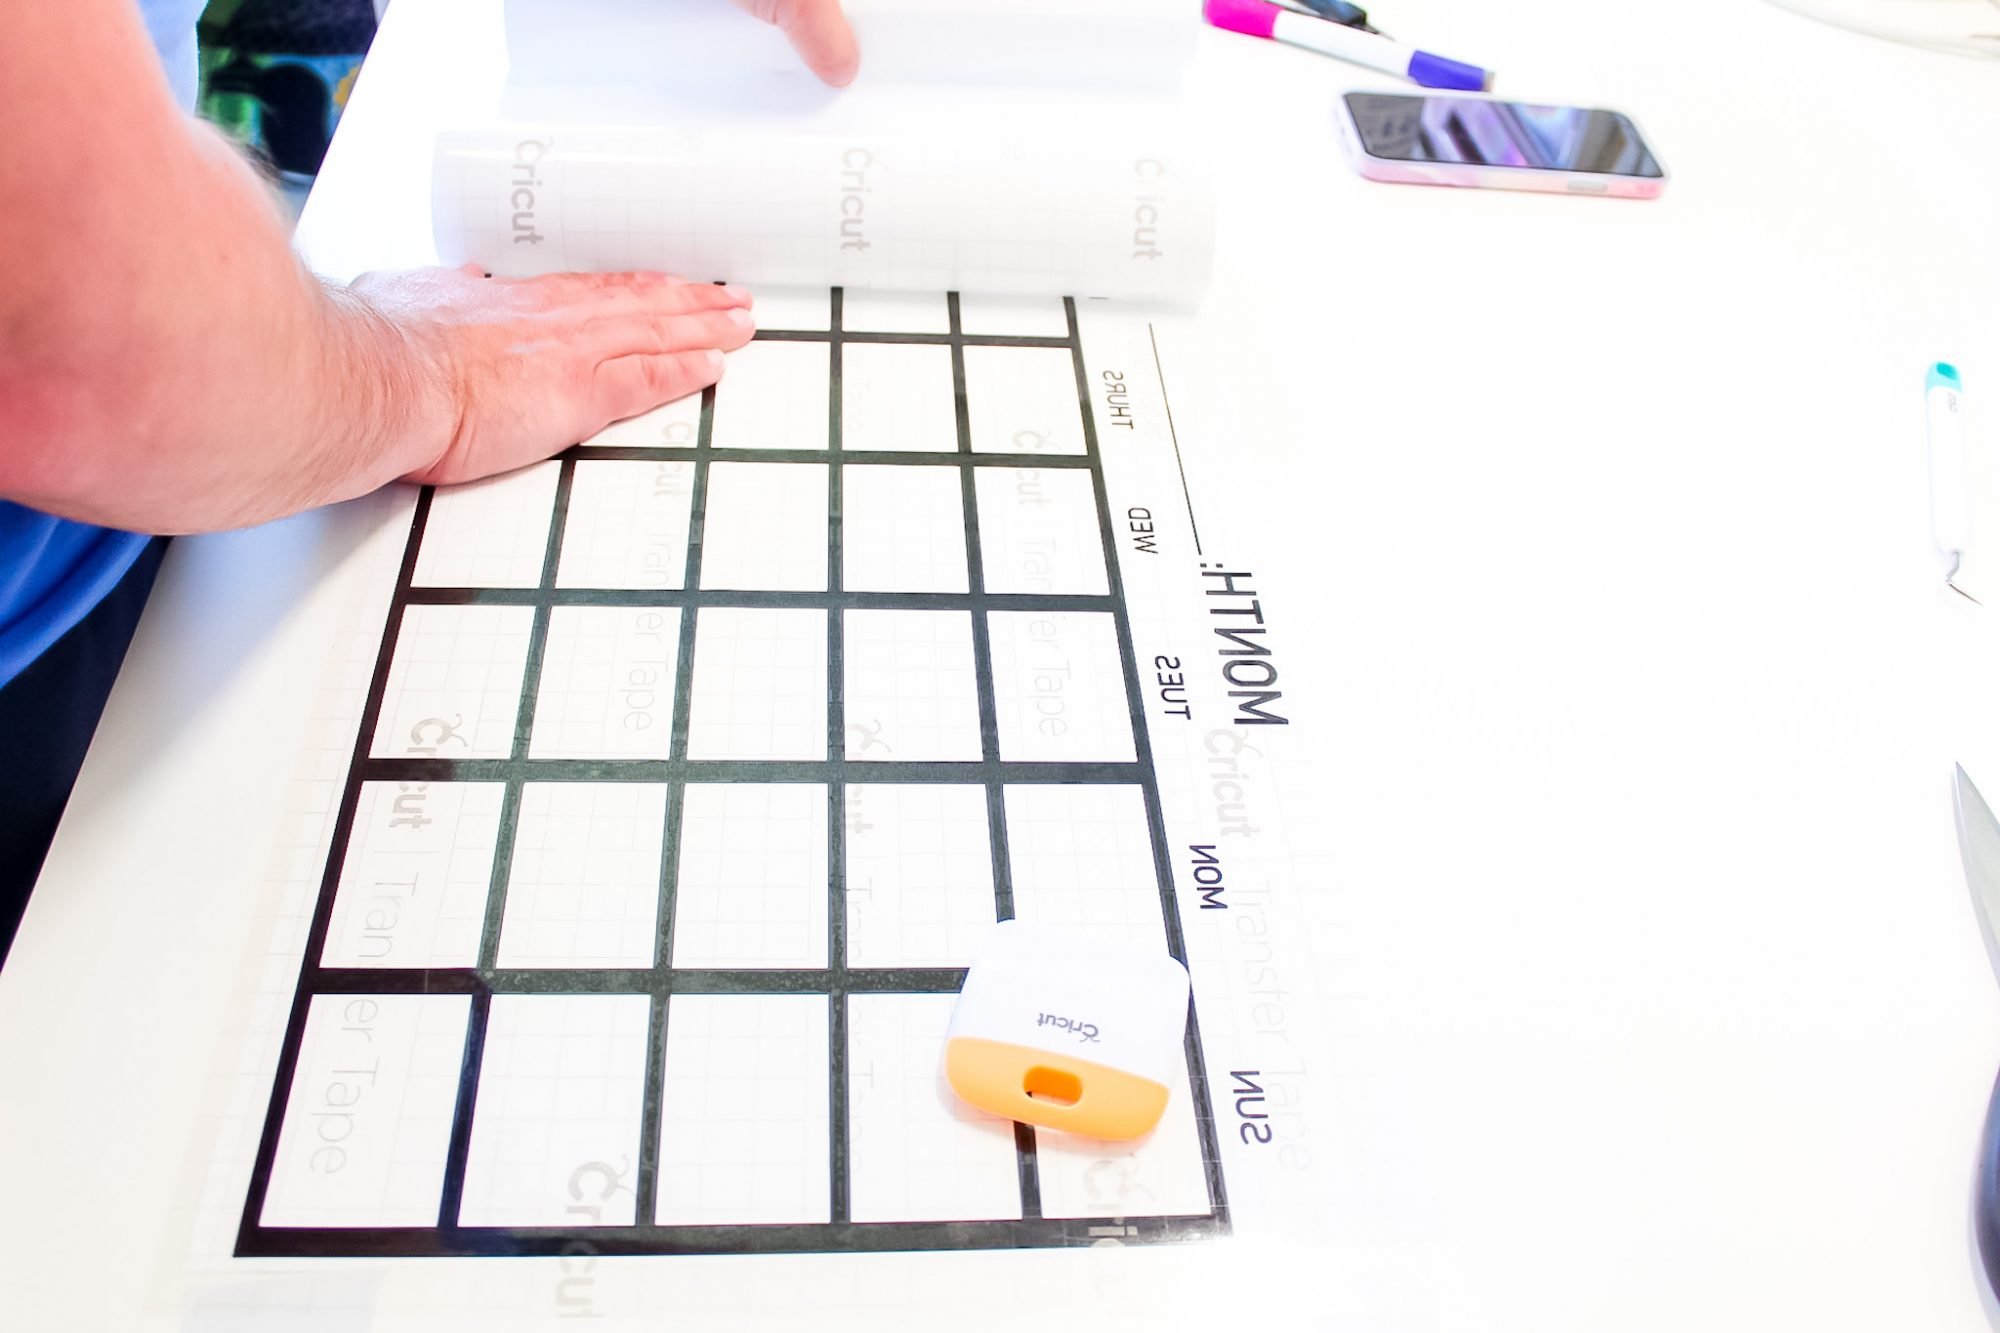
Here are my calendar decals on transfer tape, ready for their final transfer onto the acrylic…
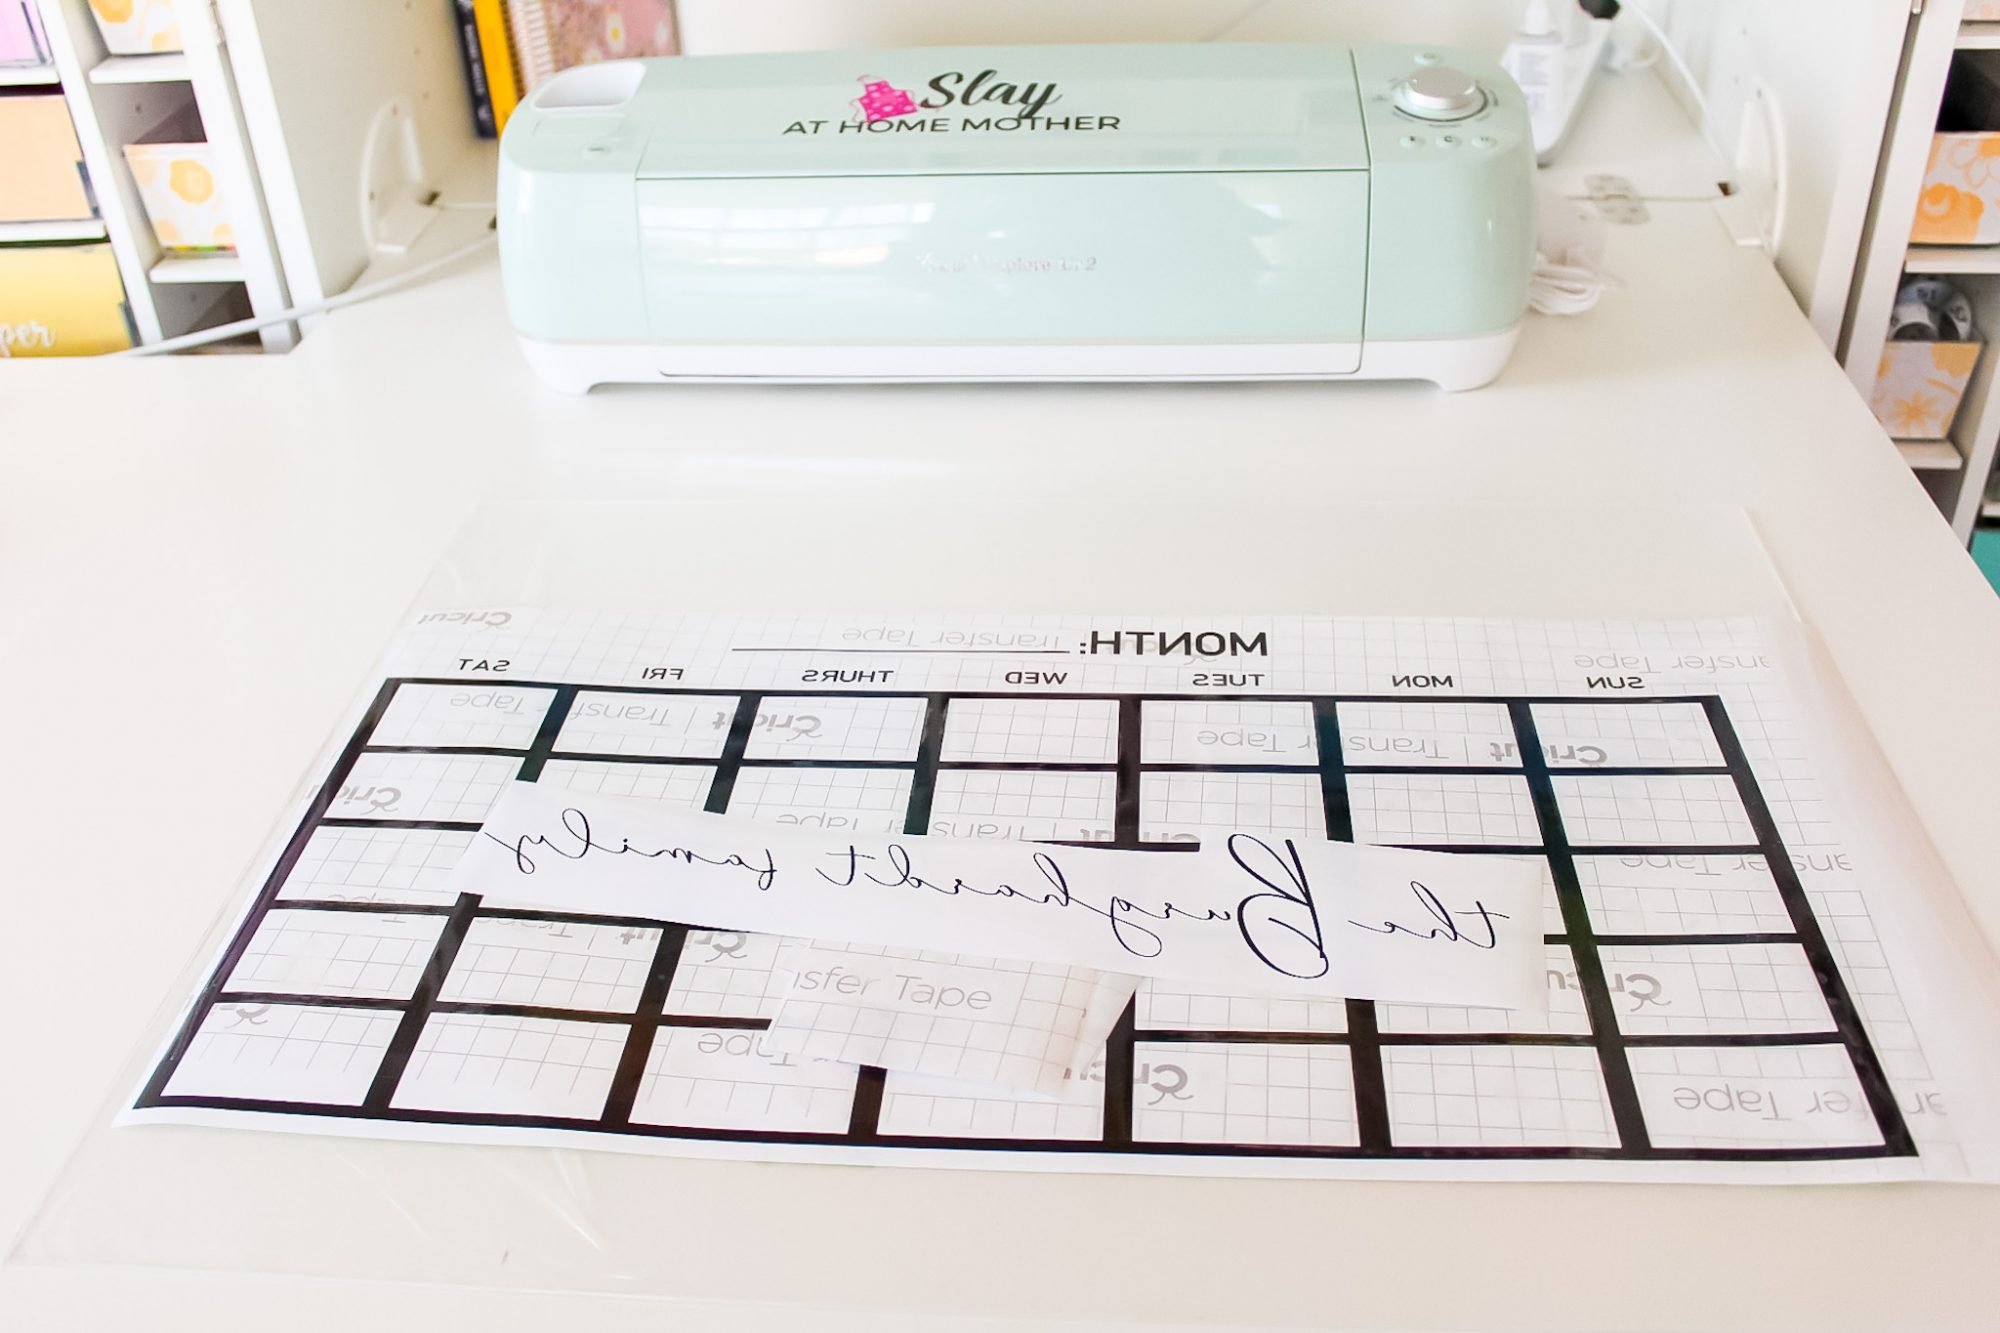
Peel away the protective layer from your acrylic sheet – no other prepping is required since the surface has been clean and protected.
Lay your decal on your acrylic calendar surface (without applying it just yet), carefully measure out and mark where you want your corners of the calendar to go for more accurate placement.
You can use a level to help make sure your lines are level, as well!

Transfer your decals to the acrylic, and press them so they have firmly adhered to the surface.
Install your hanging hardware to get your calendar ready for your wall.
*Note: If you are planning on drilling a hole in your acrylic for the hardware, be sure to place a block of wood underneath your acrylic for stability. My husband made the mistake of NOT doing this and ended up splitting a line from the hole he drilled straight to the side of one of the corners of the calendar. We covered each corner with some black duct tape to conceal that, but LEARN FROM ME. 🙂

Now that your calendar s made, you can write down your work duties, bills that are due, reminders for yourself and your family, menu planning options, savings plans – YOU NAME IT!
Using My Design In Design Space
If you are using my design in Design Space (see screenshot below), you can easily edit the text to accommodate your needs.
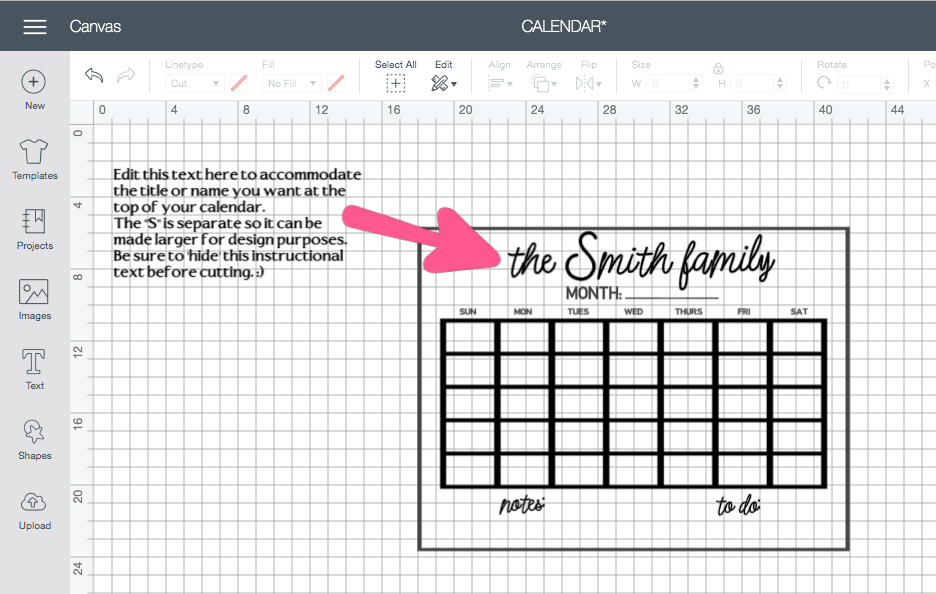
Just like in my design, I separated the first letter of the last name to make it bigger.
Remember to Weld cursive lettering together, and Attach design elements together that you want to cut together.
You can also switch around text styles, font, sizing, etc.
I hope you found this tutorial helpful – if you make this for your home, I’d love to read about it or see it in either the comments below or feel free to tag me on Instagram so I can see your creation! I love helping others craft and create a home they love.
What craft are you working on lately? Share with me in the comments below!
*Post originally published July 2020, links updated August 2025.

Hi how big did you cut your acrylic sheet? pretty please