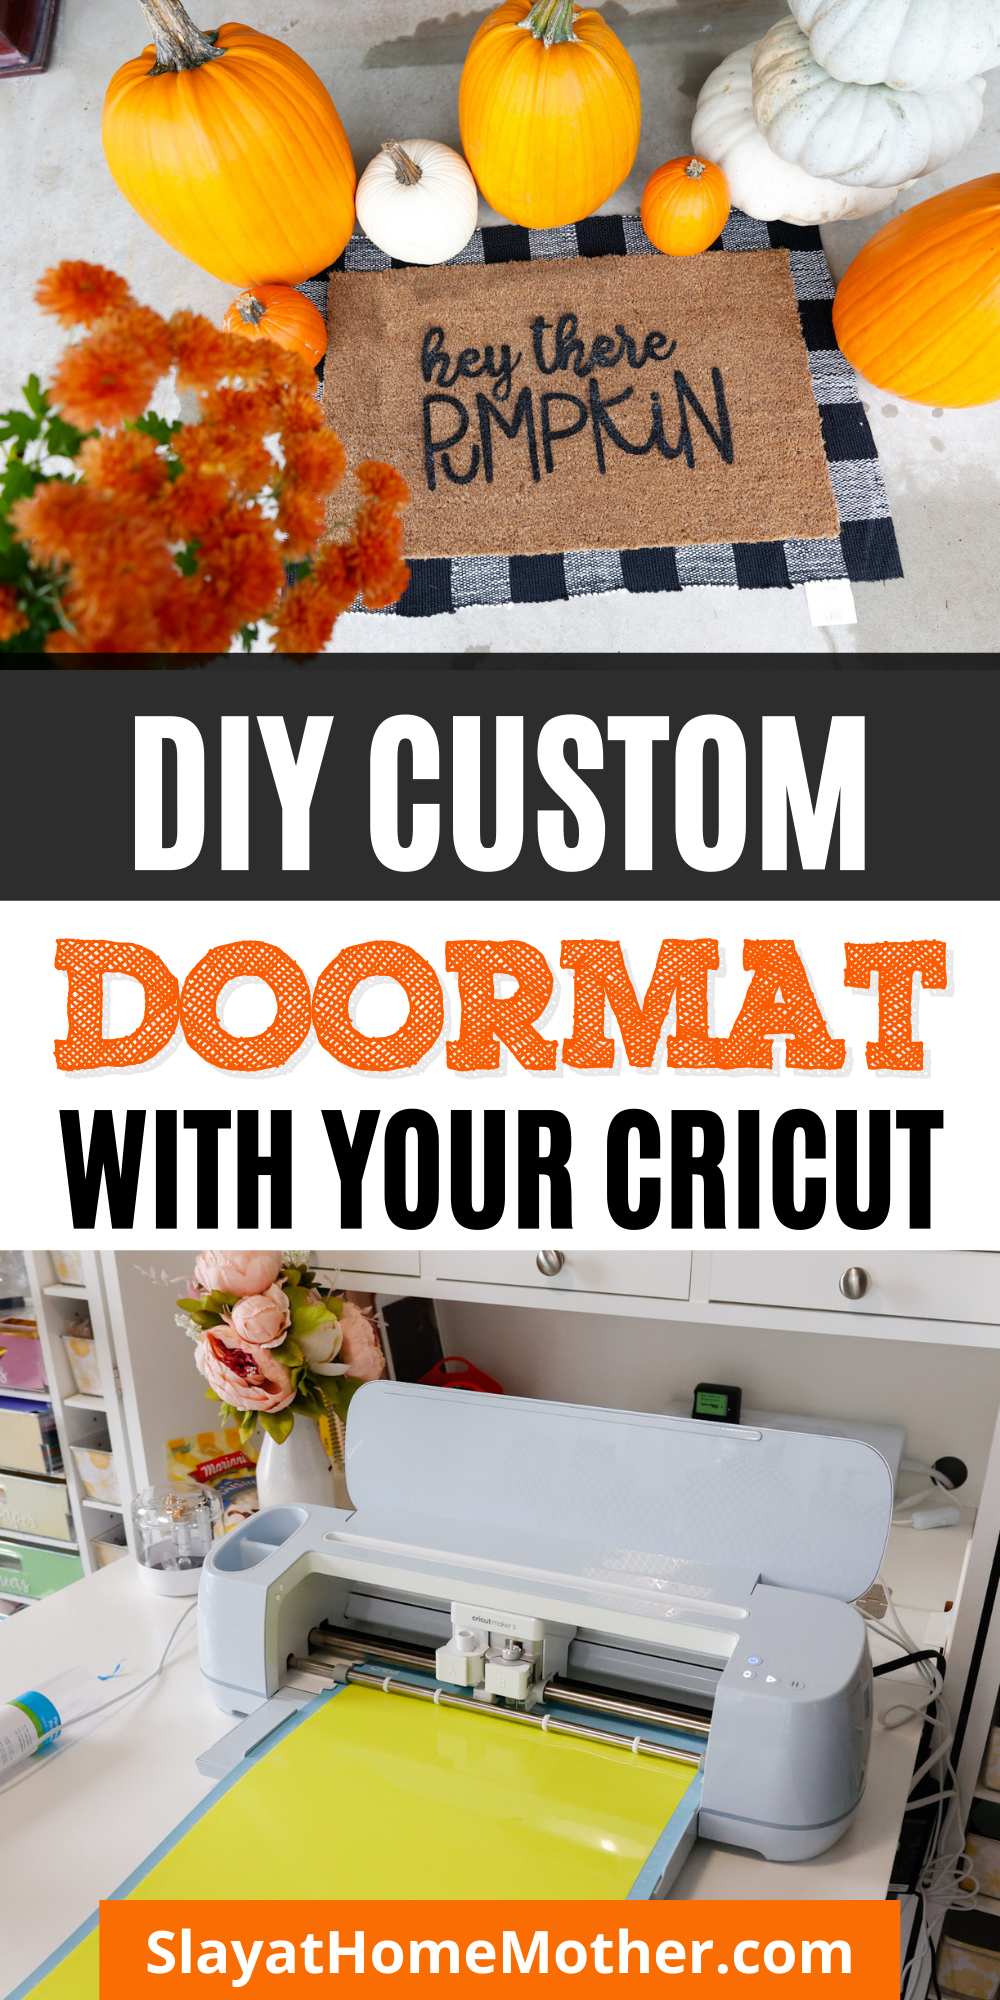
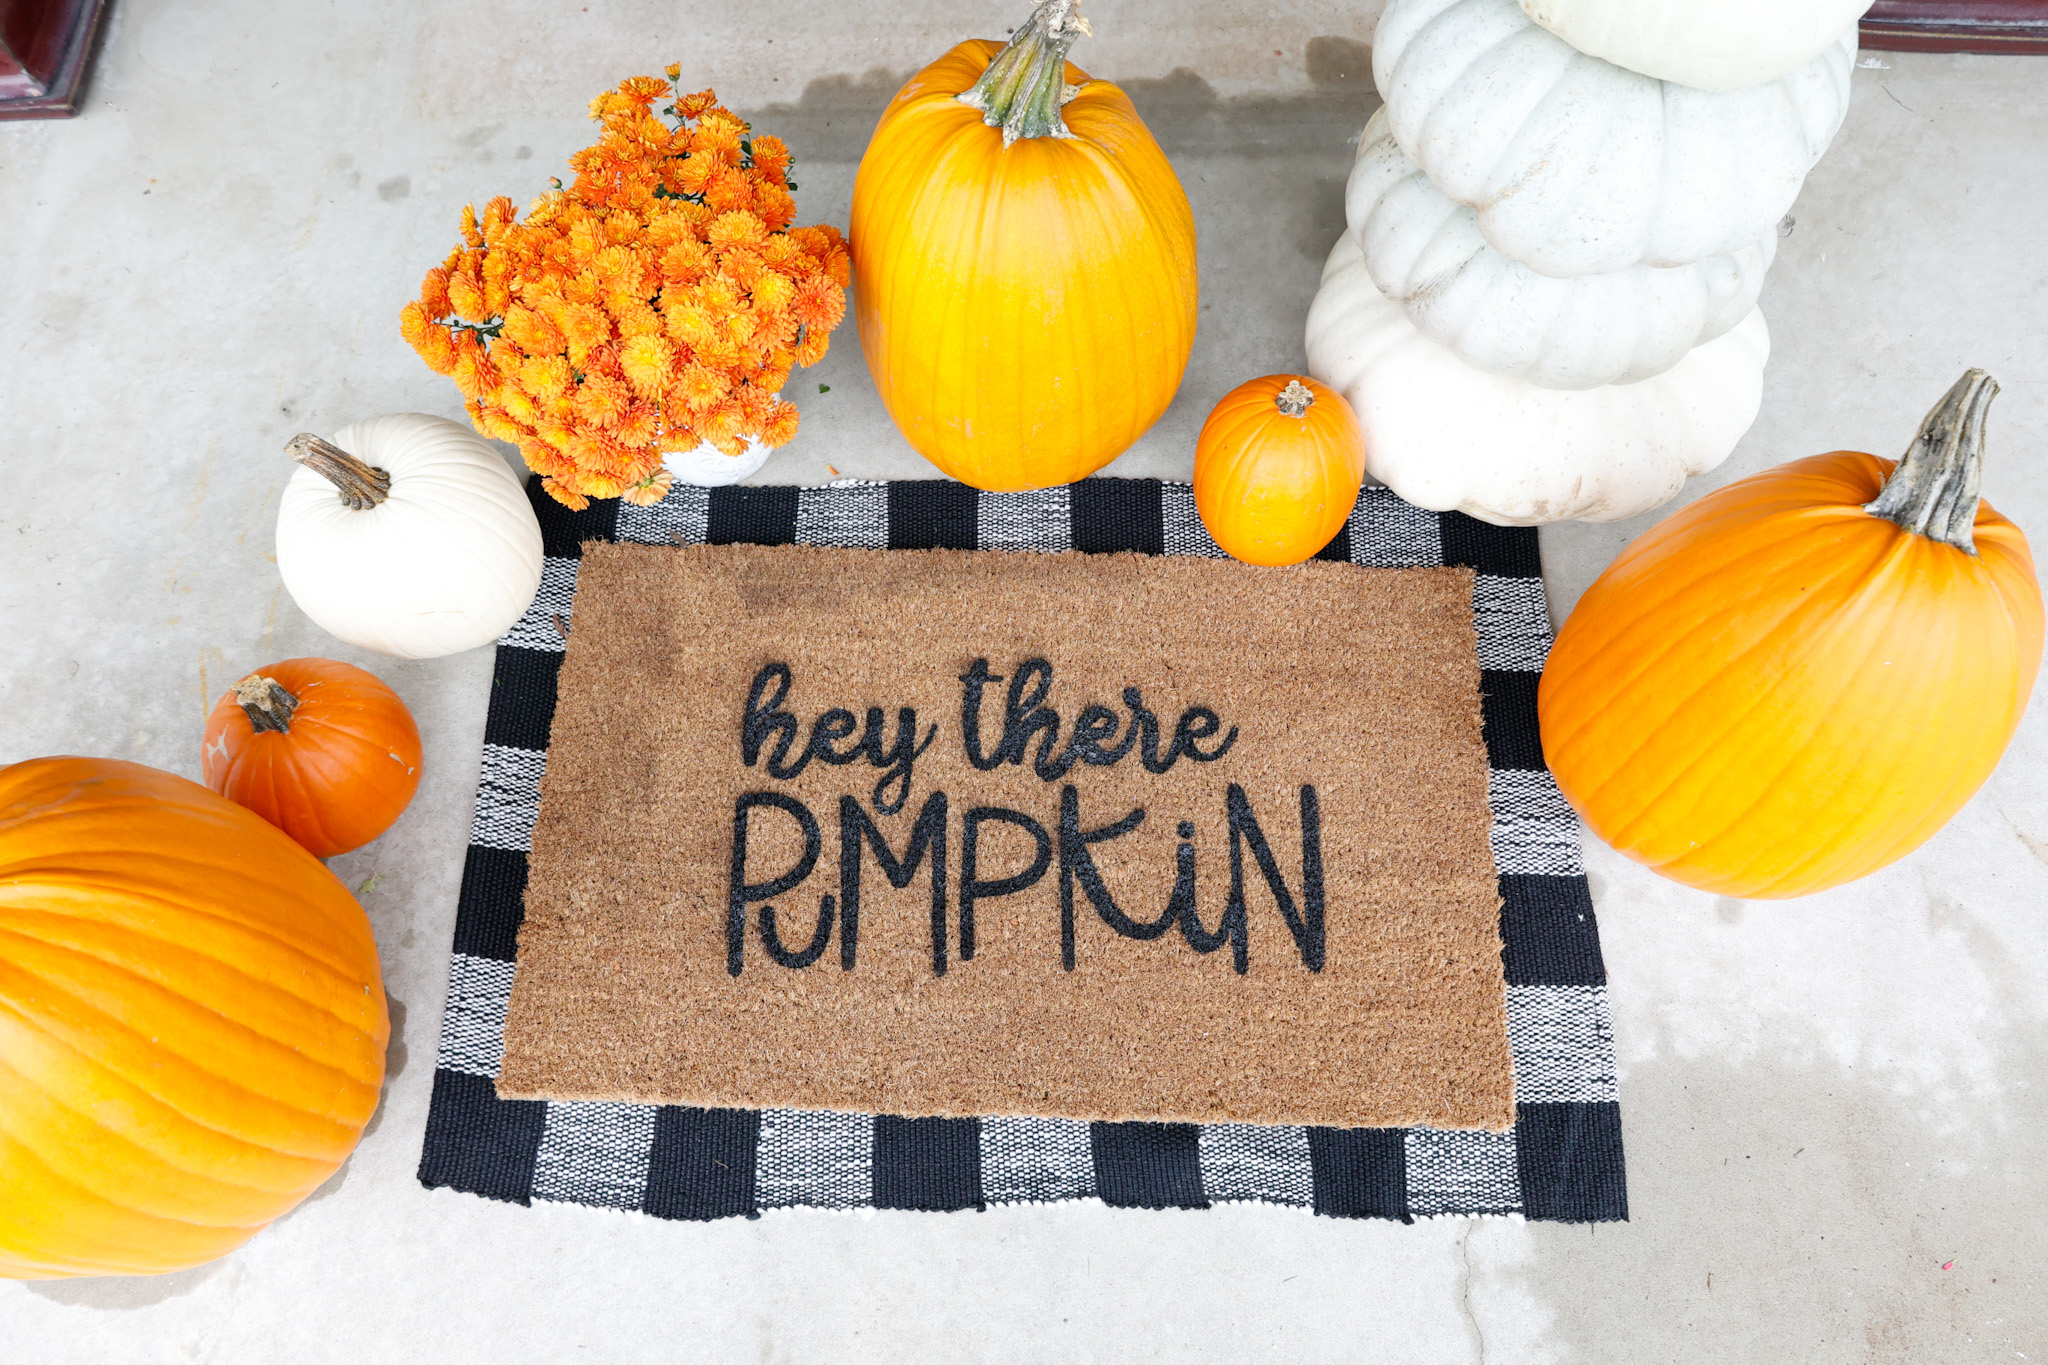
Learn how to make a custom DIY Doormat with your Cricut!
This post contains affiliate links, however, all opinions are my own, as always.
What You Need For A Custom DIY Door Mat
- coir mat (I grabbed mine from Walmart for less than $6)
- Cricut 24″ LightGrip mat
- Cricut machine (I am using the Maker 3, but a Cricut Explore Air 2 or 3 would work well, too)
- extra permanent vinyl
- Rust-Oleum Automotive Rubberized Undercoating Matte Spray*
- weeder
- painter’s tape and/or push pins
- clear Flex Seal spray (optional)
- buffalo check rug to go underneath (optional)
*I’ve seen other crafters use Flex Seal black spray for this type of project, but it costs twice as much. I wanted to see if this could perform as an alternative, and am happy to recommend it after trying it.
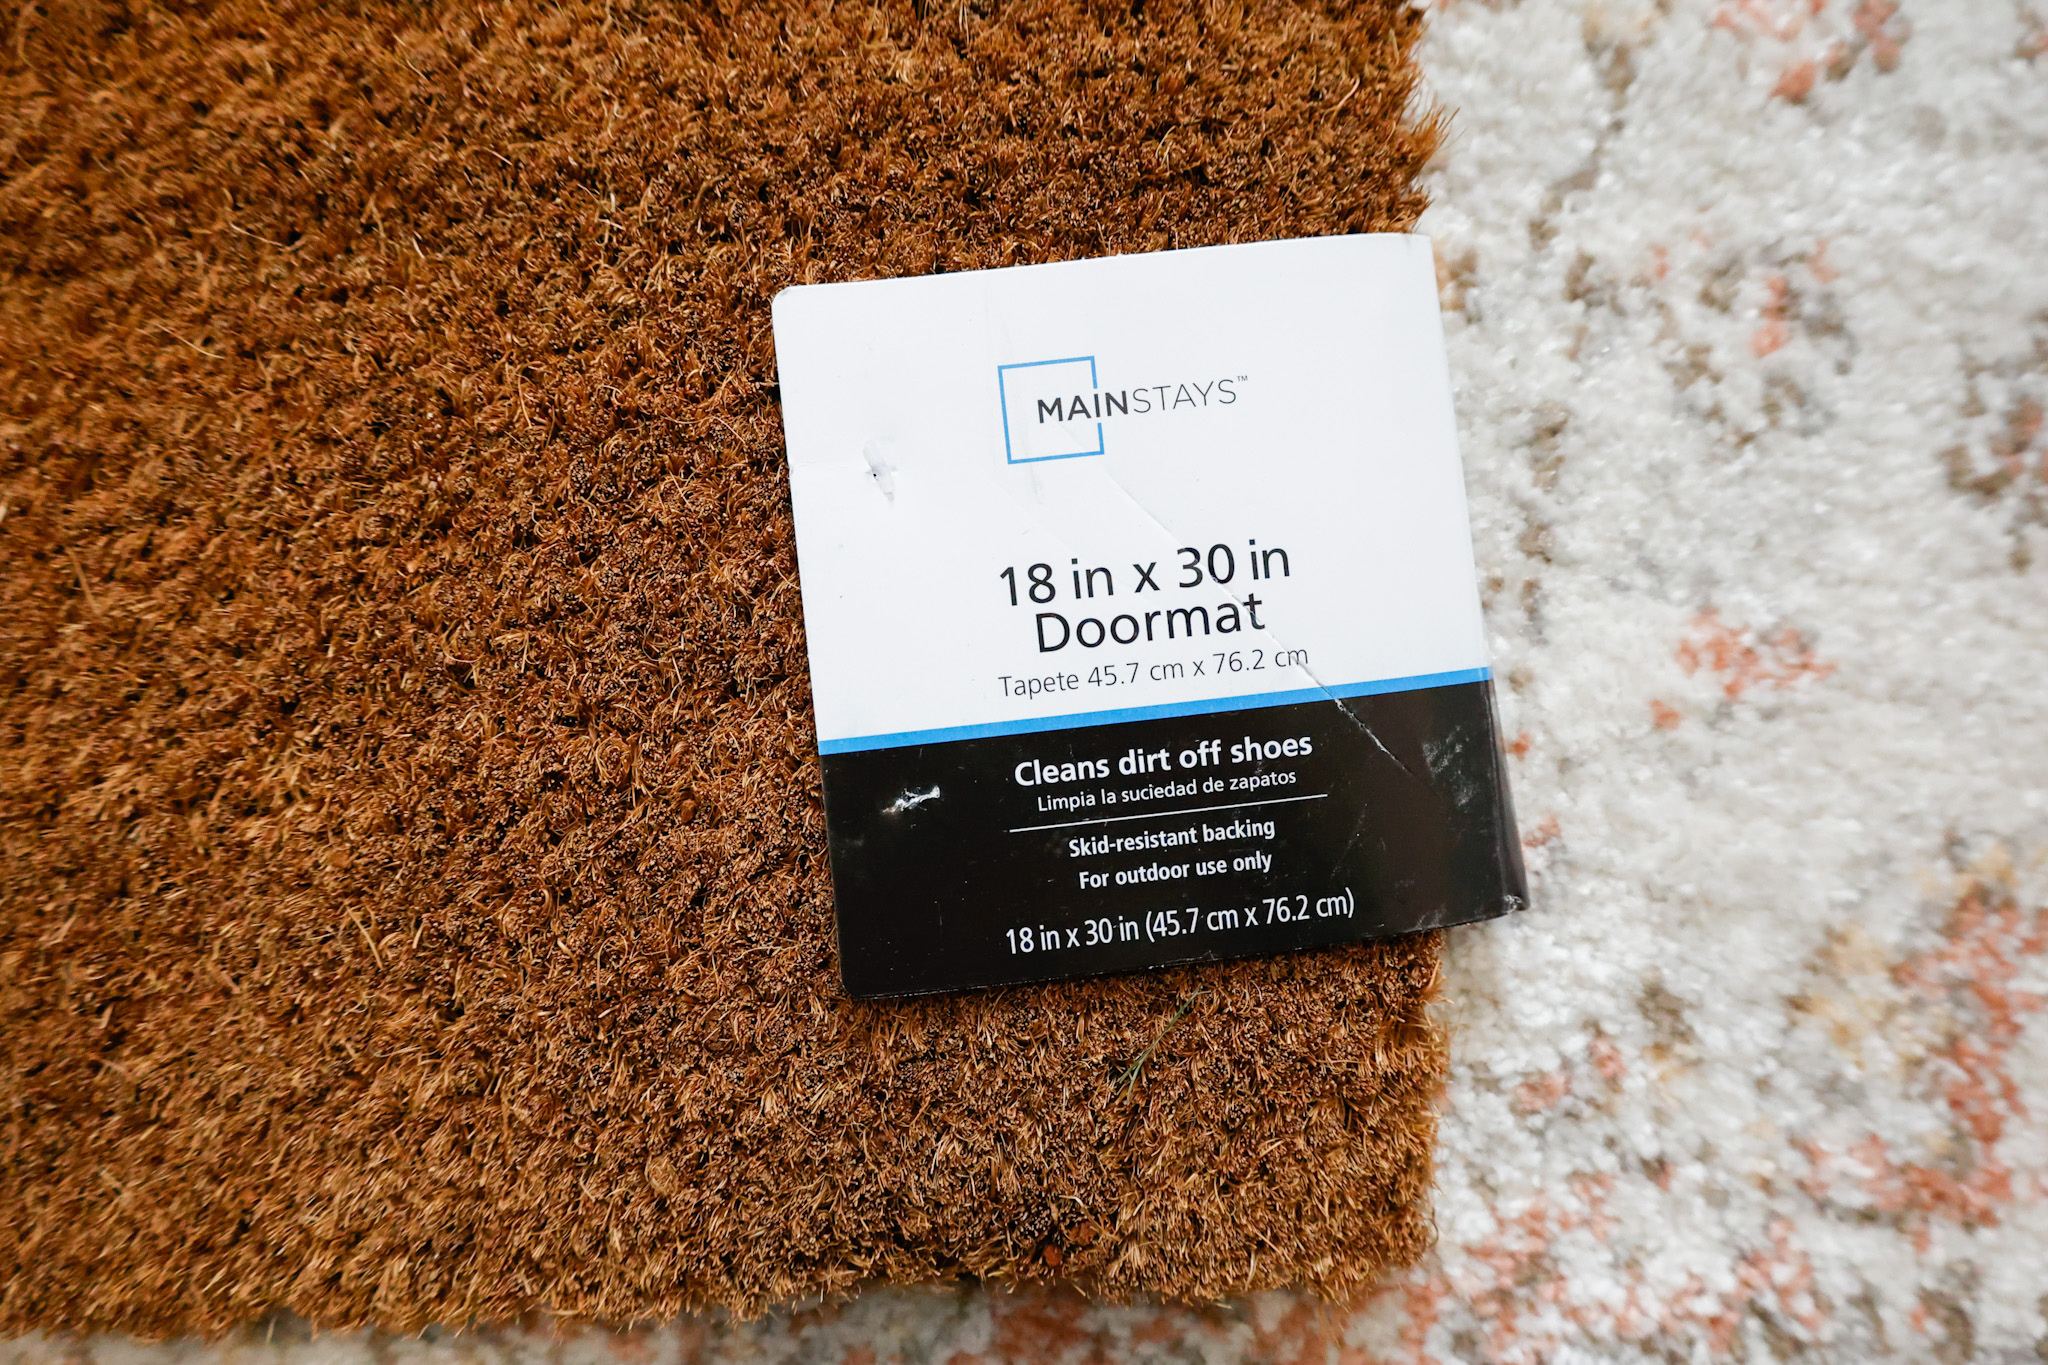
For your doormat, I would recommend using a coir mat – I found some at Walmart for $5.97, which was an amazing deal compared to the cheapest one on Amazon selling for $19.99!
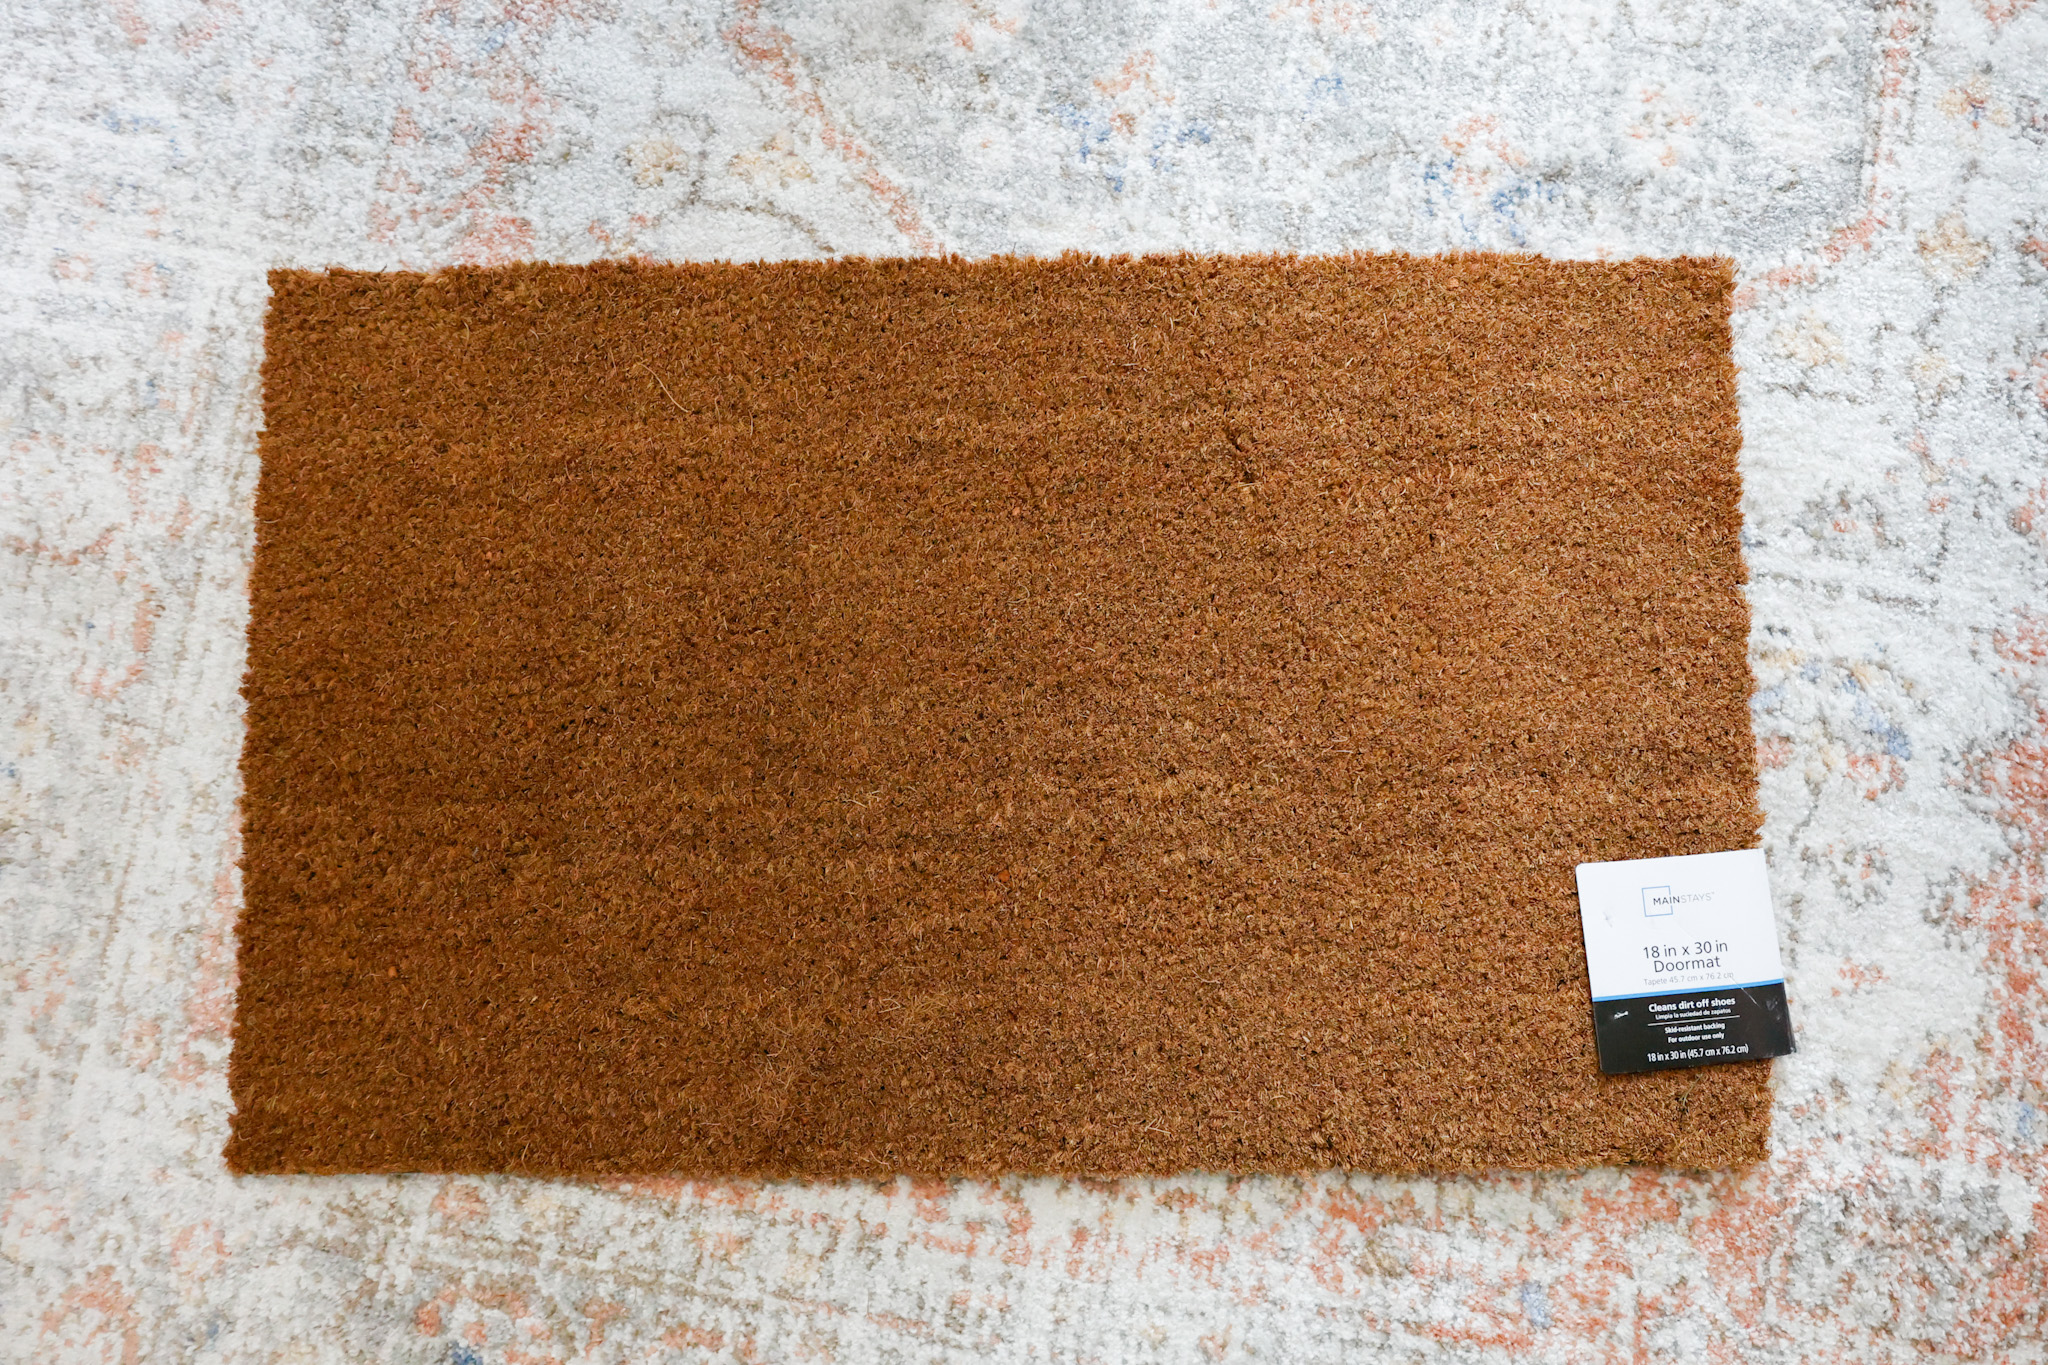
The 18″x30″ size is perfect for the standard doorway, as well.
I created a reel on Instagram to show the quick process as well – You can see the reel here on Instagram.
Cutting Your Design With Your Cricut Machine
I knew I wanted my doormat to say ‘Hey There Pumpkin”, so I searched the Images tab for wording that would look good, and found image #M8A1D3F1 for the word pumpkin.
I then added my own cursive wording for hey there.
I also added a square with the doormat dimensions (18″x30″) to make sure the wording was the size that I wanted.
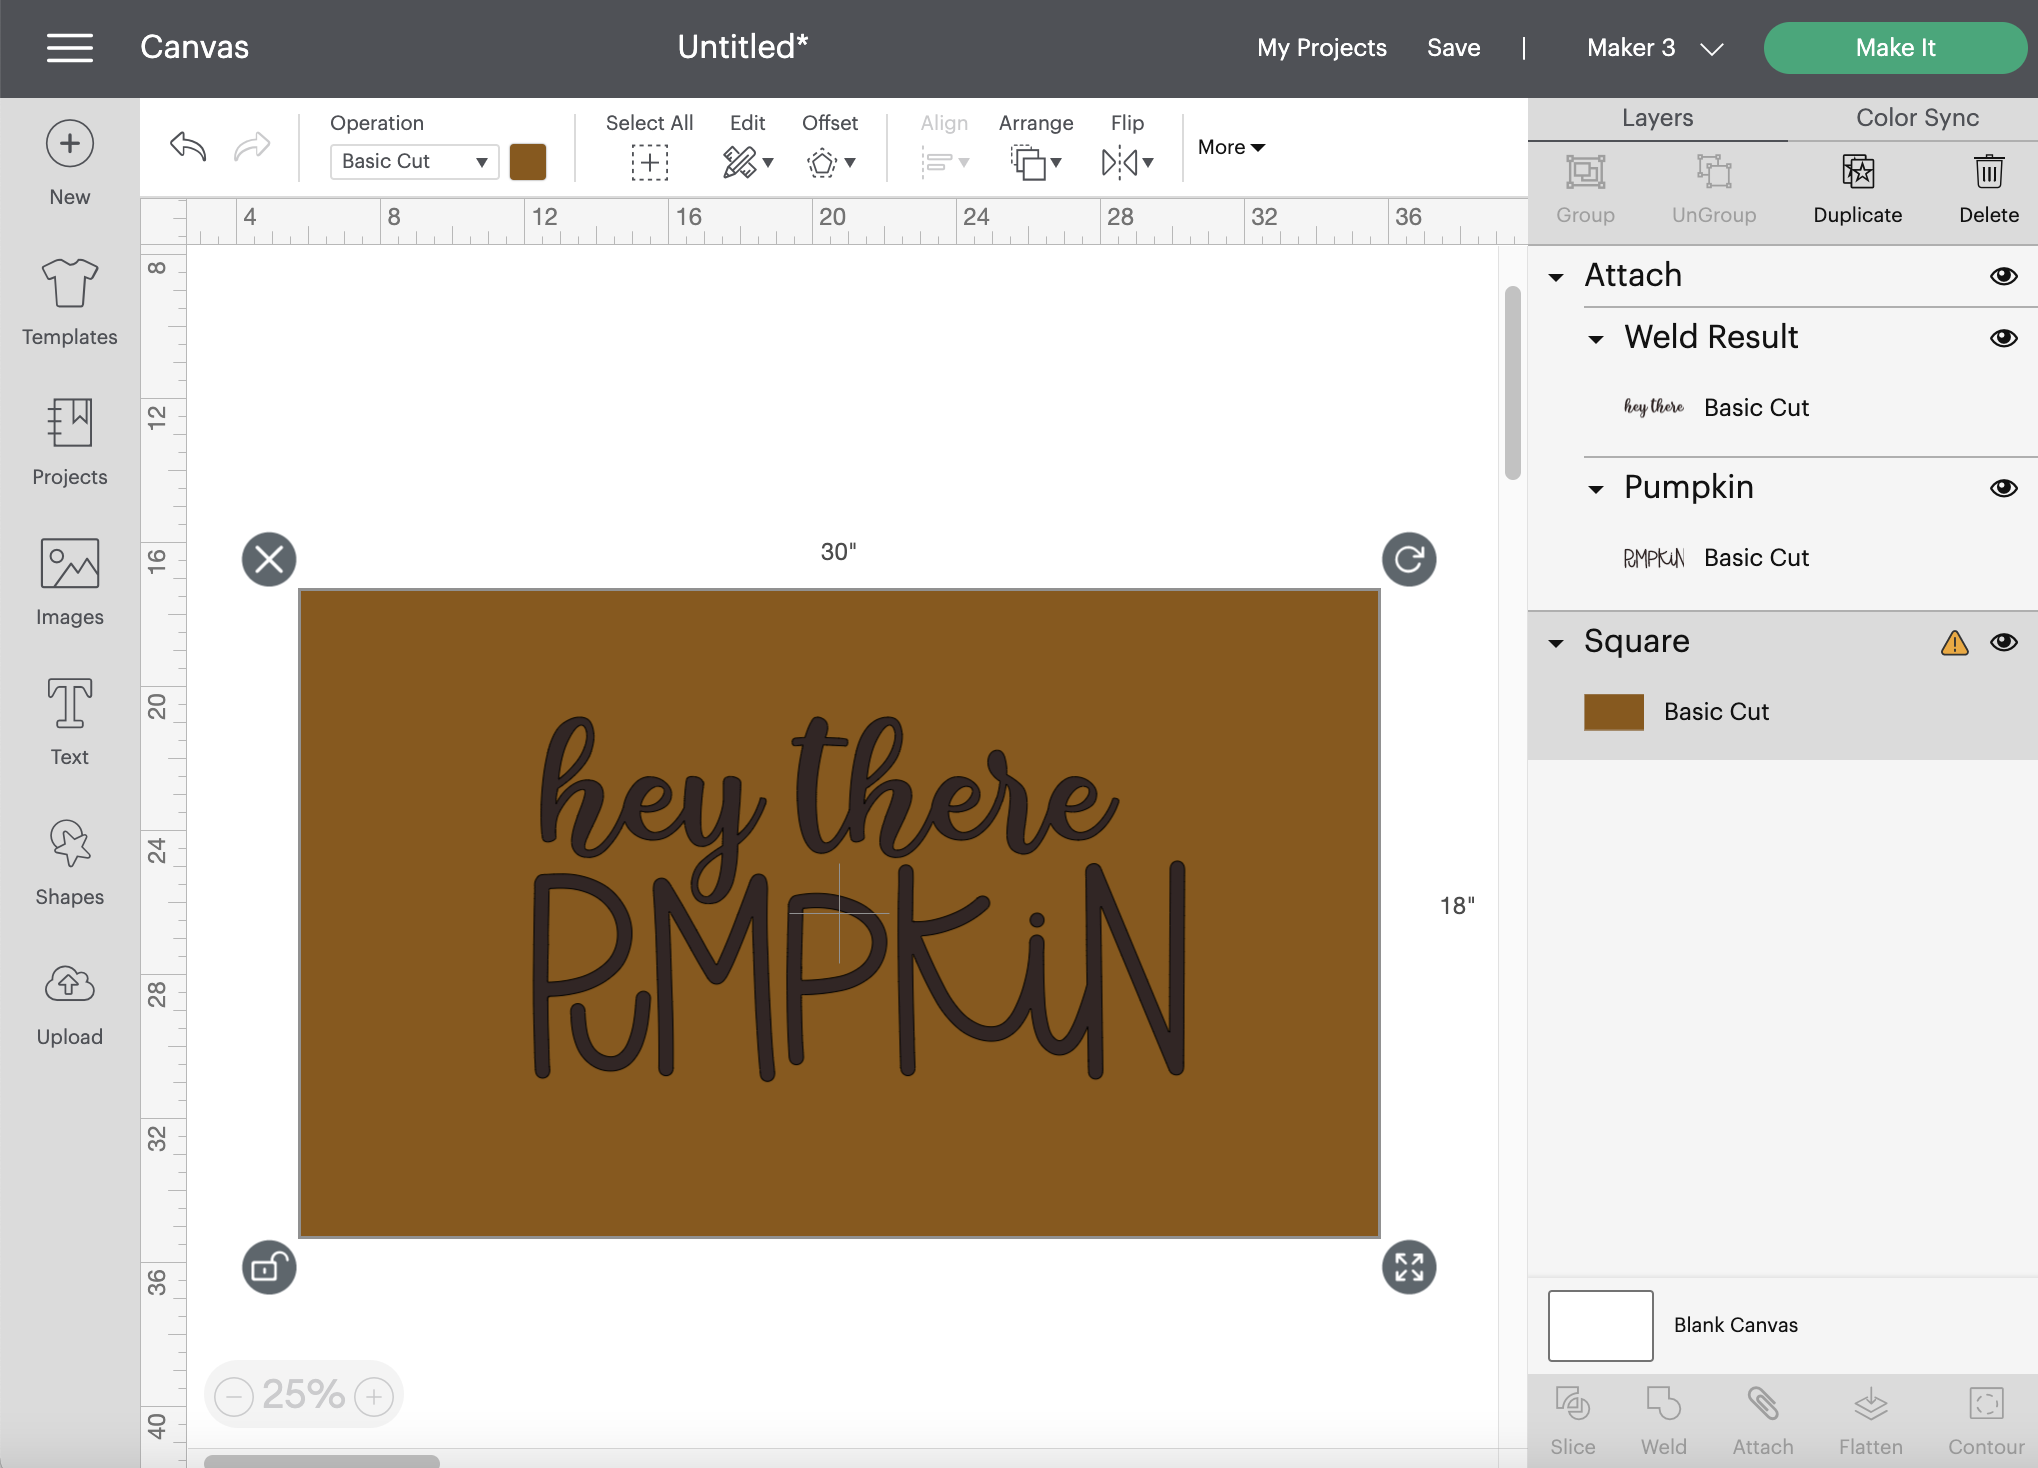
For my cursive ‘hey there’ text, I chose to Weld the letters so the machine would not cut them separately.
I highlighted the text and clicked on Attach towards the bottom right of the Design Space Canvas screen to keep the text together.
Before cutting, I hid the rectangle that represented the mat because I did not want to cut that out (and it would be too large to, anyway).
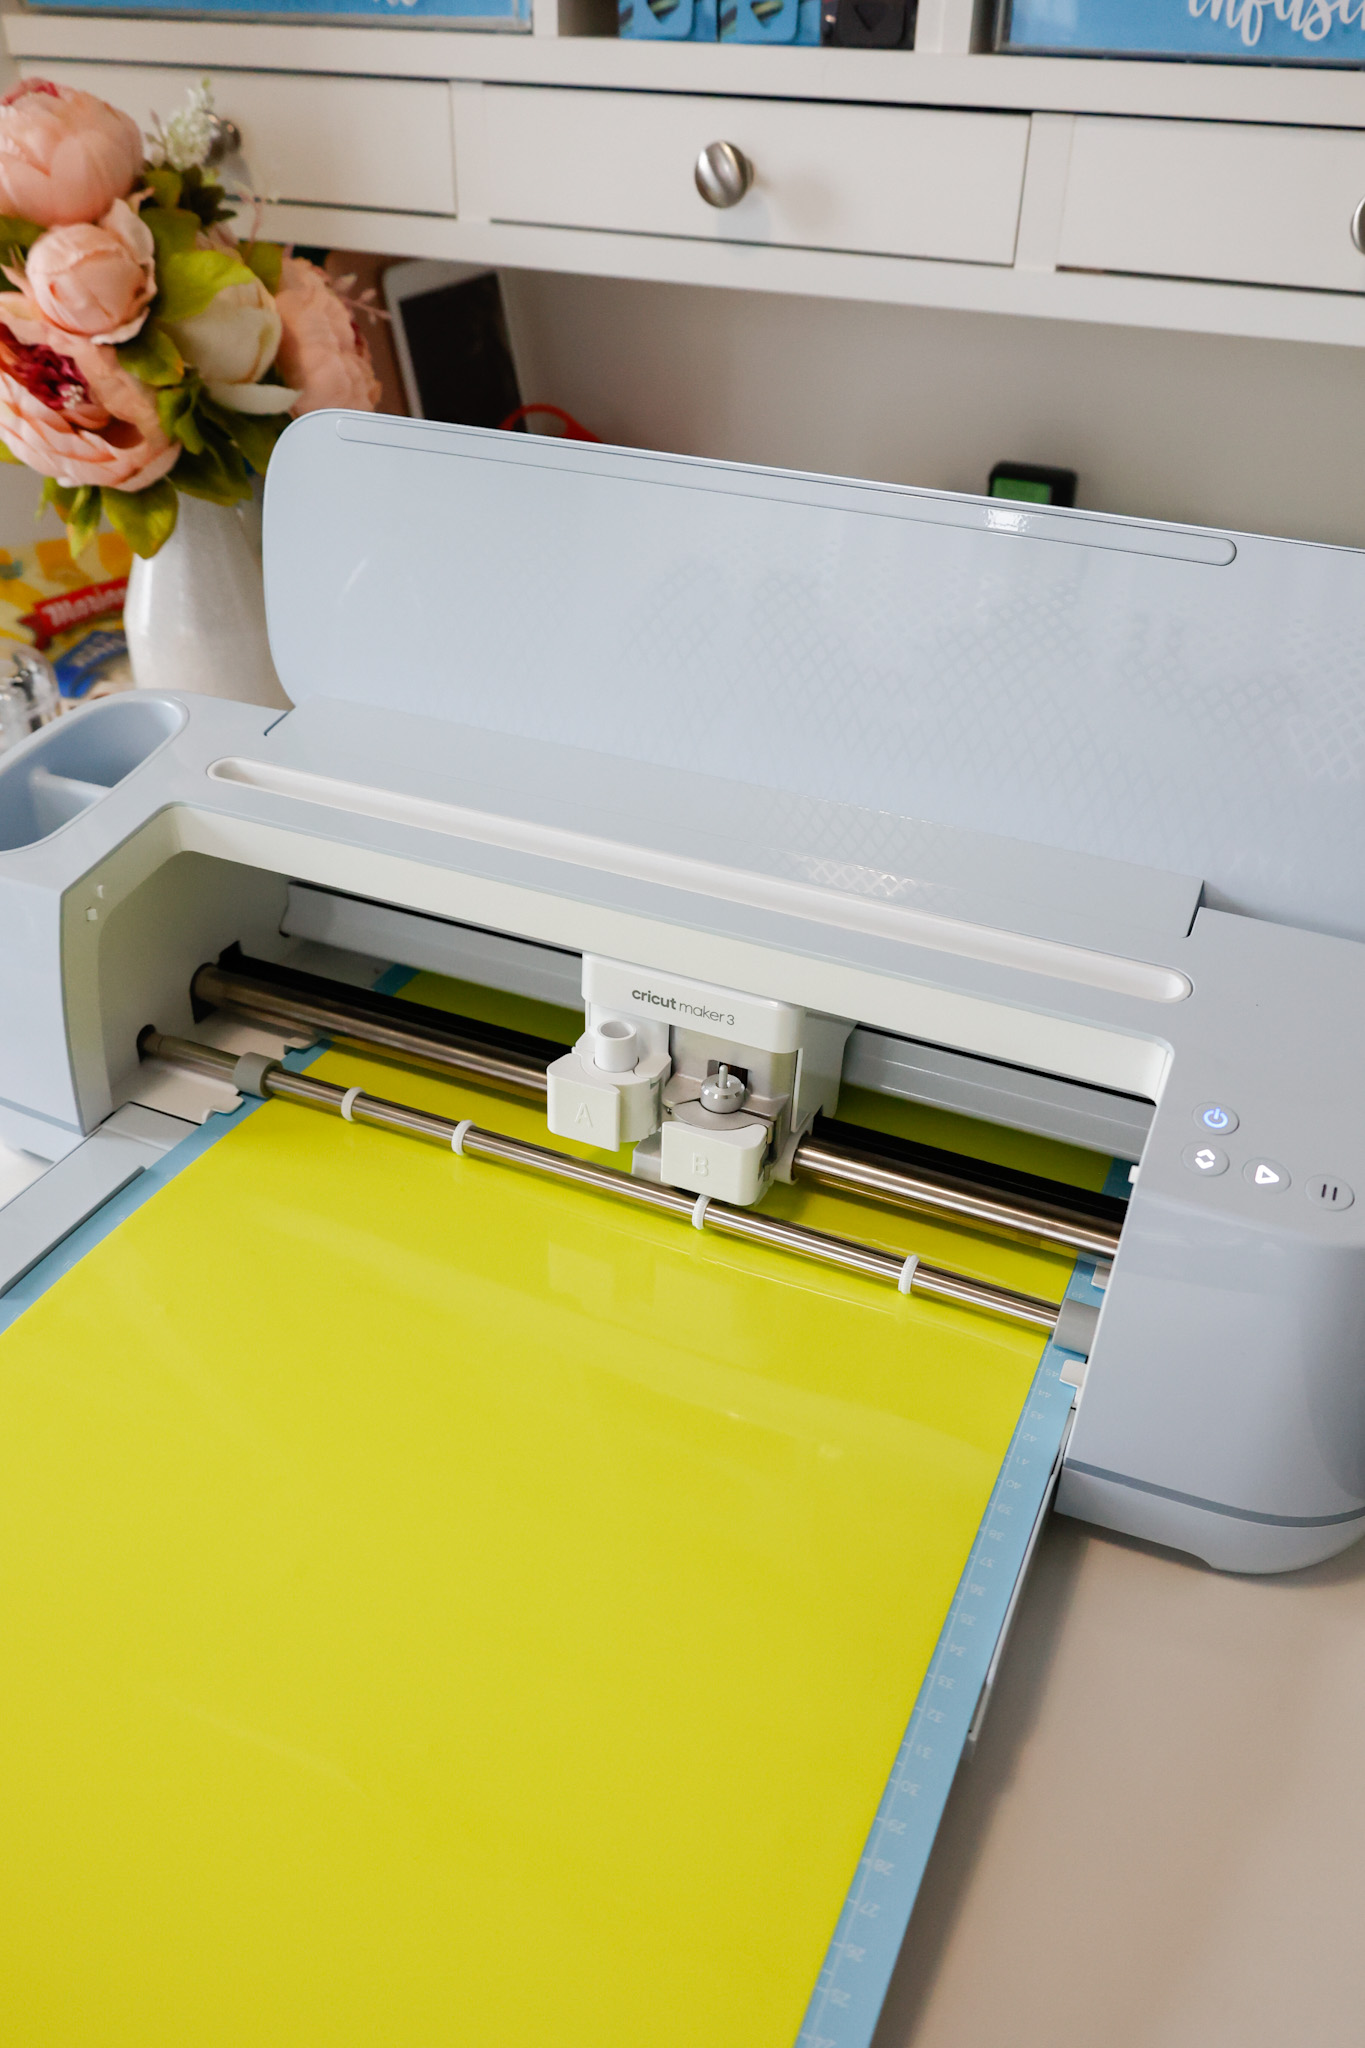
To make my stencil, I used some old permanent vinyl I had laying around.
This is some vinyl in the color Tennis Ball – a color I’m likely to never want or use, so I’m happy to use it for this tutorial.
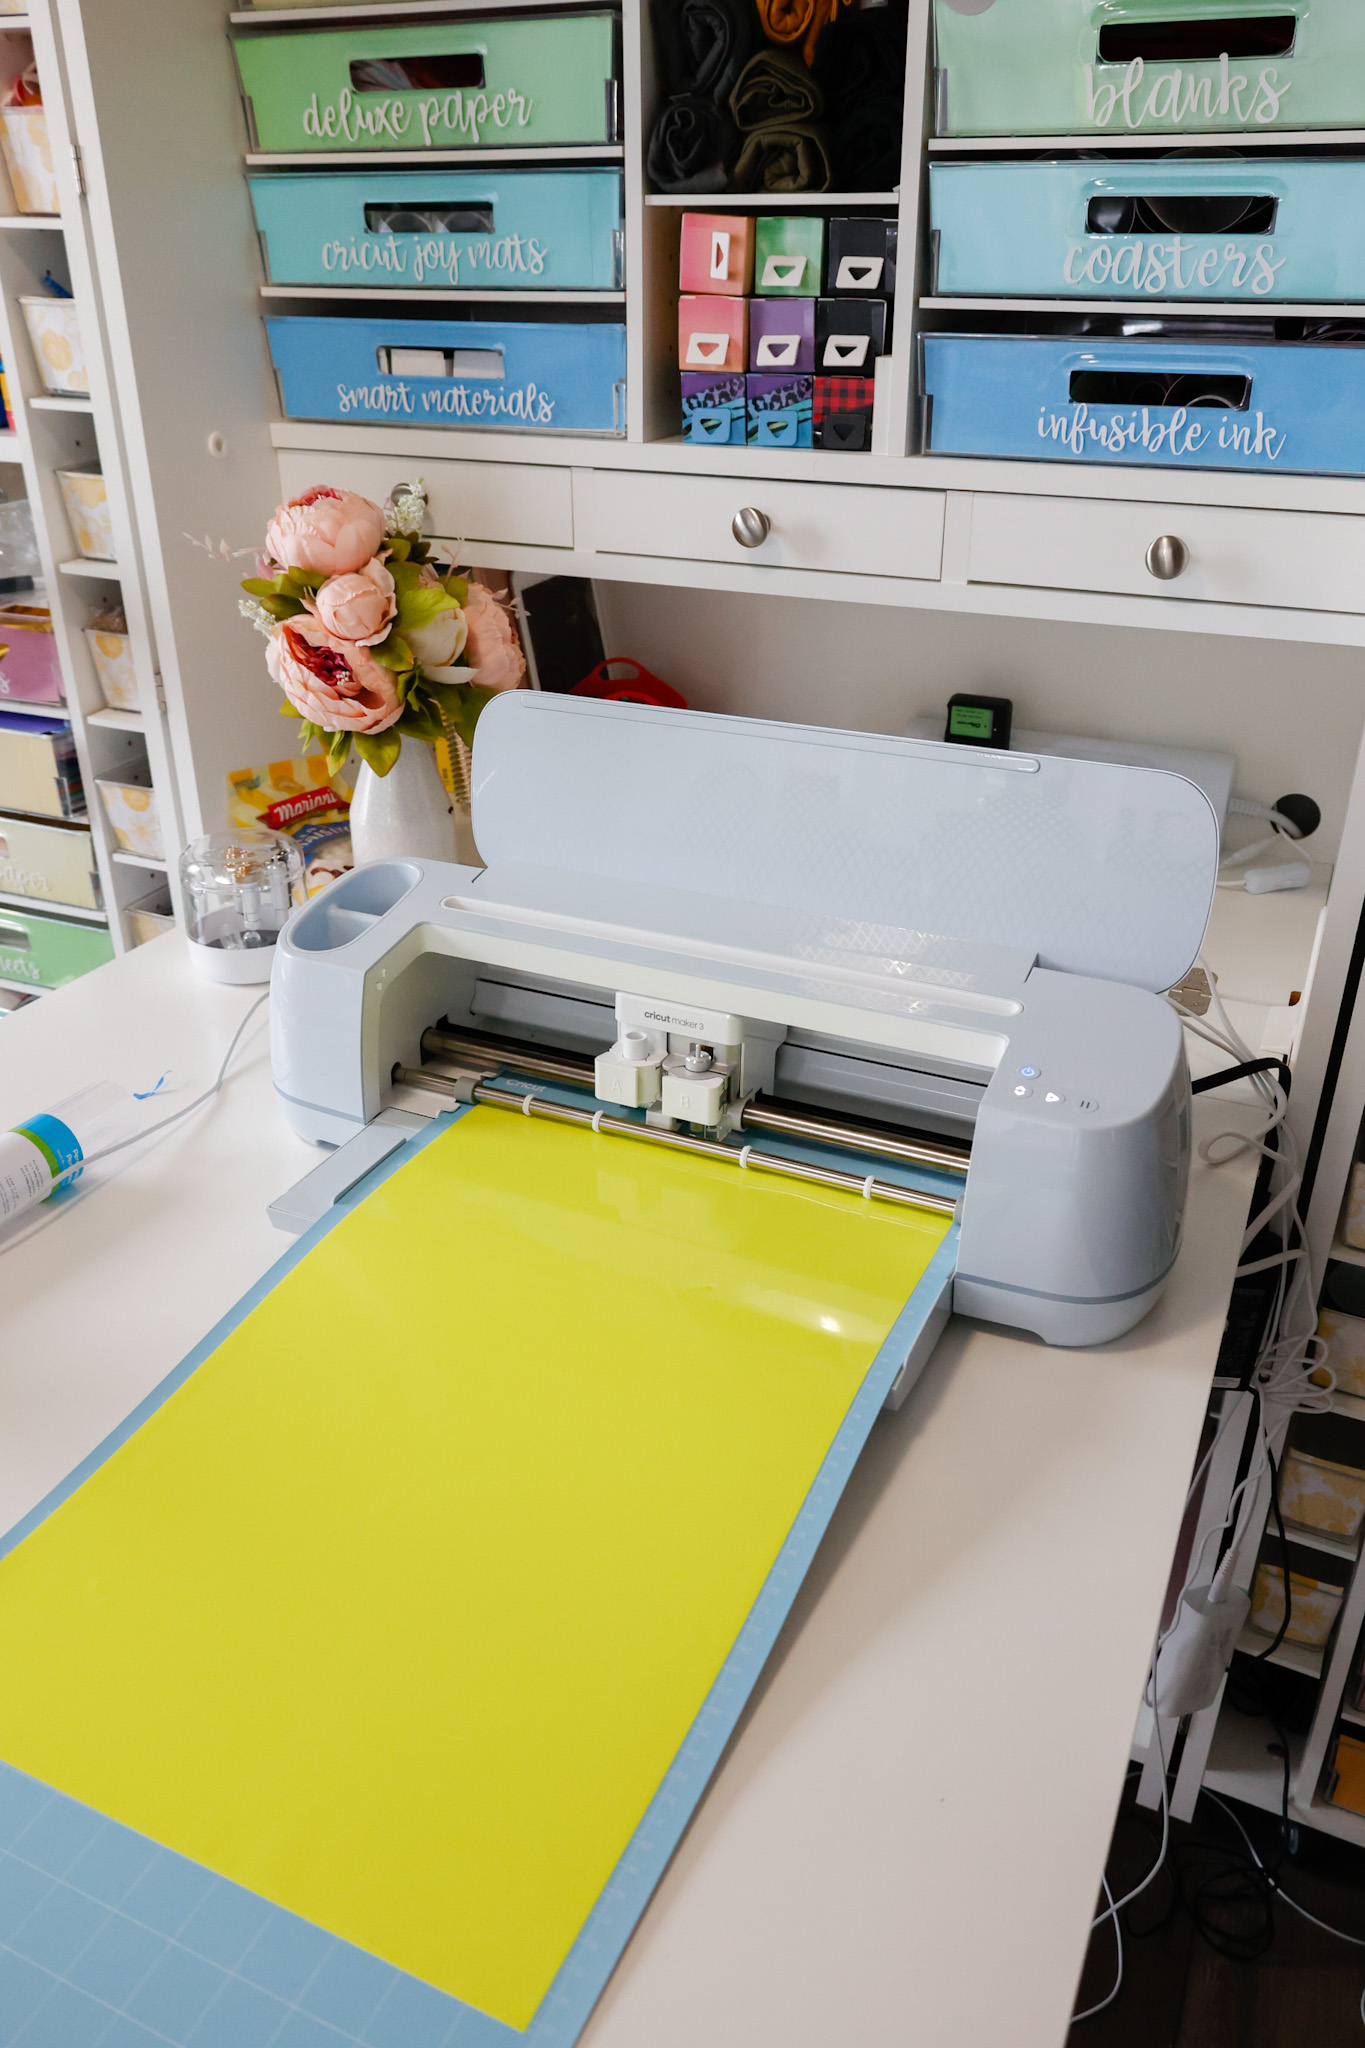
If you’d like to access this exact design, I will link it for you here in Design Space.
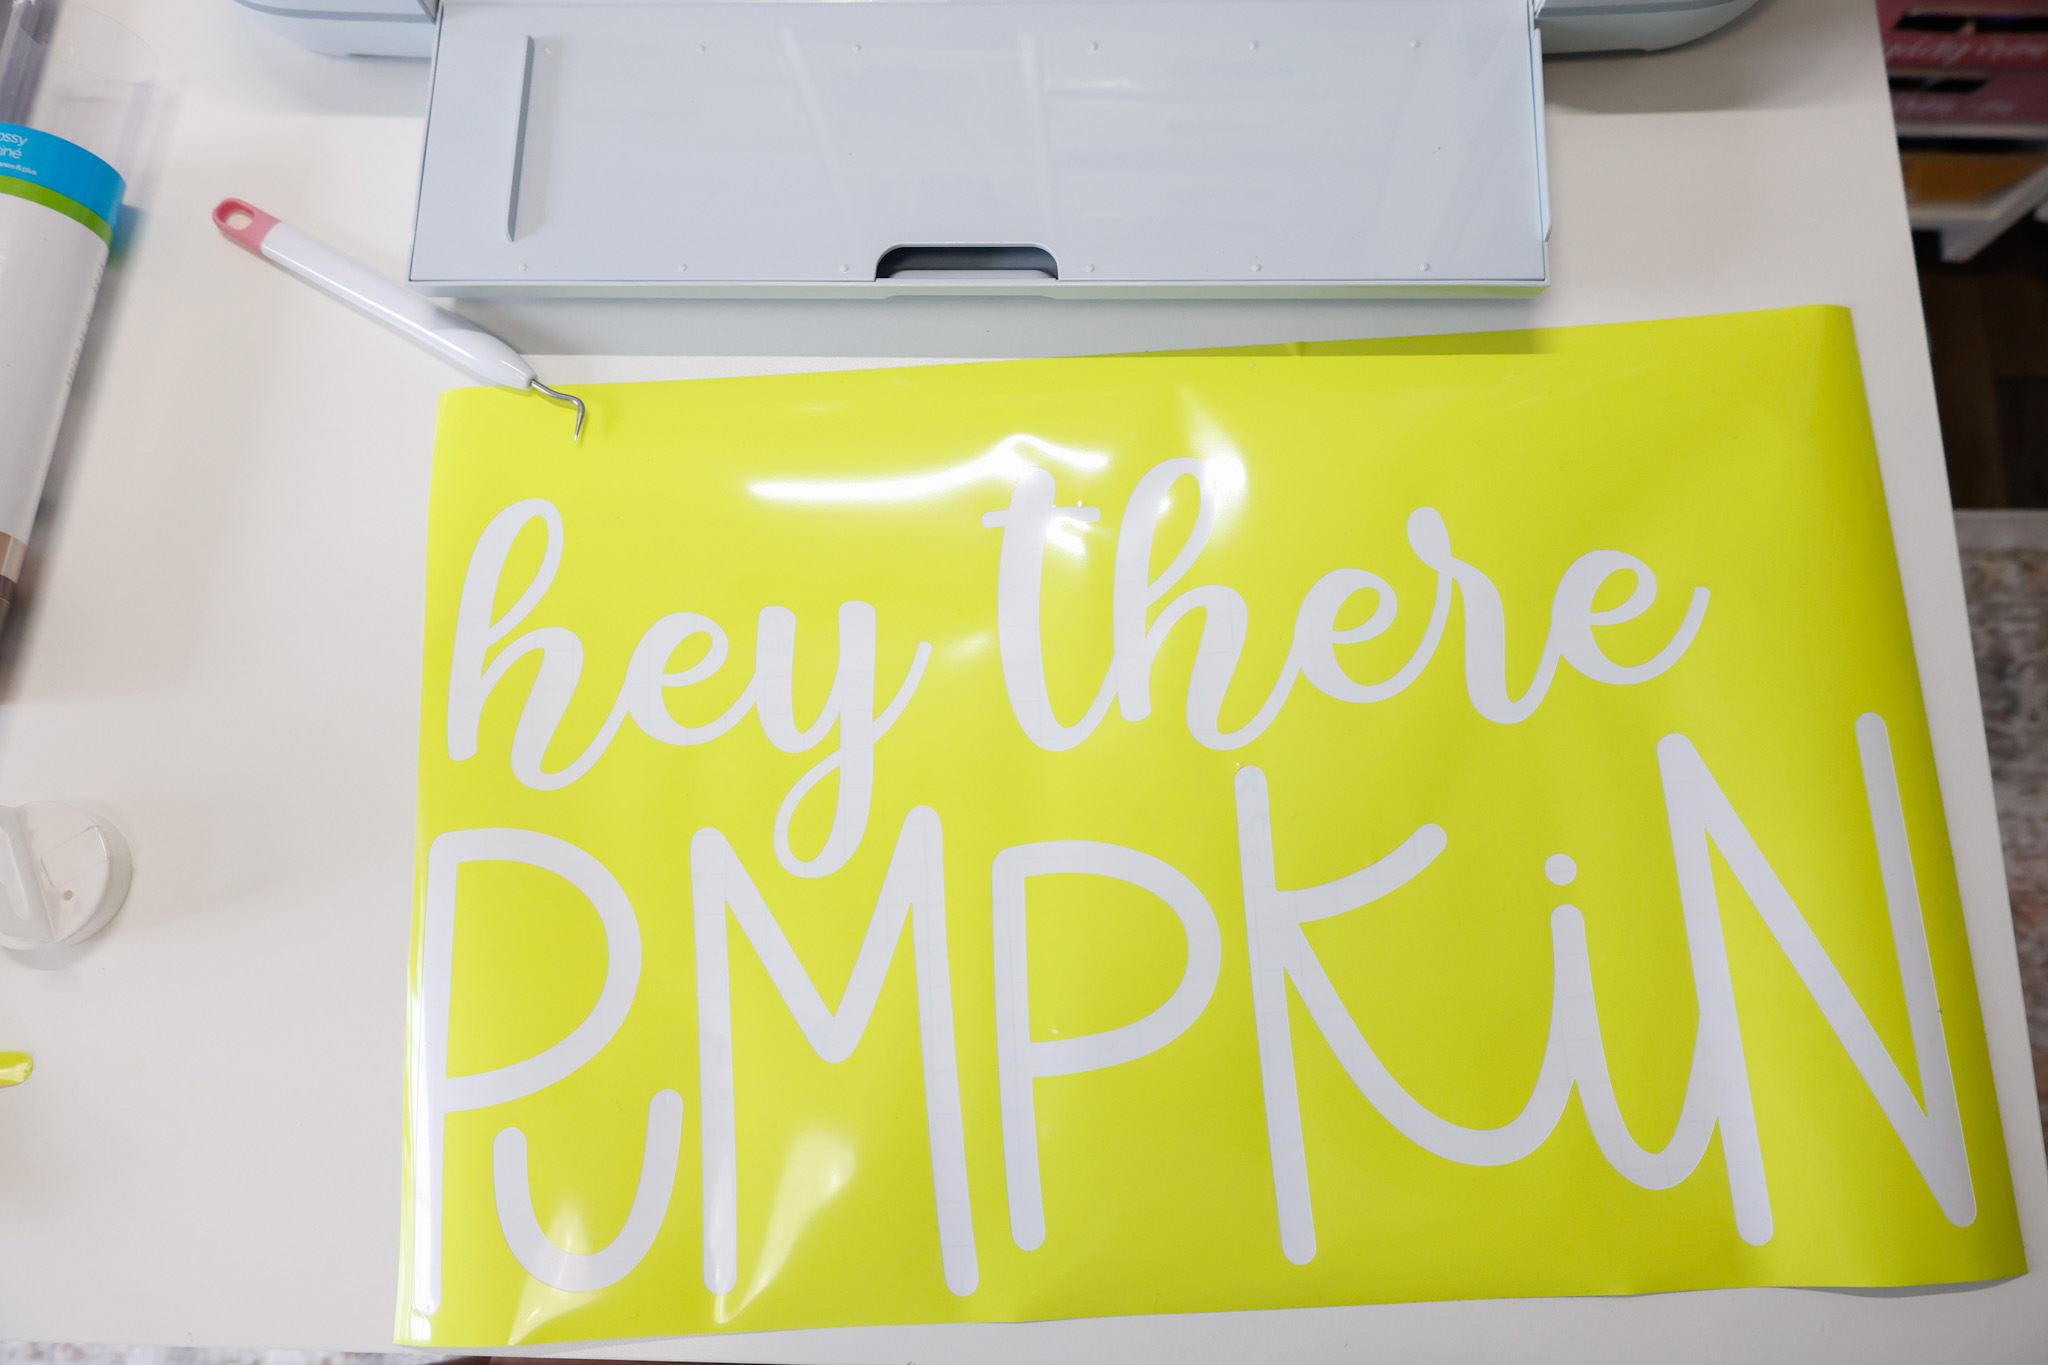
Once it was done cutting, I took out the lettering so I could use the rest as a stencil.
Positioning the homemade stencil over the mat, I taped it down with painter’s tape (you can also use push pins to help hold down certain areas).
I wish I had covered the remaining top left corner that was exposed with a piece of cardboard or other material and would recommend the same to my readers attempting this DIY!
I used Rust-Oleum Undercoating Spray to spray over the stencil.
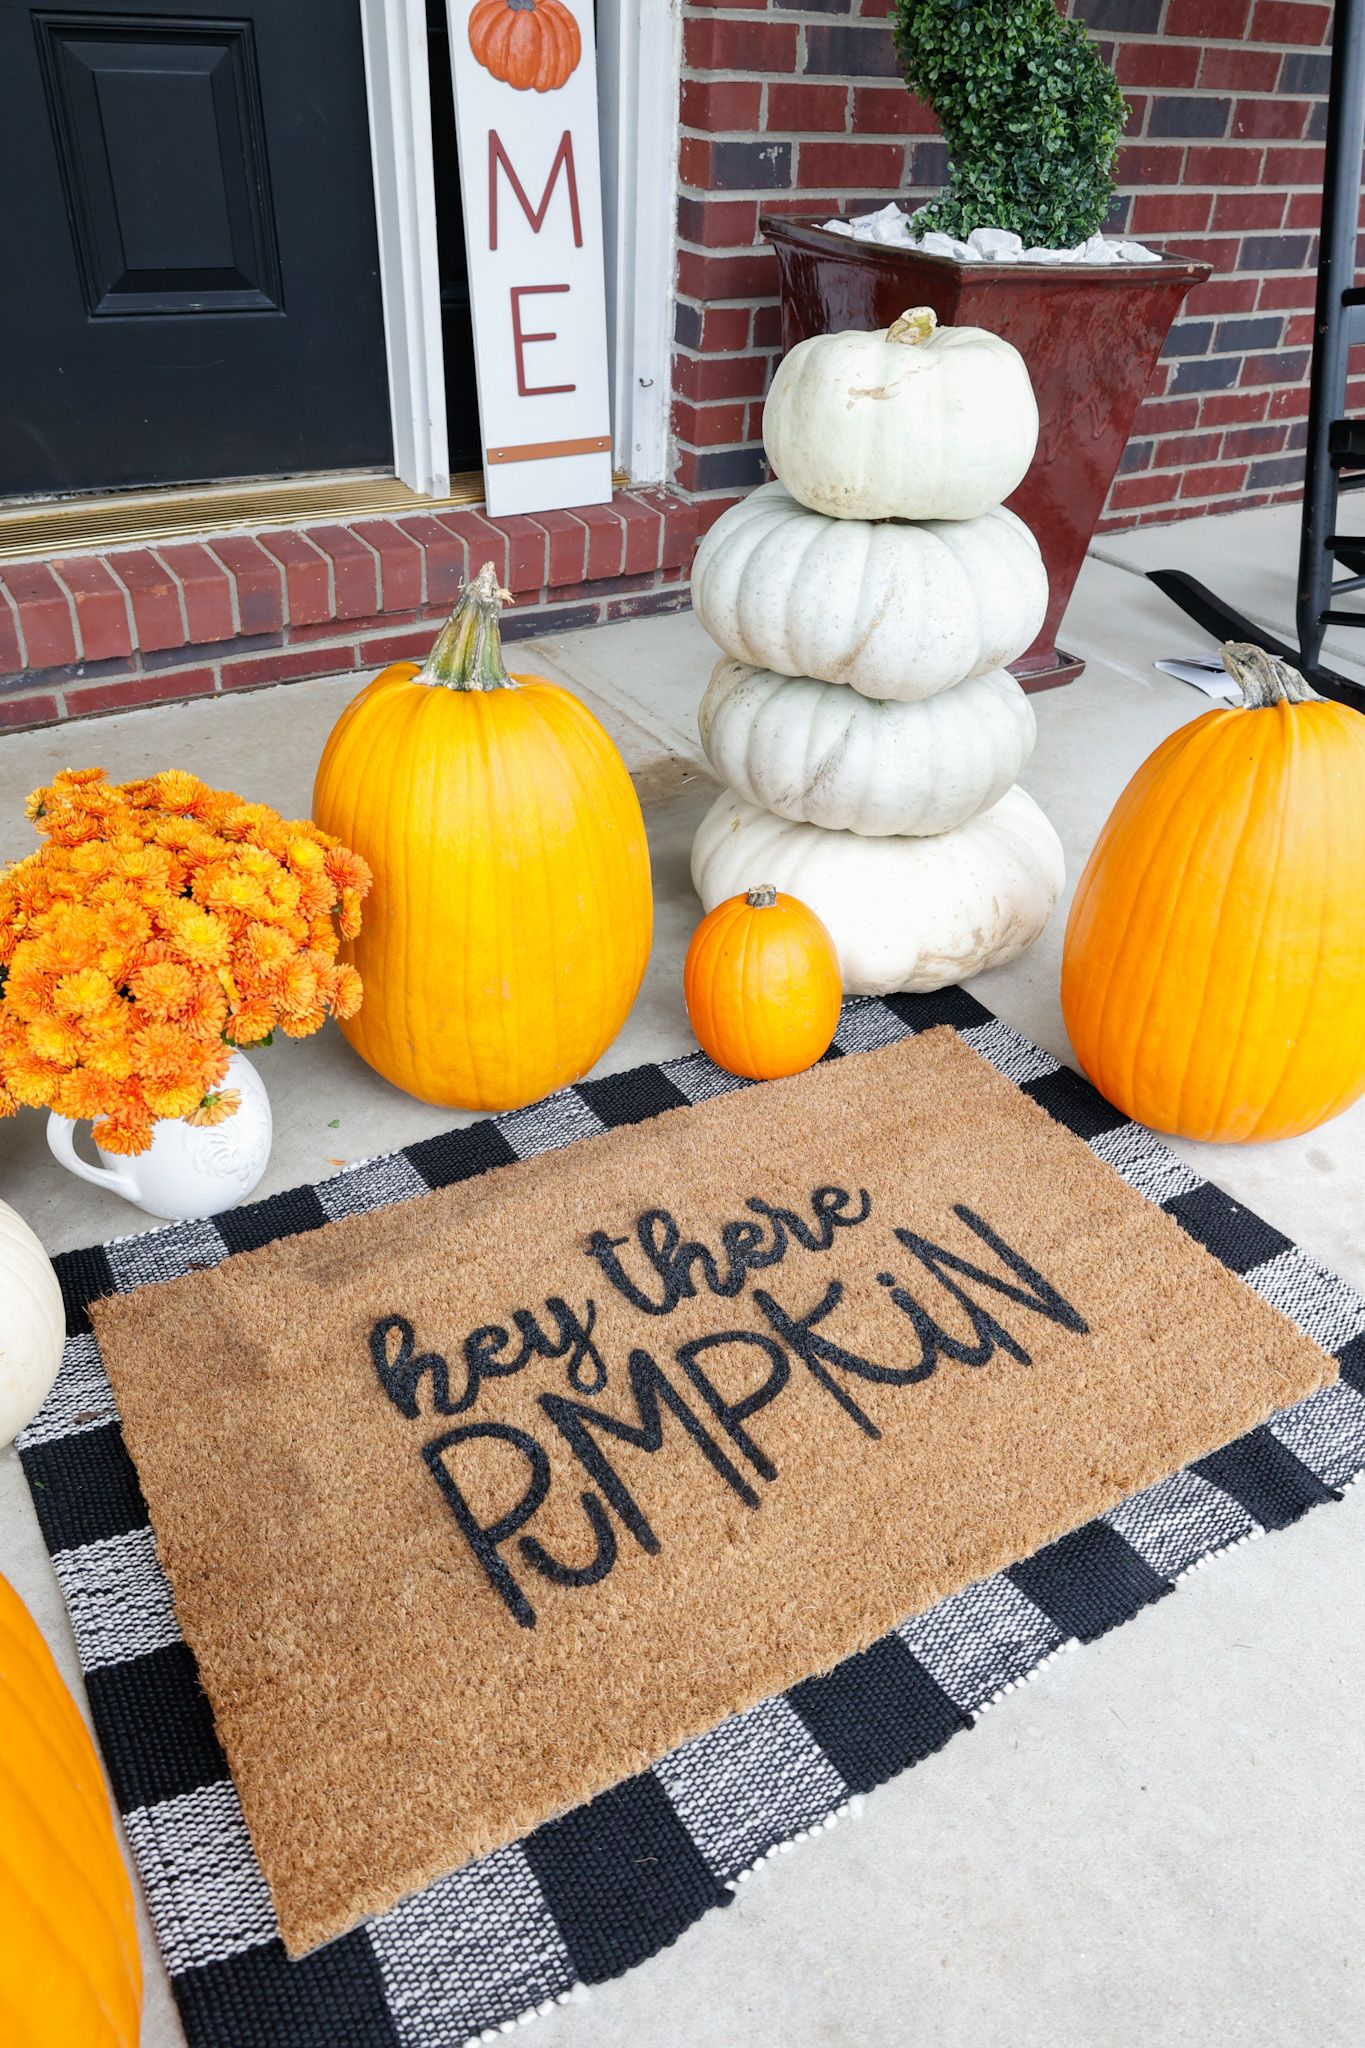
I would recommend going lightly with the spray – it worked well, but you can see the areas where certain letters were oversprayed and looked differently.
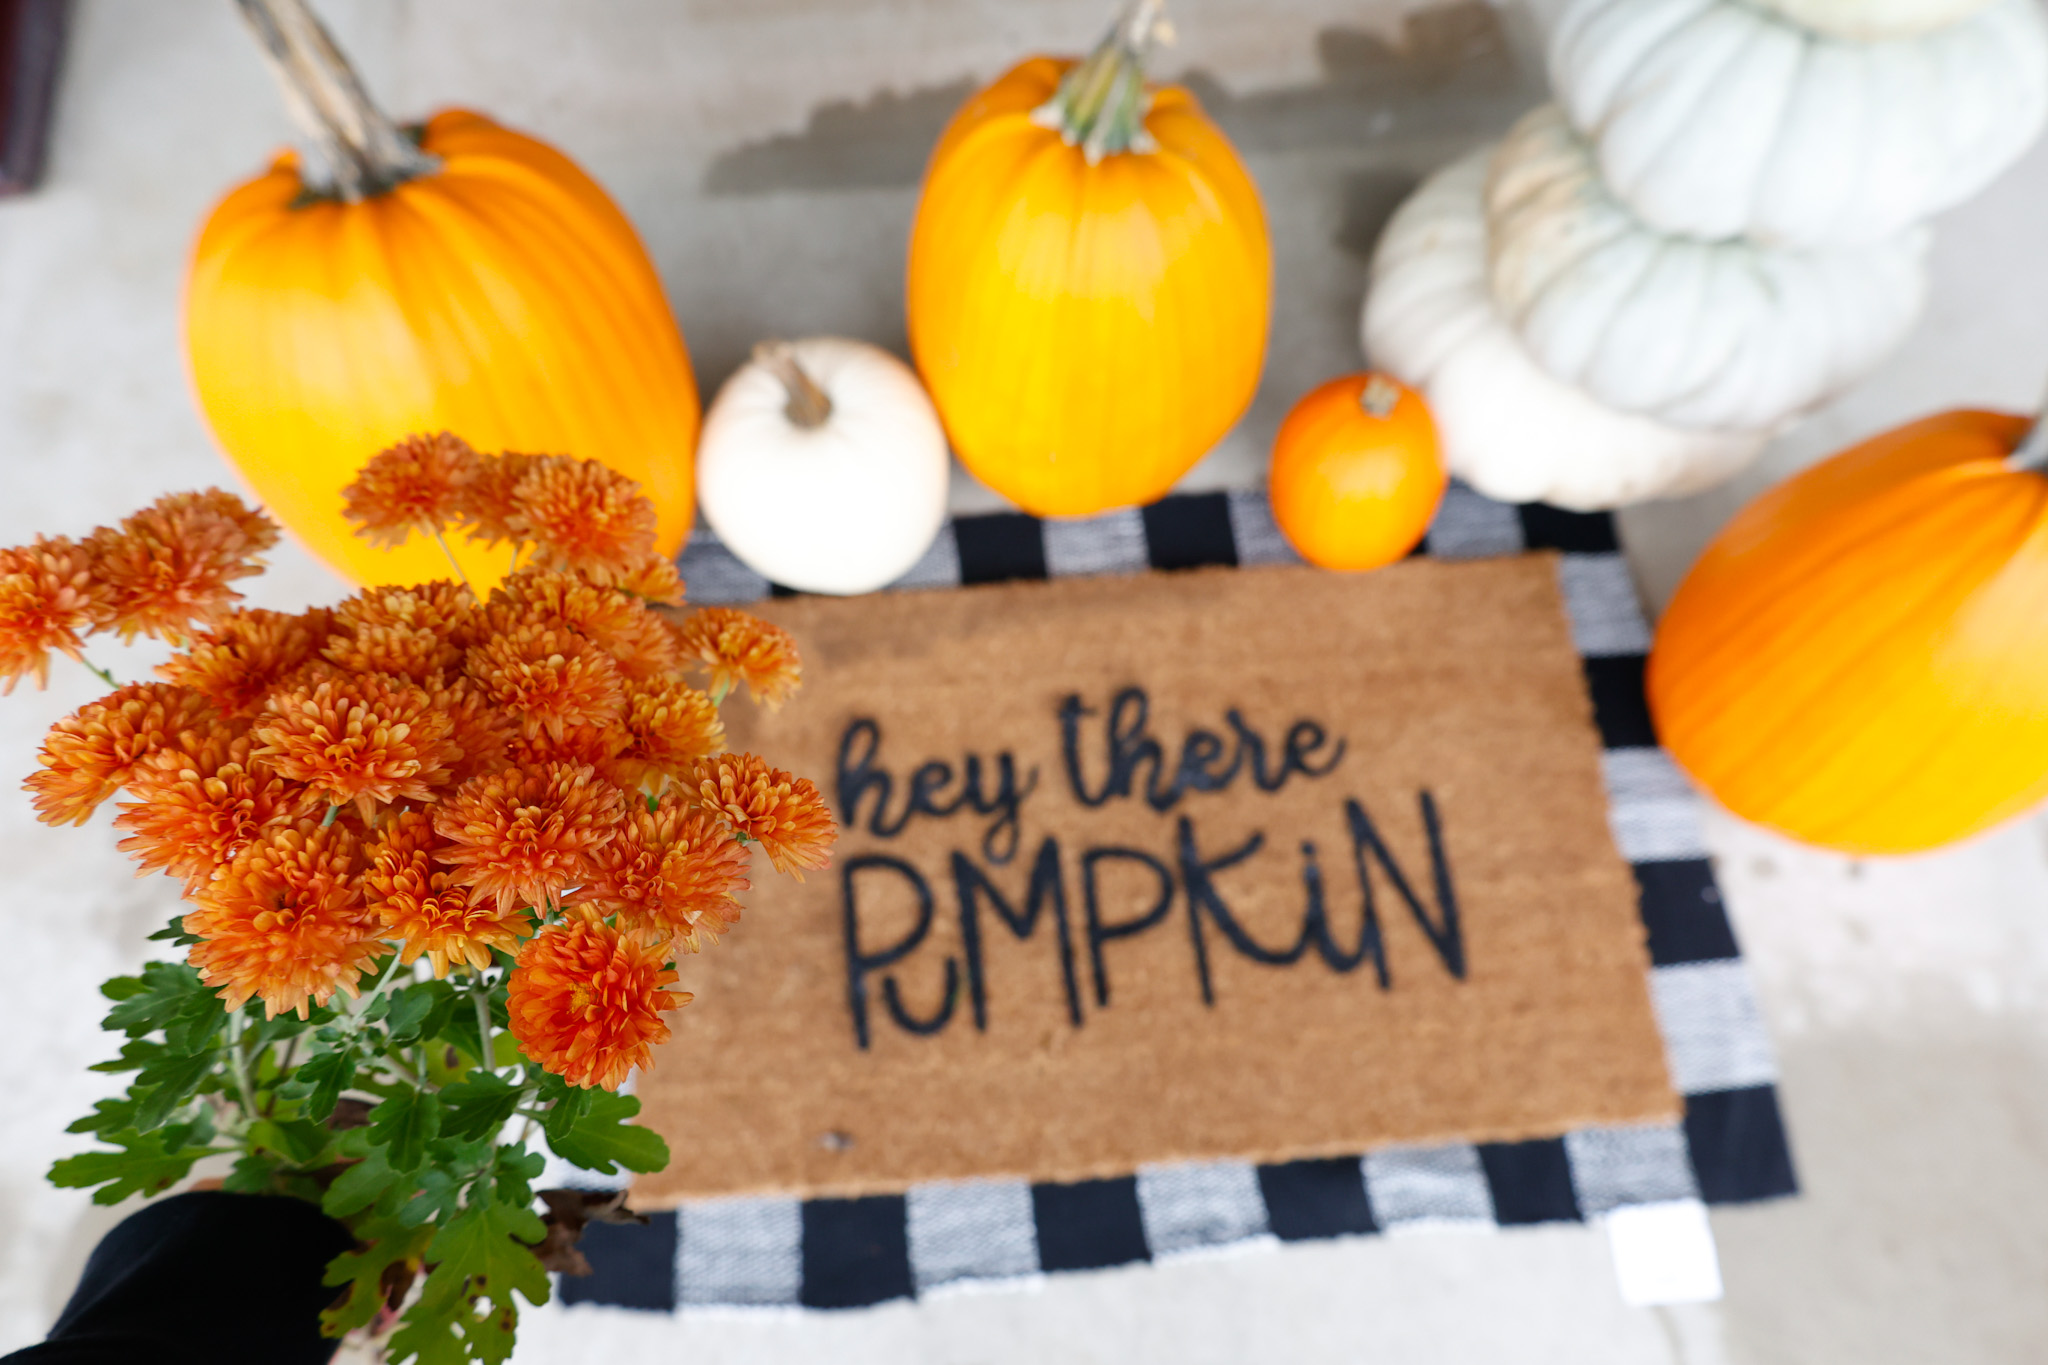
I love the way it turned out, and it was such a simple Cricut DIY!
Have you tried making this DIY? Be sure to tag me on Instagram (@slayathomemother) so I can see your creation!
*Post originally published October 2021, last updated August 2025.
Leave a Reply