Make your own DIY tote covers for your new DreamBox from Create Room, plus FREE SVGS and Cricut Design Space Link…
Hello, lovelies!
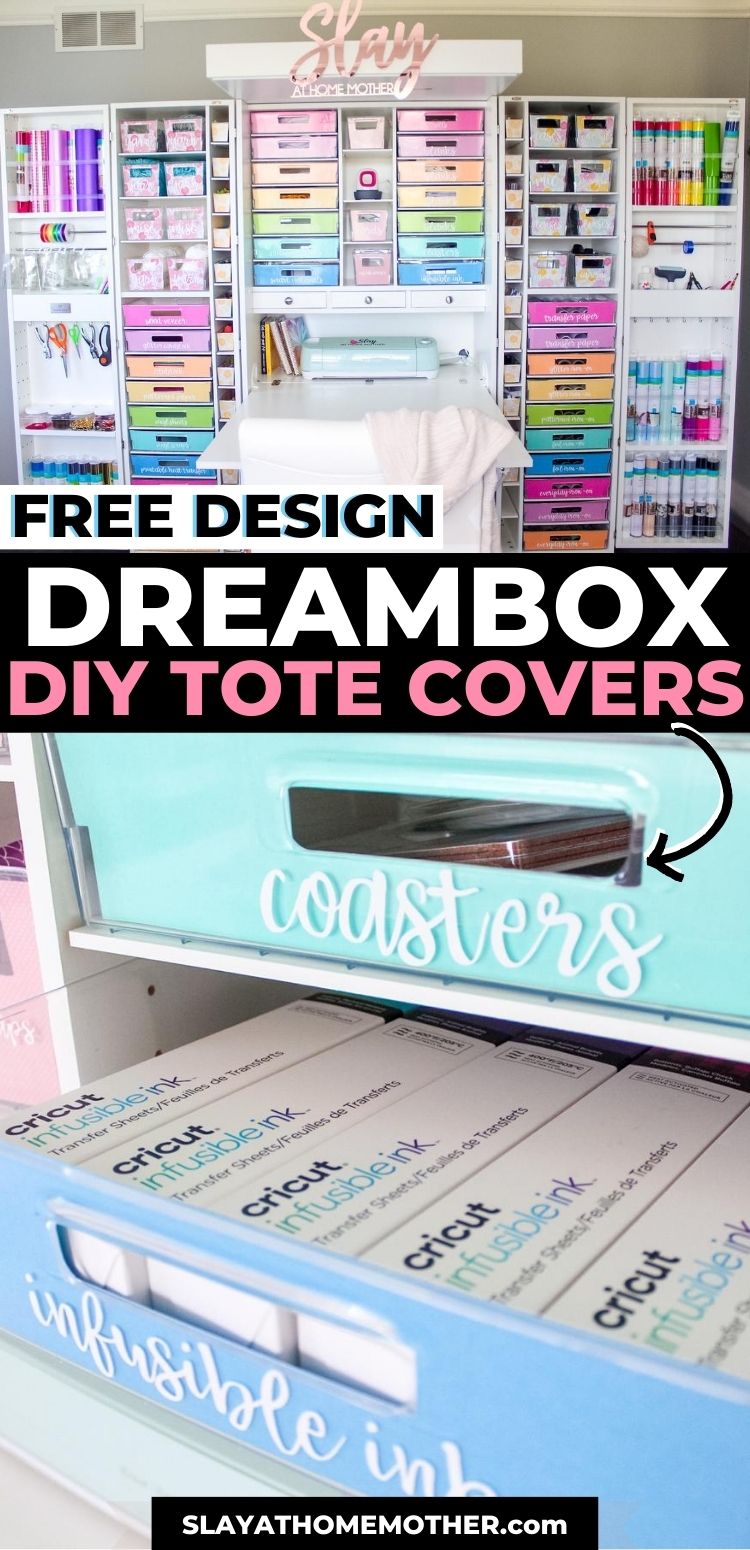
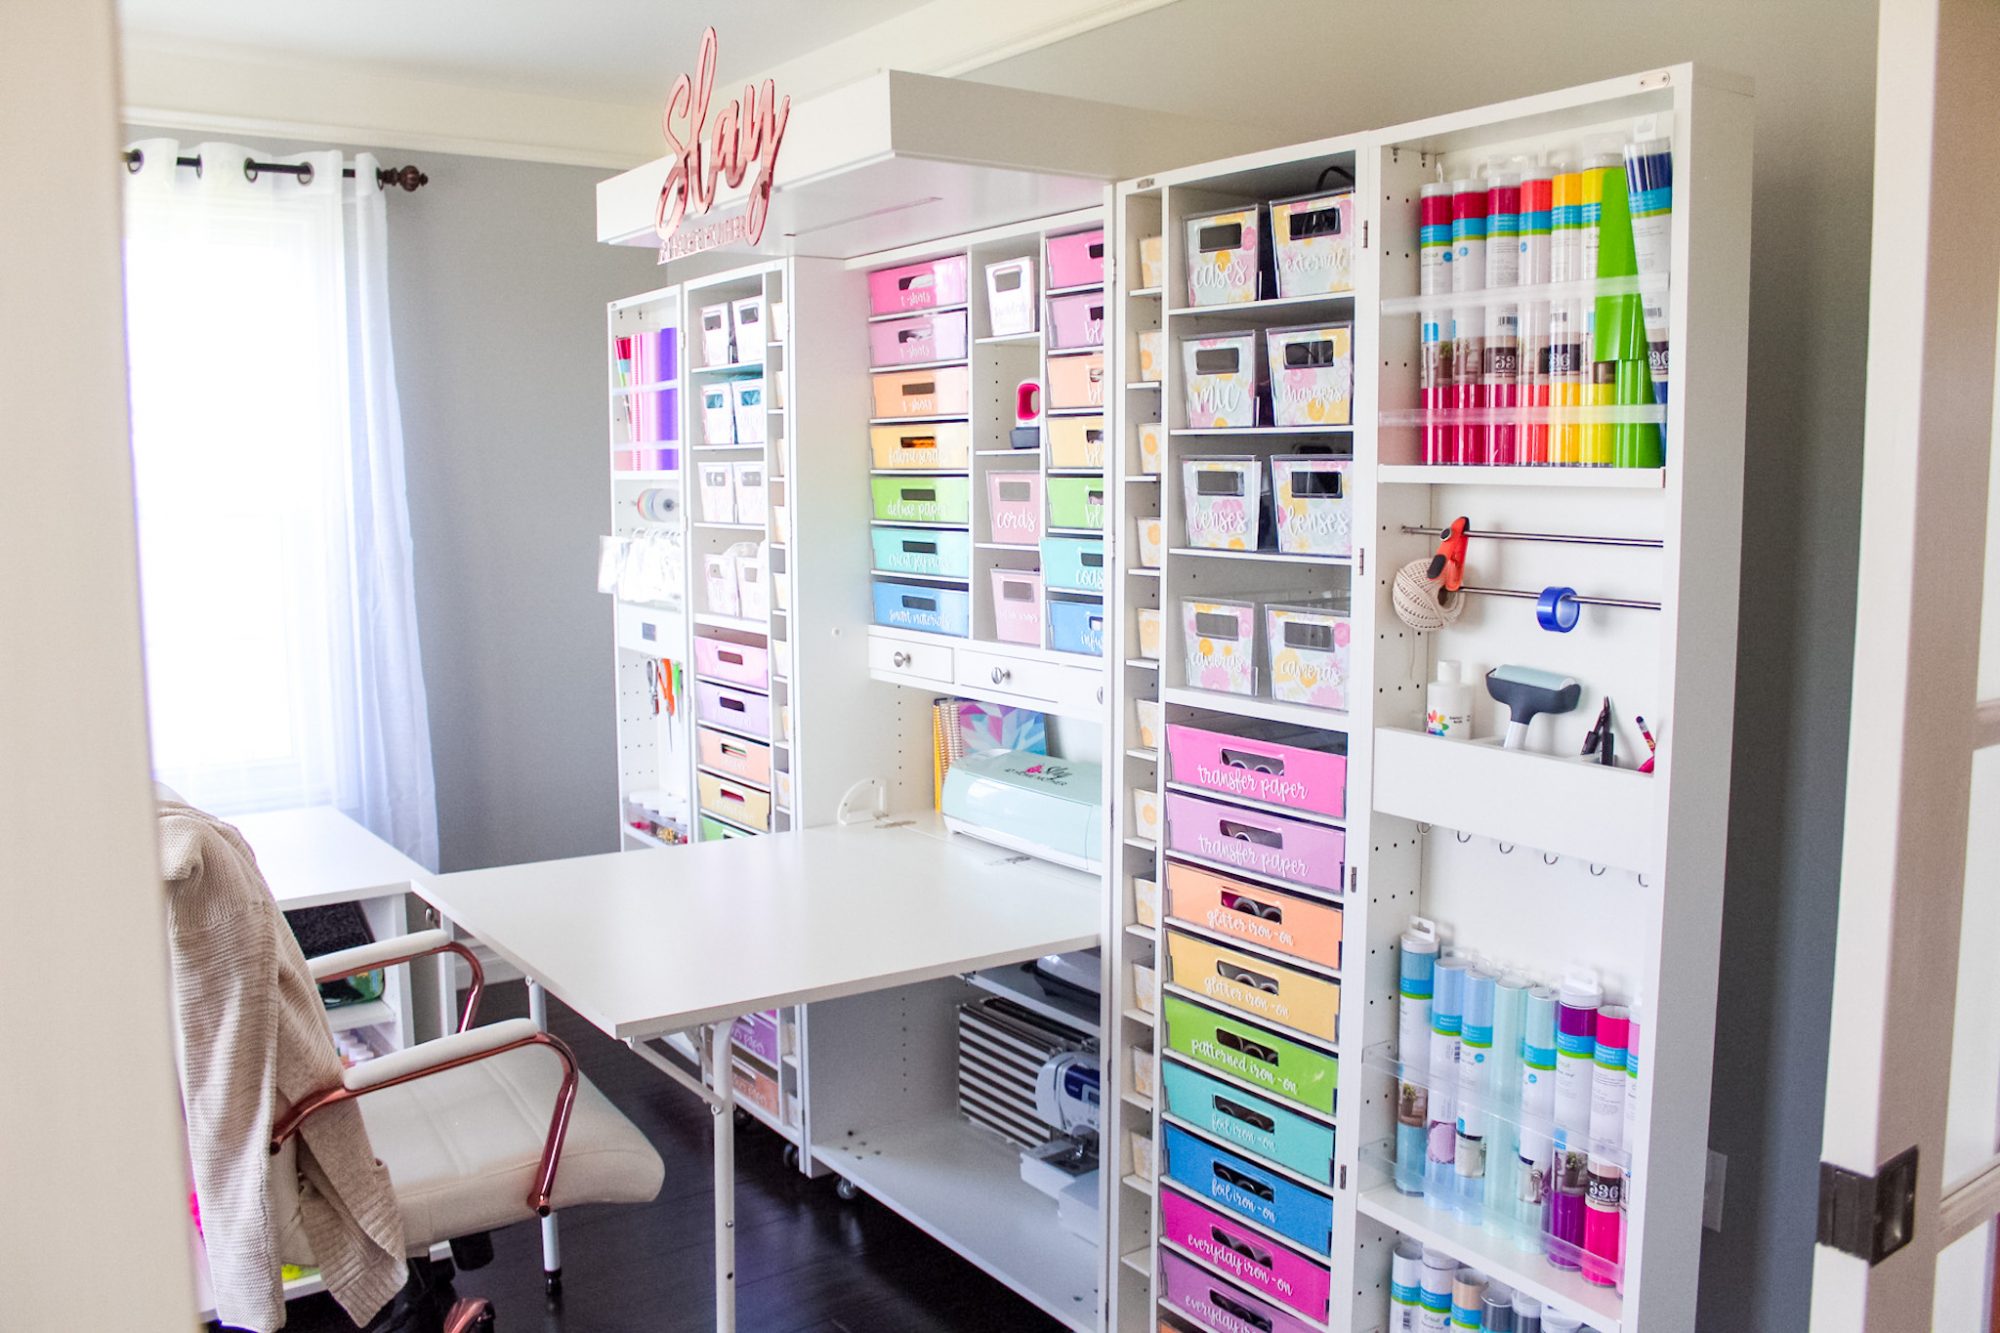
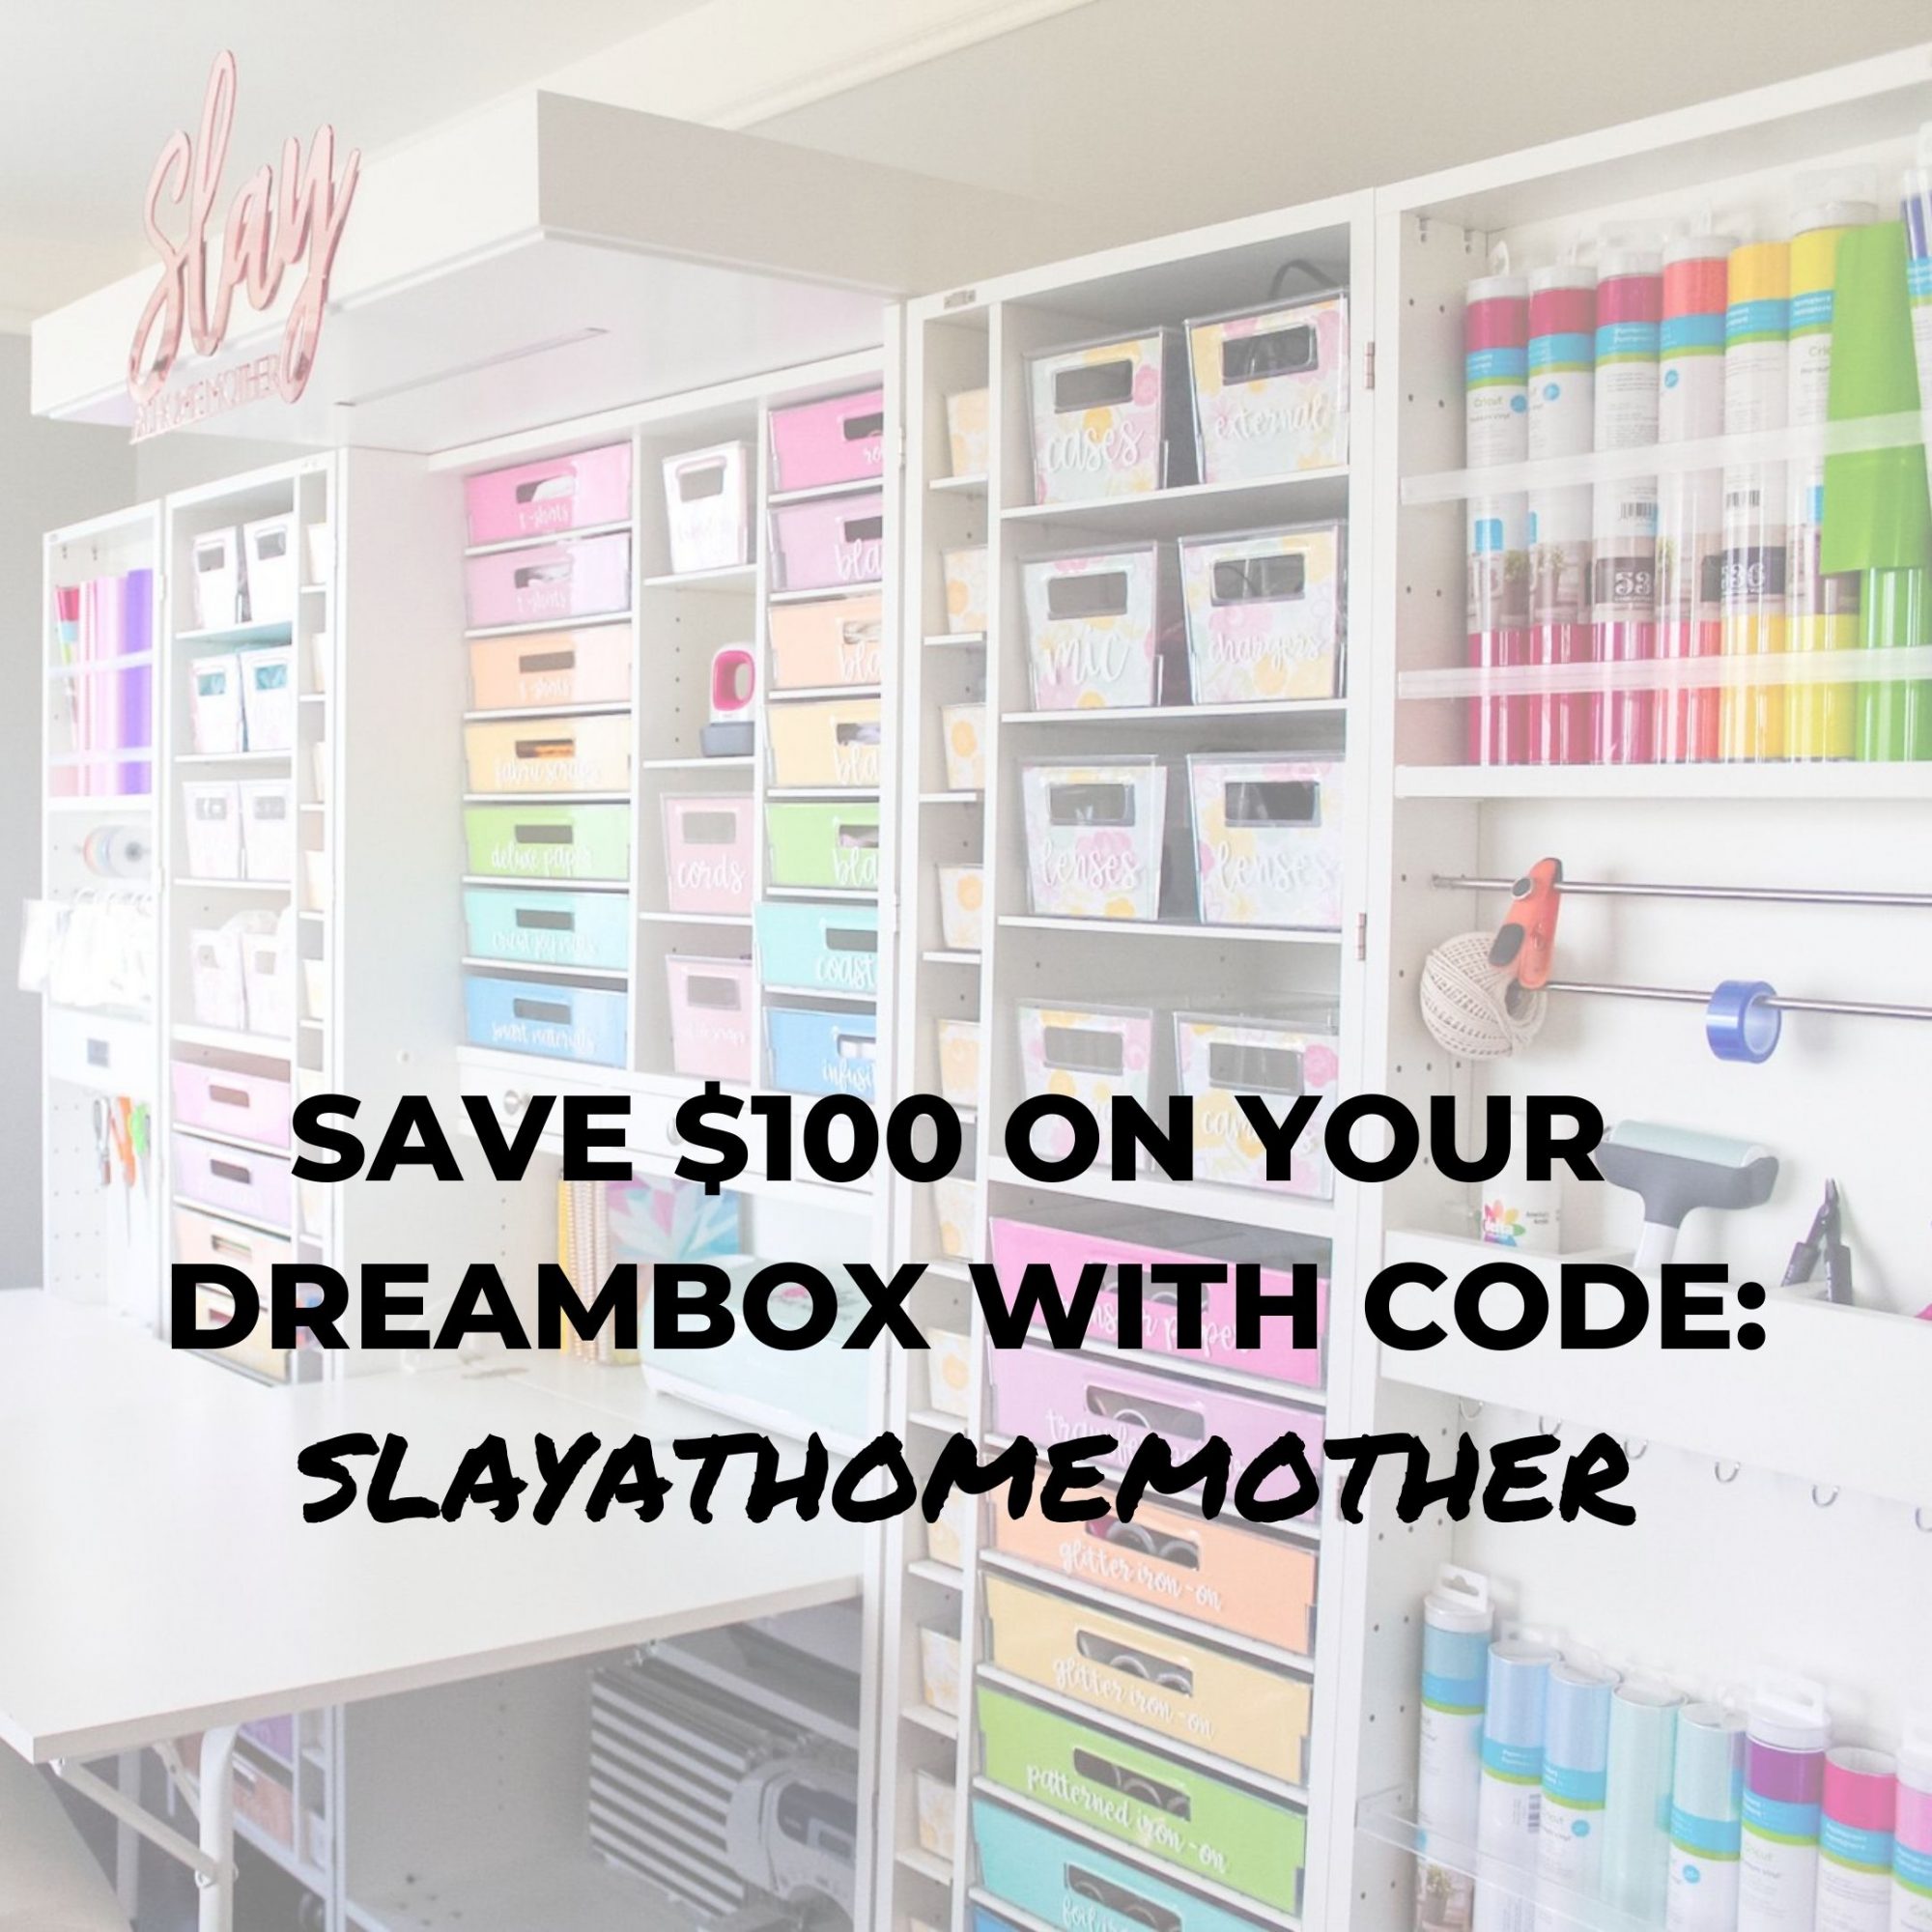
If you’re a loyal reader, then you’ve probably already seen and read about my office refresh a few months back when I introduced the MOTHER of all organizational systems: the DreamBox from Create Room.
This baby is bad.
It keeps all of my vinyl, crafting, blogging, and homeschooling supplies organized and in order.
If you haven’t heard me say this before, let me say it now: I highly recommend the DreamBox.
You can read my full review and feature HERE for more details and a discount code!
I recently had a reader reach out to me about my DreamBox and said she was having difficulty making her own tote covers, so I decided to put together a Cricut Design Space link and some SVG files for my lovely readers to help you guys out.
This post contains affiliate links at no cost to my readers, however, all opinions are my own, as always.
What are tote covers and why Do I Need Them?
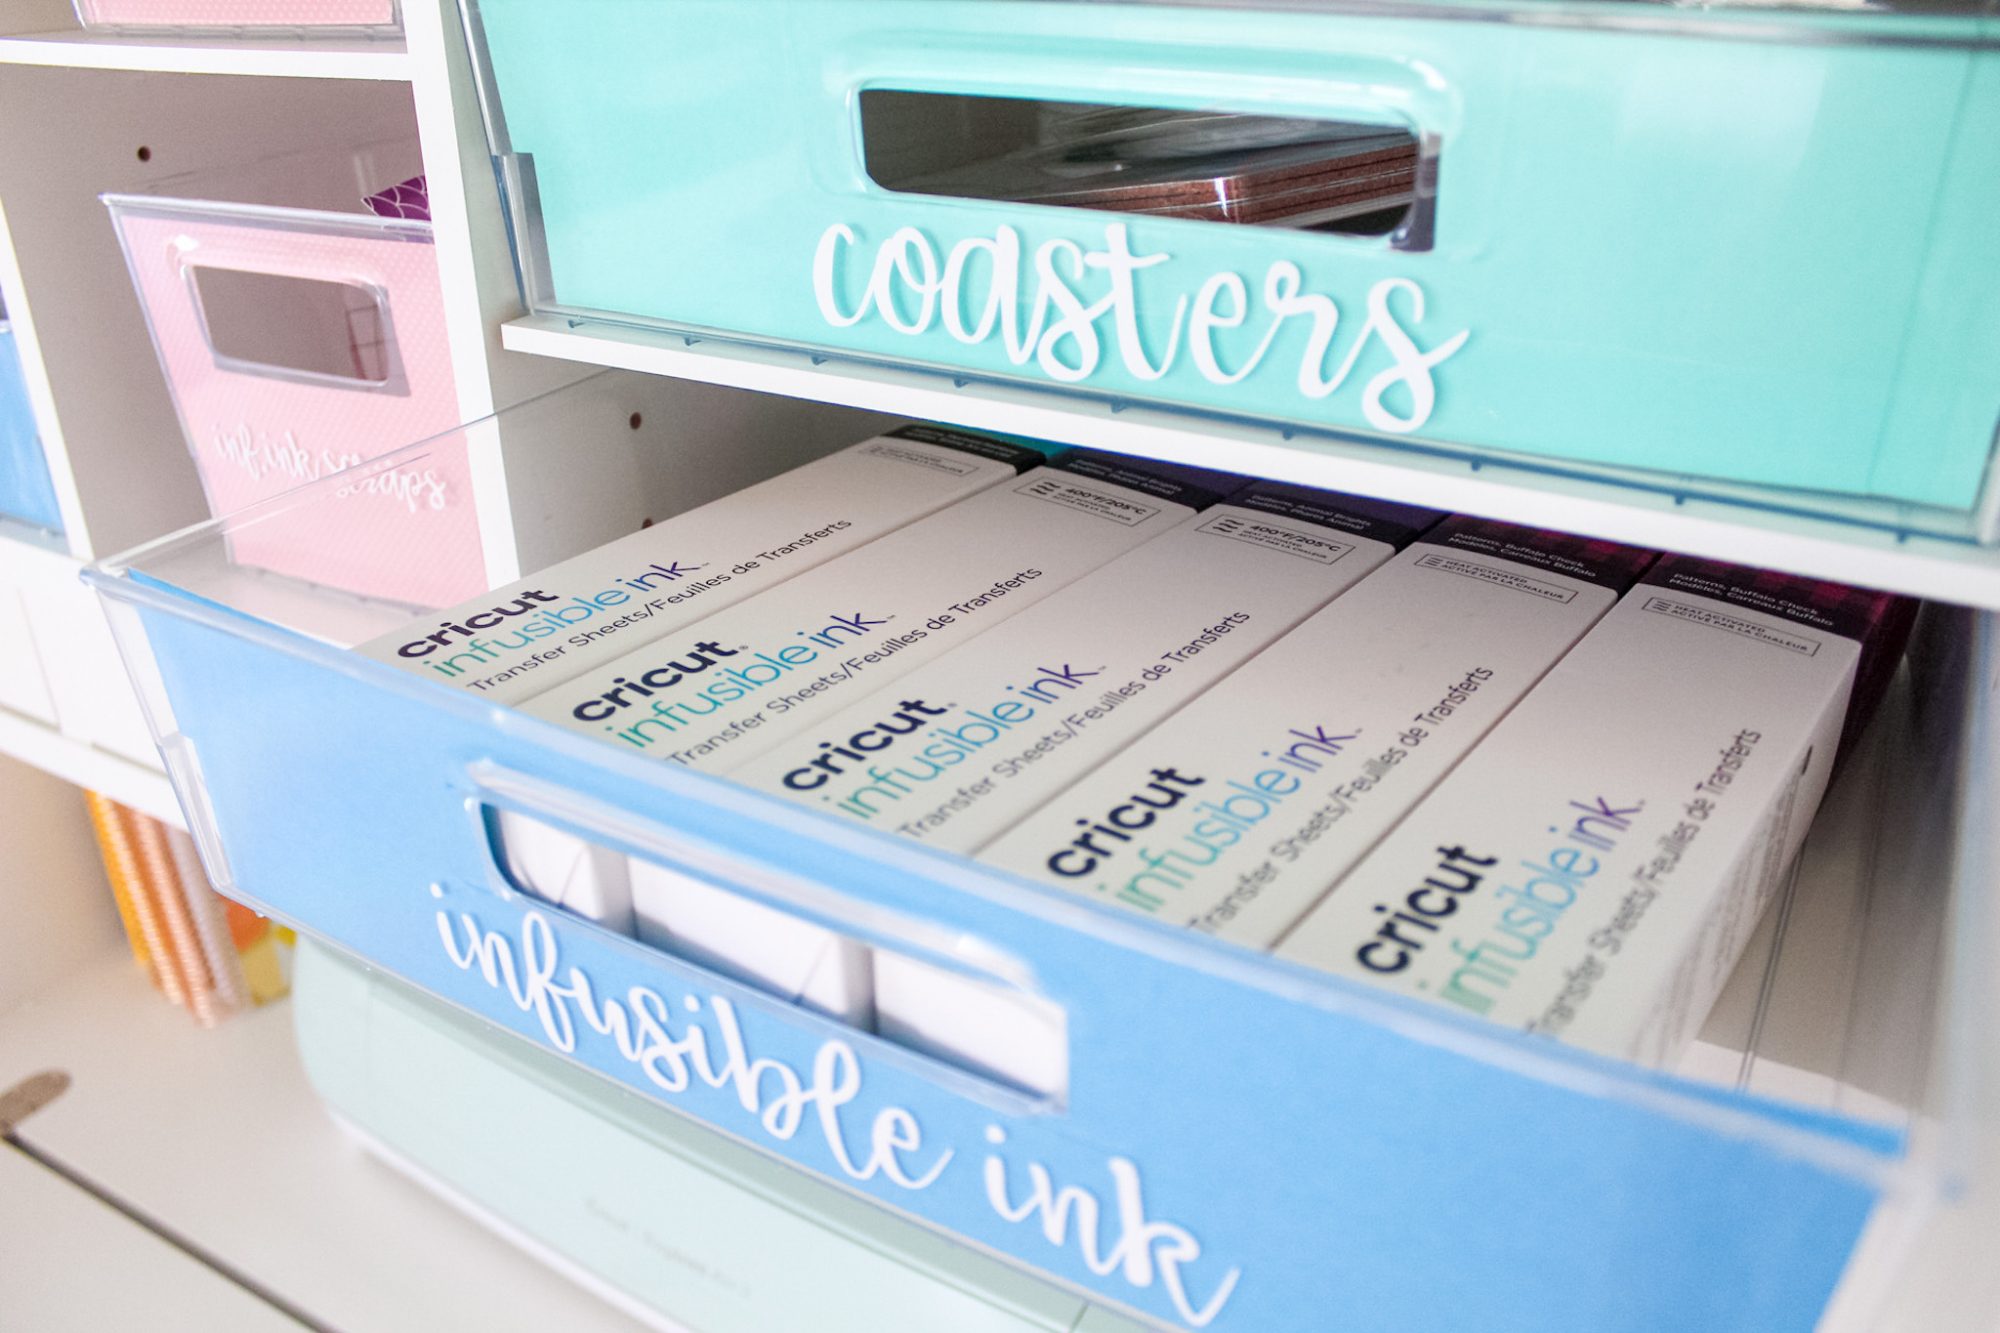
Create Room, the company behind the DreamBox, calls their clear plastic bins totes.
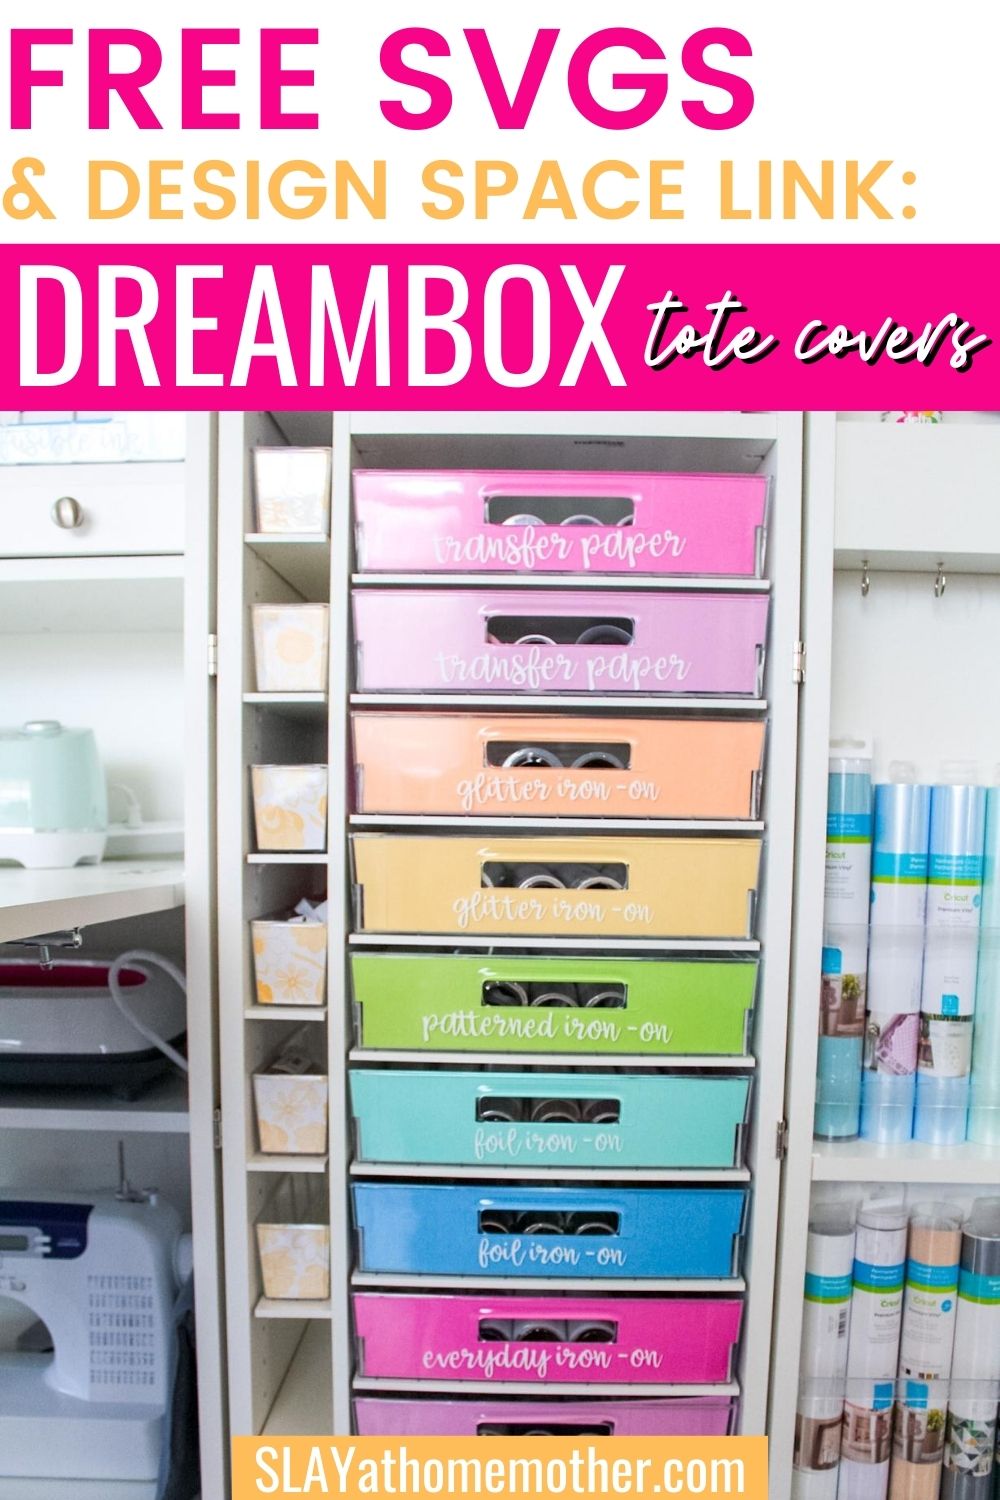
Tote covers are the pieces of paper you see inserted into the front of the bins in the picture above.
You don’t need them – but they make everything look really pretty and polished!
They can also conceal what you have in your drawers, so if you happen to own an embarrassing amount of vinyl rolls like I do, you can hide them in the totes ;).
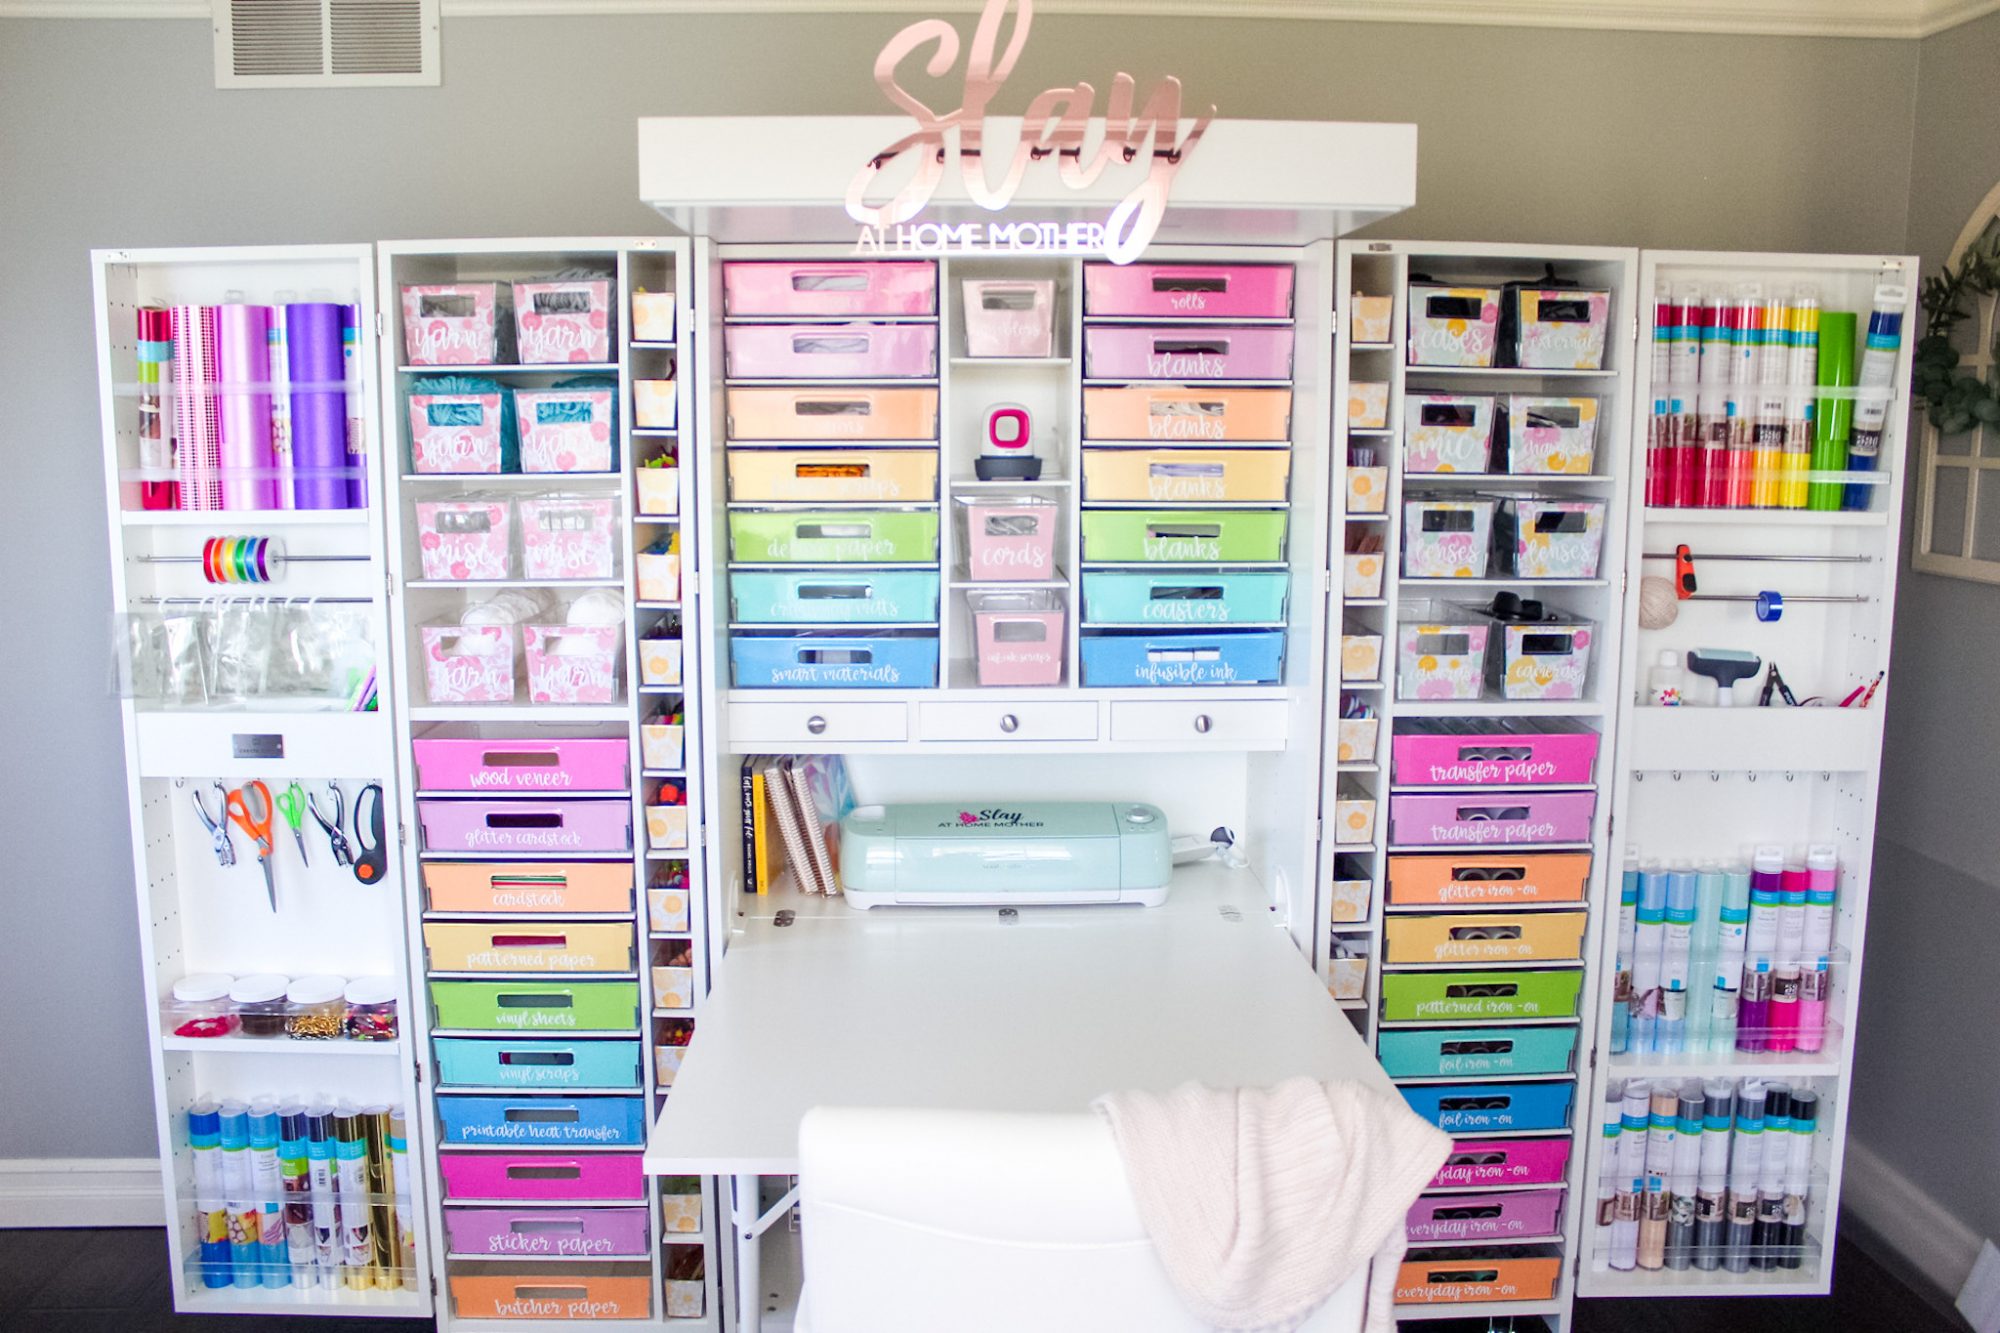
Here’s what my totes looked like before I added any covers – you can see the items I have stored in my bins…
For some people, this might be ideal, and it’s a big reason why Create Room makes their totes see-through!
But for others, covers are more ideal – it’s all preference.
I decided to implement them because I wanted to label my totes, and I knew putting covers in them would help the labels be more legible.
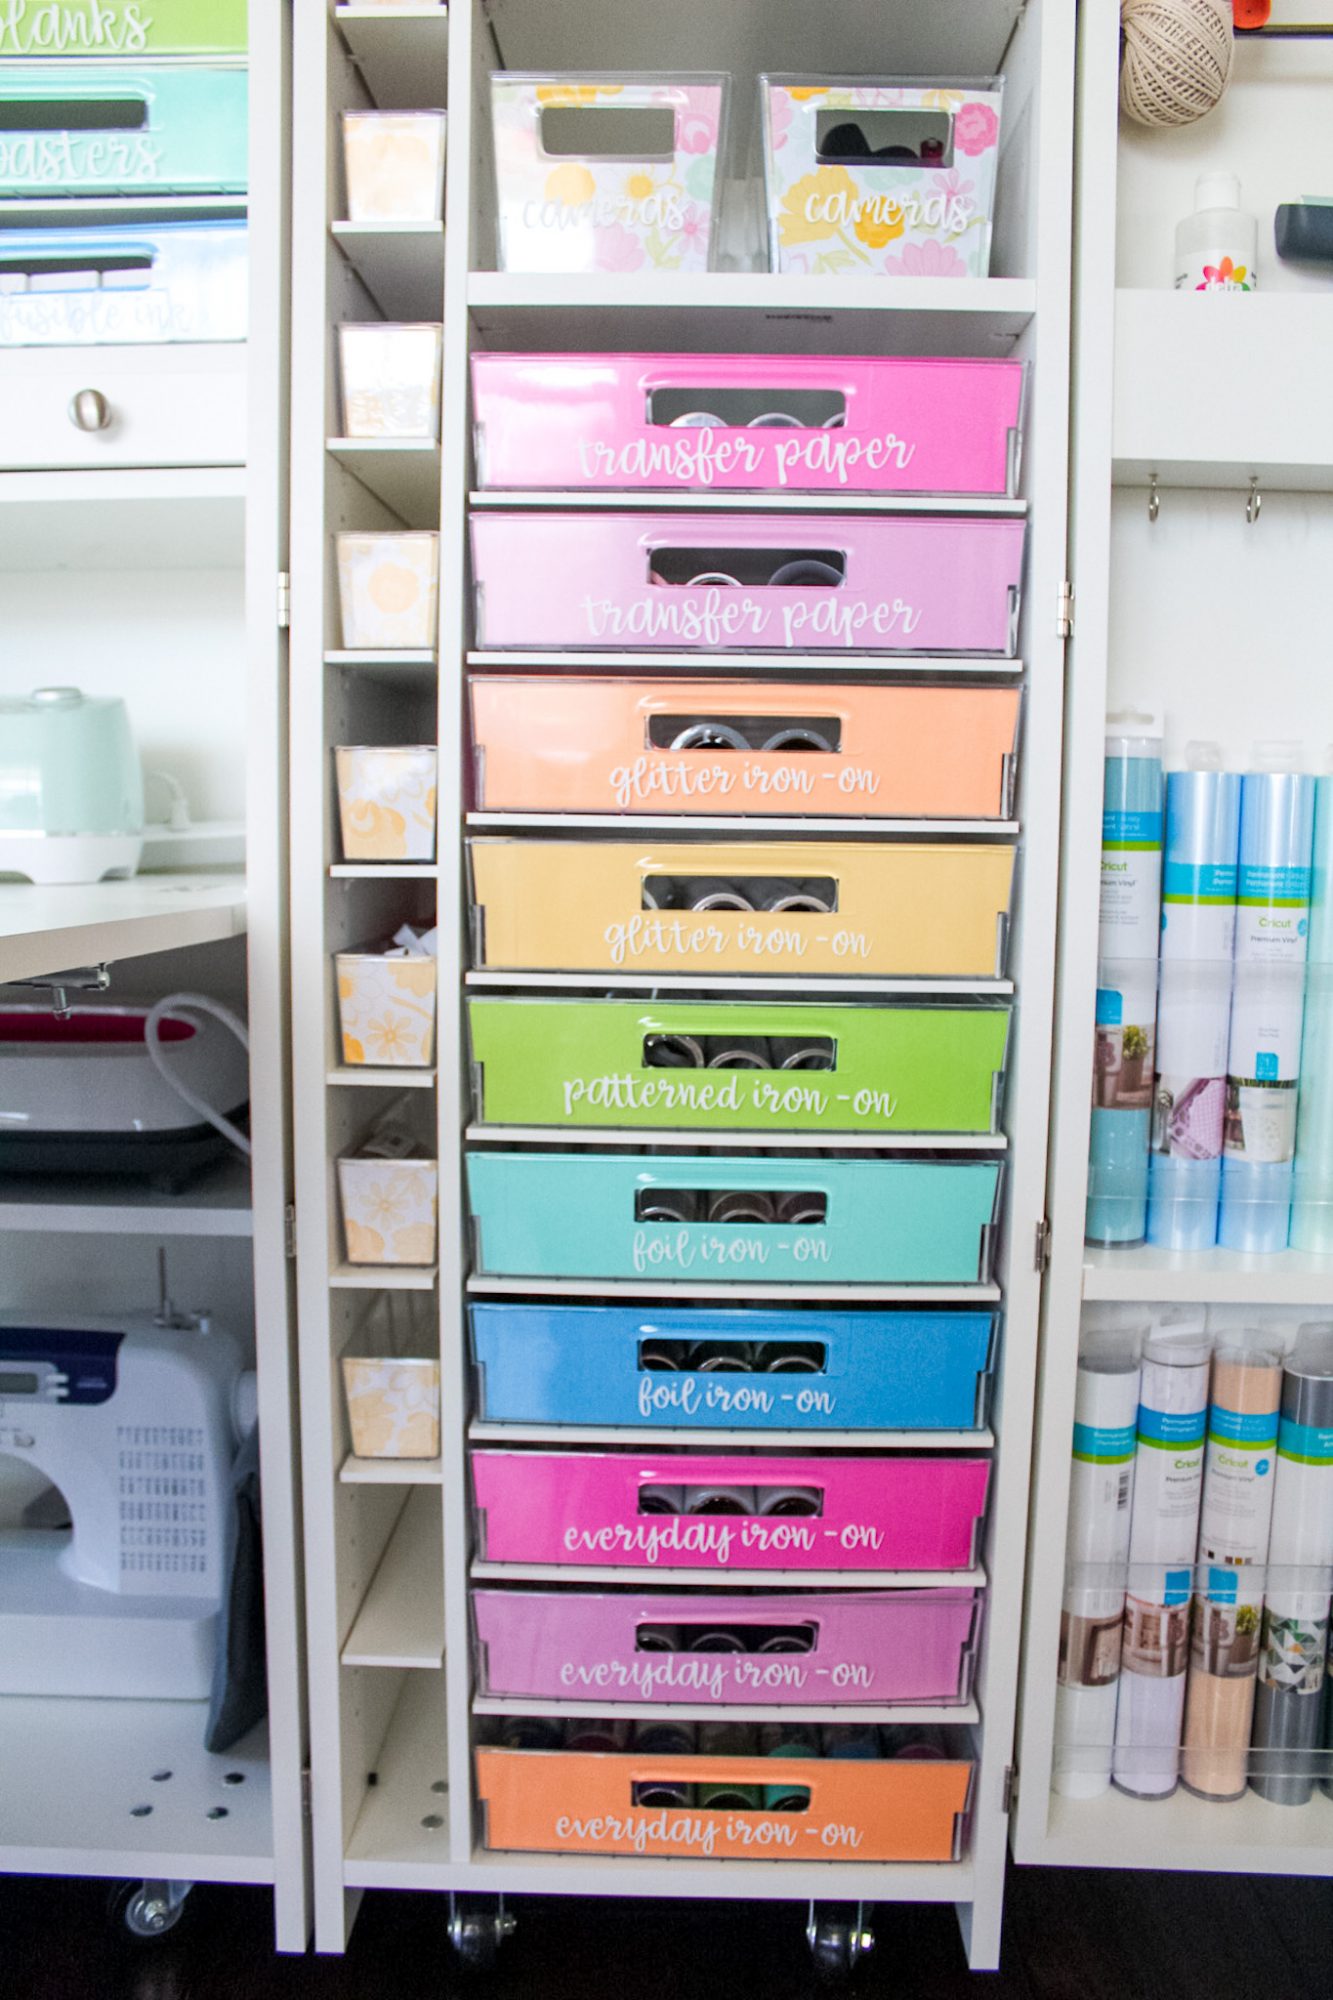
For my DreamBox, I used a mixture of different papers.
Some of them were regular colored cardstock, while others were patterned scrapbook paper I grabbed at the store on sale. 
I love the look of the covers in the totes – I feel like my DreamBox is that much more personalized and MINE this way!
How To Make These DIY Tote Covers For Your DreamBox
To make these tote covers for your DreamBox, I created these images based on Create Room’s recommendations for width and size.
You can access the free Cricut Design Space link HERE.
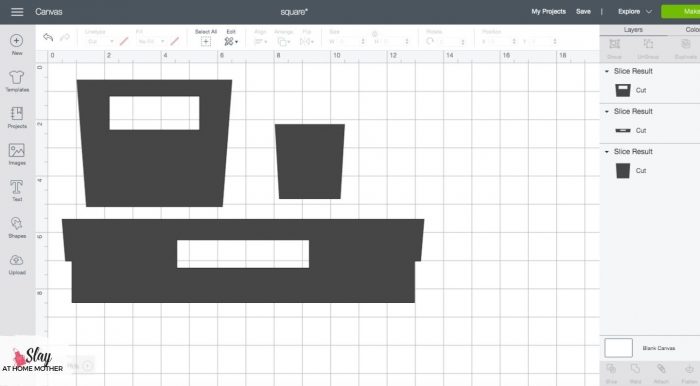
In the design, I have one image for each size of tote (Notions, Shoebox, and Large).
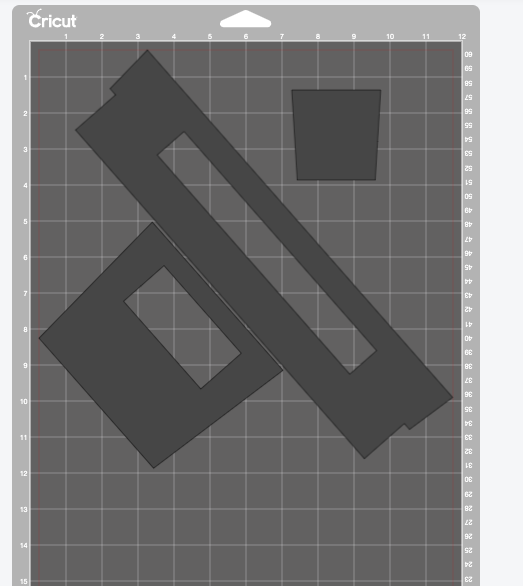
You can use a 12″x24″ Cricut LightGrip mat to cut these images, OR you can turn the images to the side once you are in the Make It screen (see screenshot below)…
Related: DreamBox Savings Tracker Printable
Access The FREE SVGS for your DreamBox totes
If you are using a program other than Cricut and prefer an SVG copy, I have one for each size:


Per Create Room’s recommendations…
- the large tote cover width should be 12.858″
- the shoebox tote cover width should be 5.497″
- the notions tote cover width should be 2.472″
You may or may not need to resize the SVGs depending on your computer settings and how the file downloads to your computer.
If you’re interested in buying a DreamBox, be sure to check out my full review HERE, and use code SLAYATHOMEMOTHER to save $100!
I hope you found this post helpful and were able to create your DreamBox tote covers with ease! Let me know in the comments below how long you’ve had your DreamBox!

Your Dream box is beautiful and you customized it so well. Can you share what font you used for the labeling?
Hi! Thank you so much. I believe it was a font called Cream Candy from DaFont.com. 🙂
Can you purchase the tote liners from someone if you can’t make them?
Of course 🙂 if you have a friend that has a Cricut, they’ll be able to use the Design Space link!