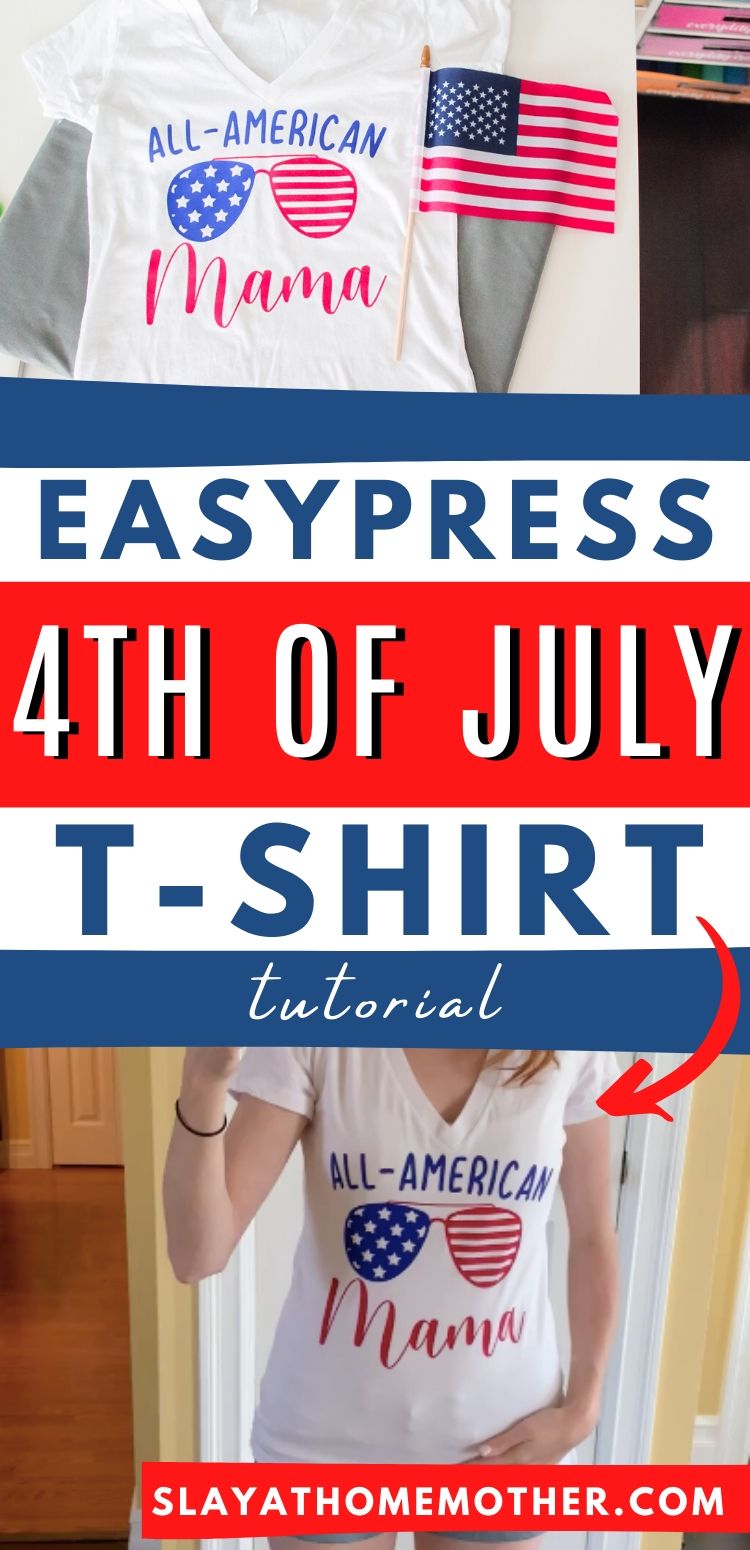
Break out your EasyPress 2 for this fun summer tutorial and make your own DIY Women’s 4th Of July Shirt!
The 4th of July is almost here!
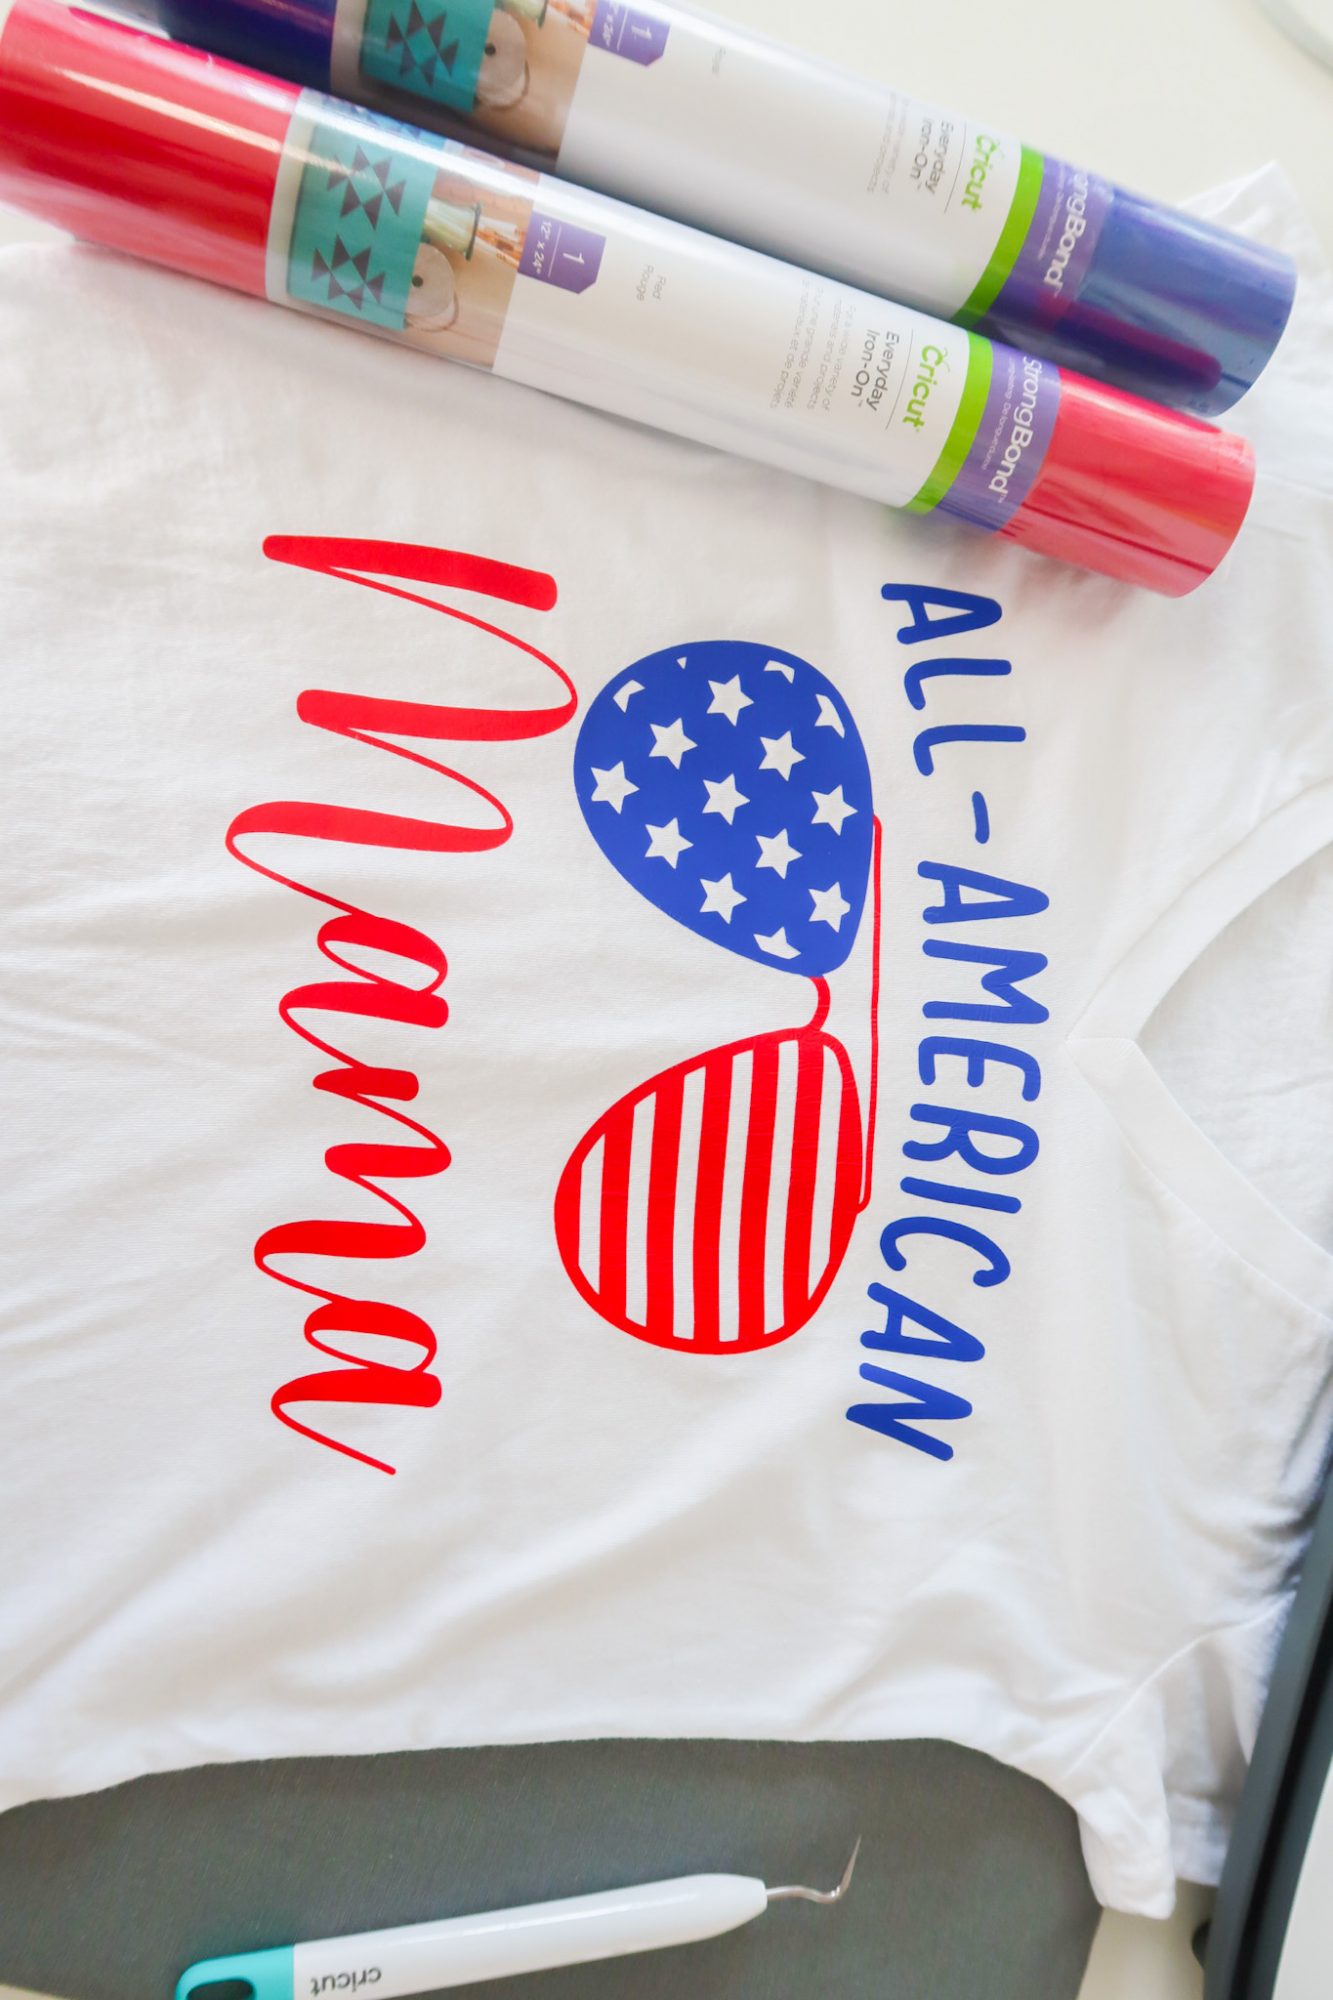
I recently shared my latest Cricut design with you guys on my Instagram (this shirt in this post!) and got a lot of positive feedback and requests for a tutorial.
Being a visual person myself, and knowing that a lot of my readers are as well, I decided to create a timelapse video that shows you how I created it from start to finish (see below).
While I know people are hesitant to put out their American flags these days because of the racial and political upset going on right now (and I completely understand that),
I feel that we, as a country, can still be patriotic and celebrate the fact that our country is moving towards effective CHANGE, and we can look forward to becoming a better country overall, together, and with heart.
That is the America that I am celebrating this year.
The American flag is also near and dear to my heart because of the long lineage of men and women in my family who have fought for our country – my husband’s family as well.
This shirt was so fun to create and I’m excited to share it with you all in this post today.
Let’s get crafty!

This post contains affiliate links, however, all opinions are my own, as always.
What You Need For This All-American Mama T-Shirt
- EasyPress 2 (I own the 12″x10″, which I would recommend for adult-size t-shirts such as this one)
- cotton t-shirt (this is the one I’m using, and it’s super soft!)
- EasyPress mat or towel to protect working surface
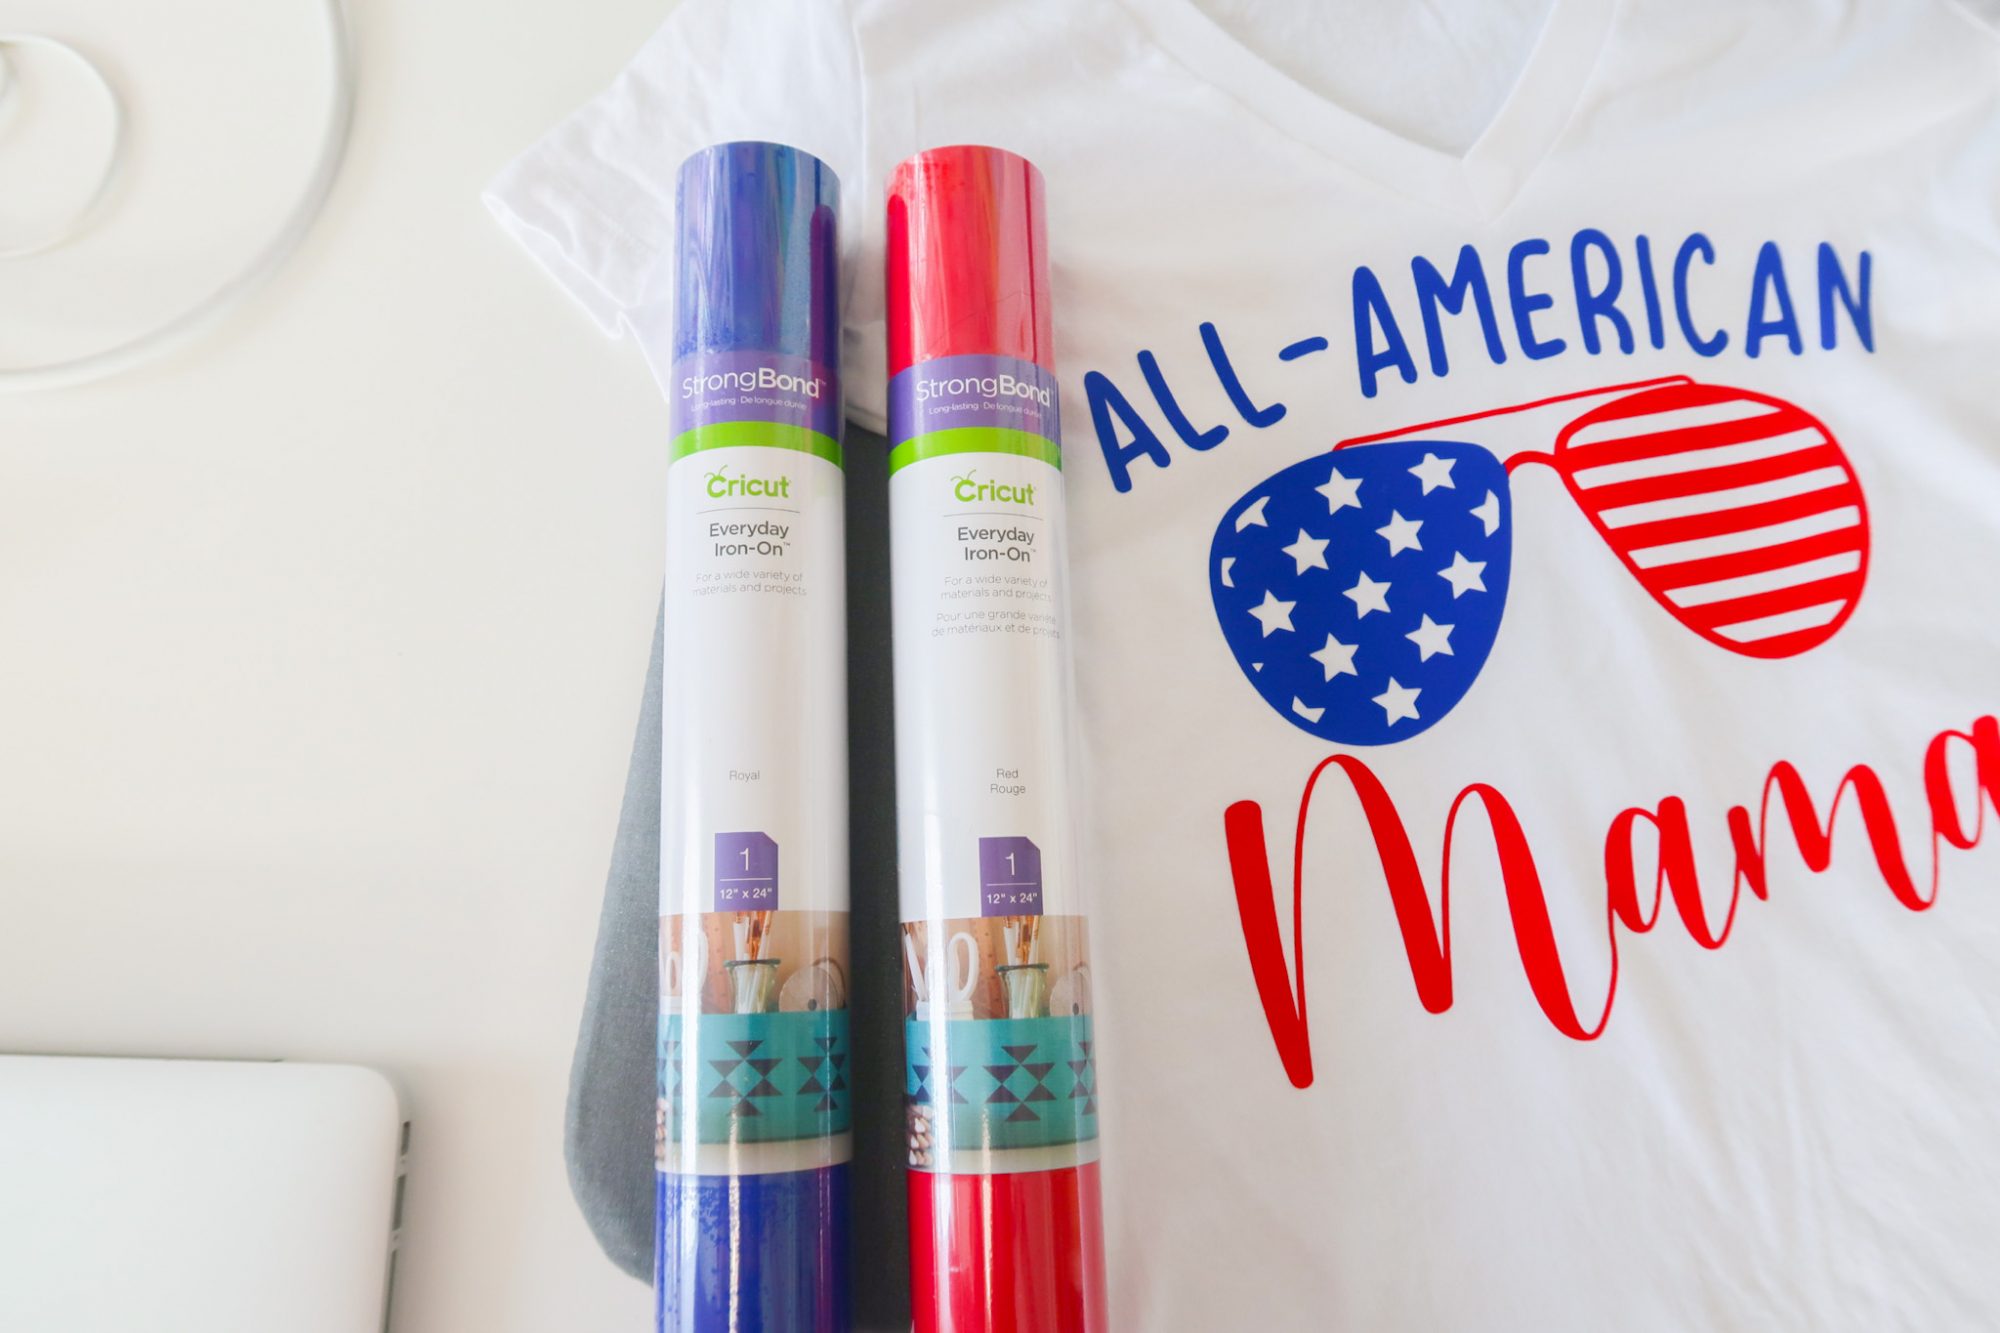
- everyday iron-on vinyl in Royal
- everyday iron-on vinyl in Red
- Cricut weeder
- StandardGrip mat (green)
- Explore Air 2 or Maker
- Extra piece of cloth
How To Make This T-Shirt
First, you can access this design by clicking the link HERE.
Feel free to add, change, or customize the design to suit your needs.
The video below shows you how I SLICED the sunglasses graphic in Design Space so I could make them two different colors(the graphic is not naturally like this).
Once ready, begin cutting the material on each color with the MIRROR ON option selected, and the shiny part of the iron-on pressed to the StandardGrip mat.
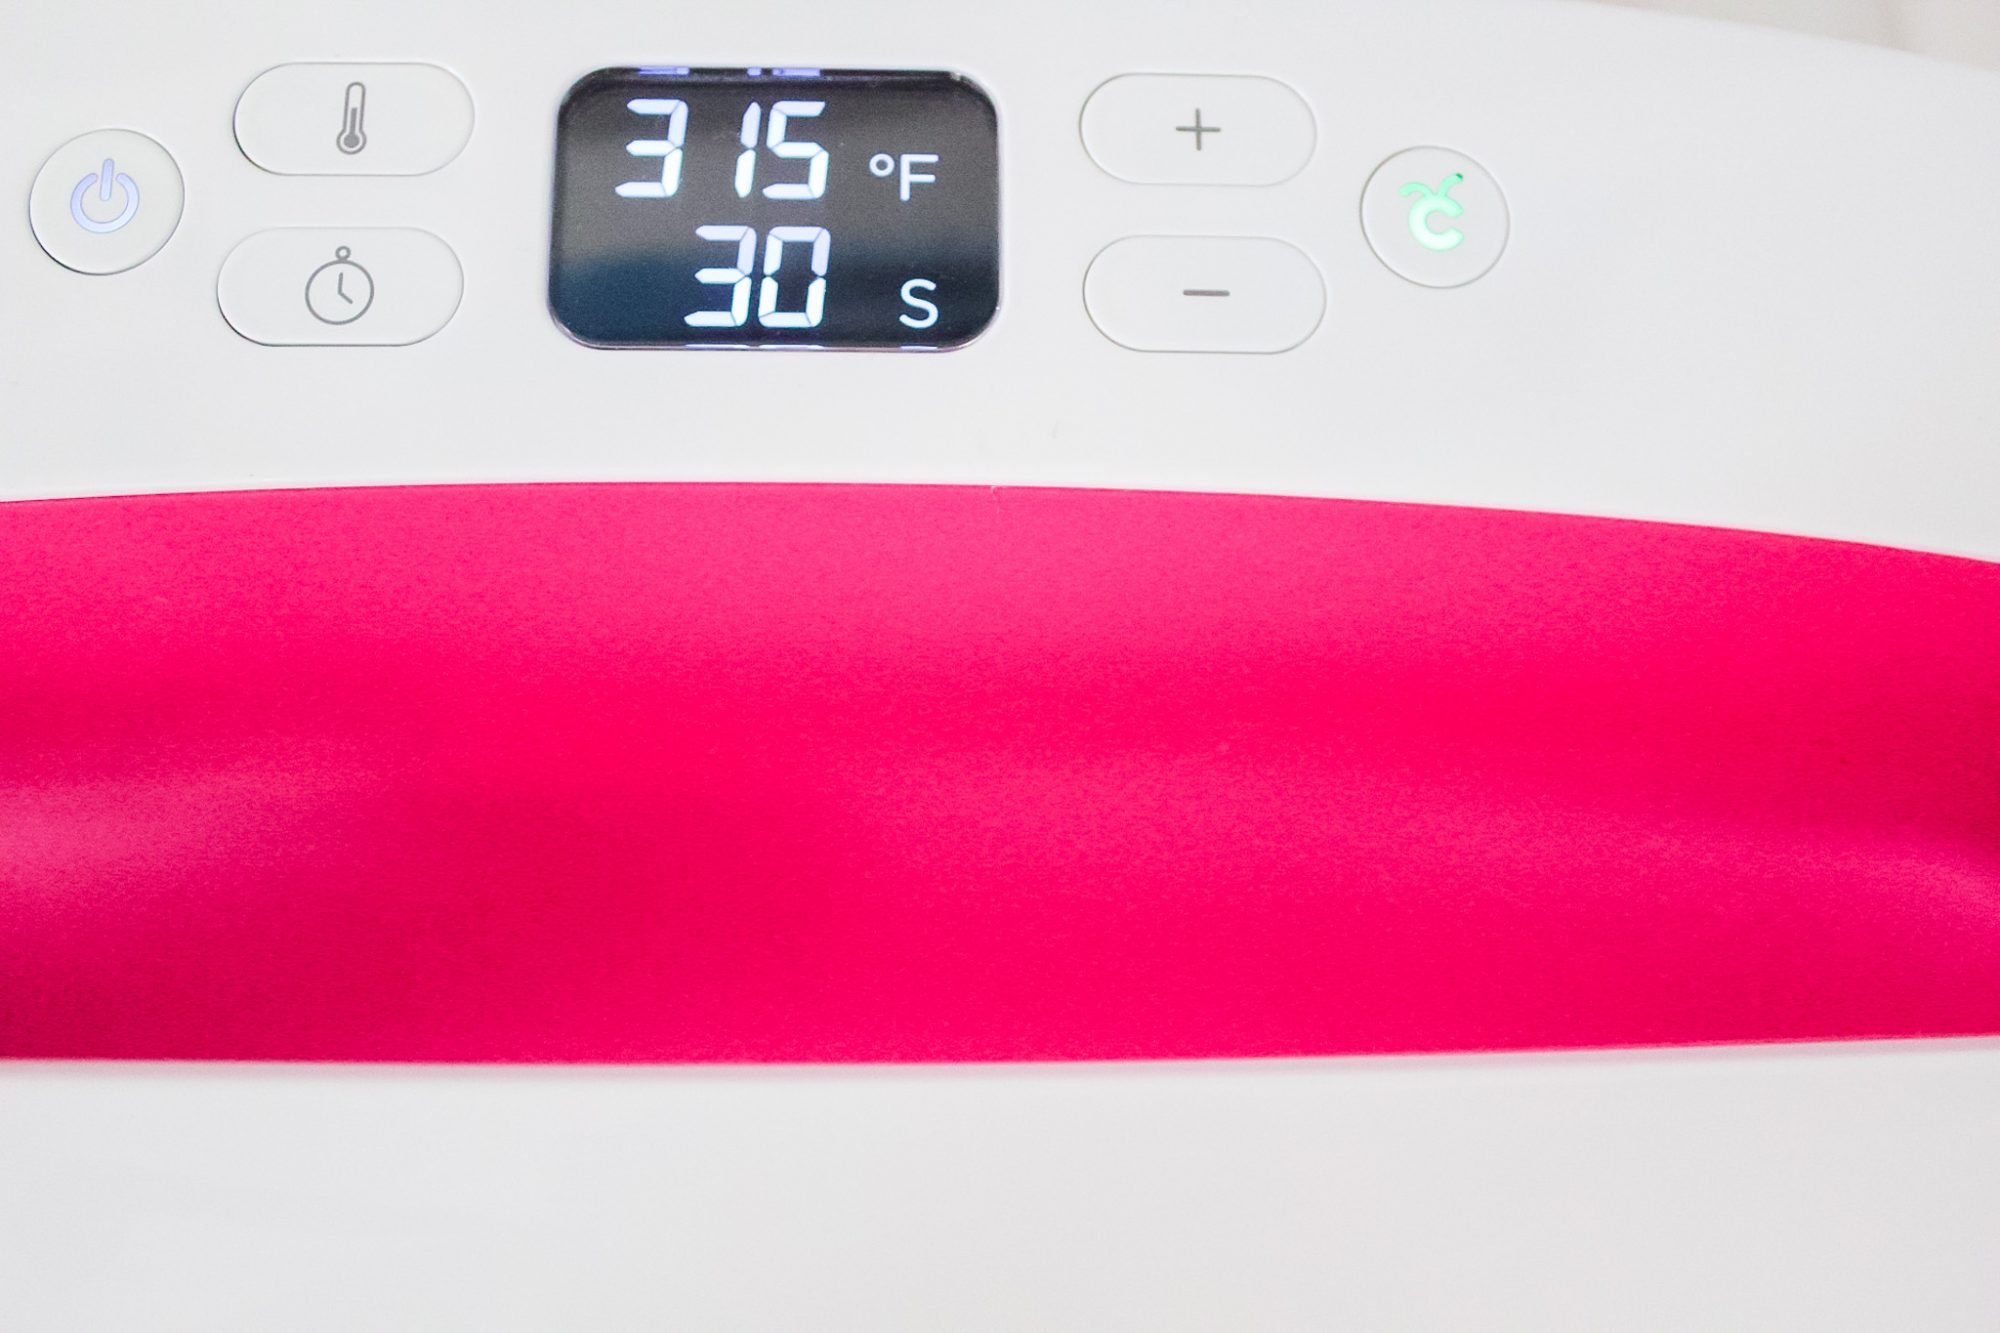
Preheat your EasyPress 2 to 315 degrees Fahrenheit, and set your timer for 30 seconds while your Cricut machine is cutting the iron-on vinyl designs.
Remove the iron-on vinyl from the mat, and weed excess vinyl from the design.
Preheat your cotton shirt by placing the EasyPress 2 on the front of the shirt where your design will go for 5 seconds. This ensures better adhesion.
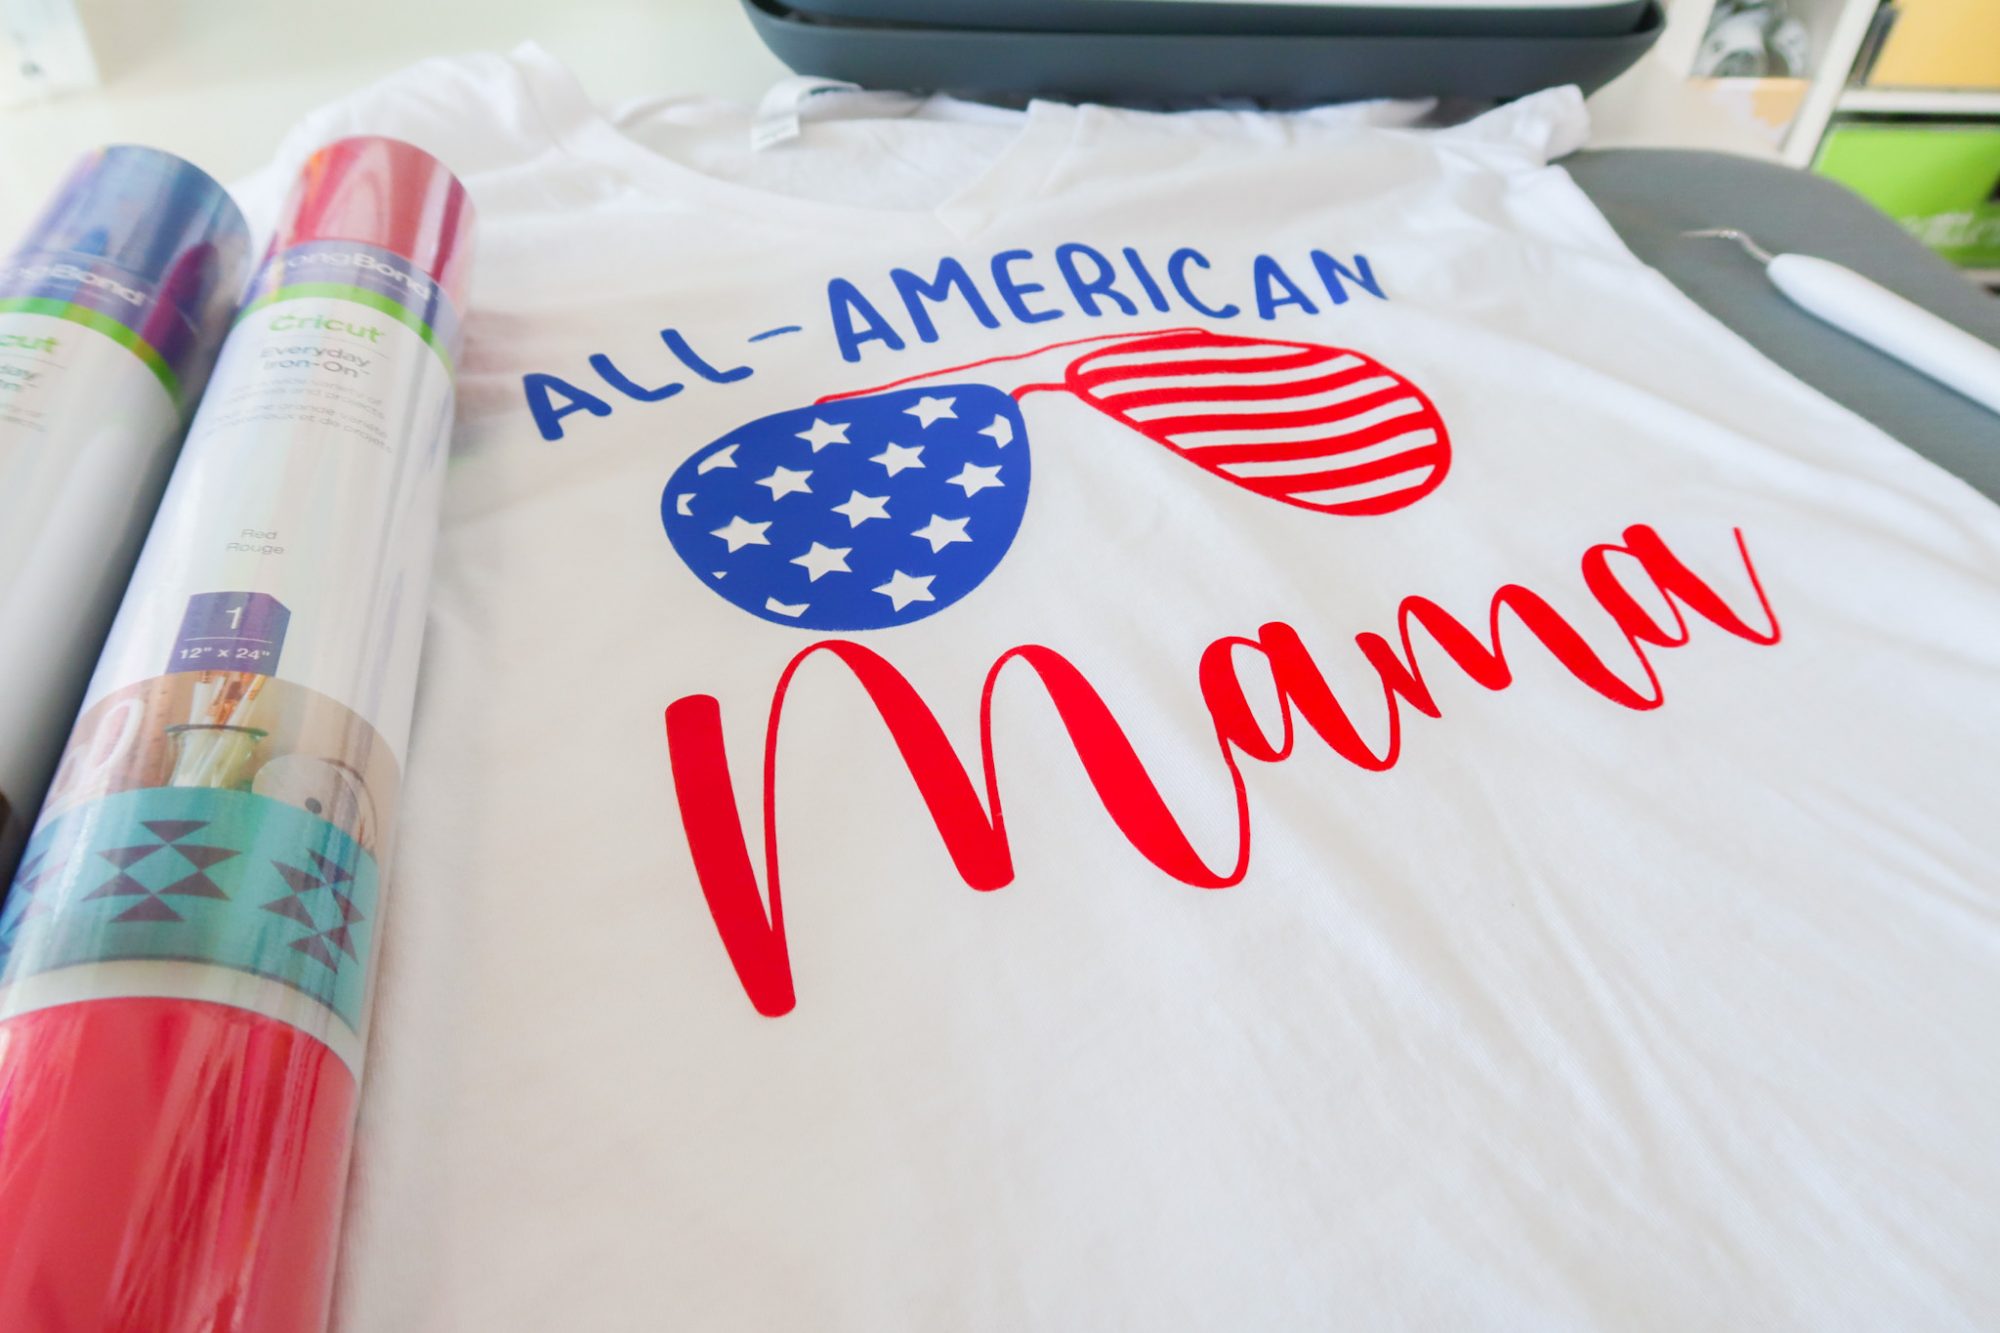
Apply the design, one color at a time, to your shirt, cover the iron-on material with a towel or extra piece of fabric and press your EasyPress 2 with light pressure on the design for 30 seconds.
The video below goes through this entire process, if you’re a visual person!
Once 30 seconds is up, flip your shirt to the back, and press lightly with the EasyPress 2 for 15 more seconds.
Flip the shirt back over so the front is facing you, and *once the material has cooled*, lift up the plastic fro the vinyl.
This is called a cool peel.
Depending on your material selection, you may need to lift the plastic from the vinyl either while it is still warm or after it has cooled. This can be determined using Cricut’s Heat Guide linked here and is completely dependent on the type of material you are adhering, the material you are adhering to, and what surface you’re working with (i.e. the EasyPress mat vs. a towel).
Apply the second color to the shirt using the same process.
Once you are done, it’s time to admire your work and wear your shirt out!
Thank you all so much for reading this post, I hope it helped you either design your own shirt or create one for yourself (or friends and family!). It was so fun to create and put-together. If you love crafting as much as I do (and I seriously looooove it), check out these other crafting posts I’ve recently completed:
5 Ways To Get Your Home Organized With Cricut Joy
DIY Customized Baby Shoes With The EasyPress Mini
DIY Water Bottle Tracker Decals ($5 Skinny Tumbler Tutorial)
How To Create A Monogram In Design Space ($5 DIY Keychains With Monograms)
DIY Monogram Tumbler (Easy $4 Mermaid Tumbler Tutorial)
What Is Infusible Ink (Easy DIY Infusible Ink Coasters Tutorial)
How To Use Glitter Iron-On Vinyl ($7 DIY Pillow Covers With Glitter Iron-On)
Print Then Cut Cricut Tutorial: Easy DIY Stickers for About $0.12!

Leave a Reply