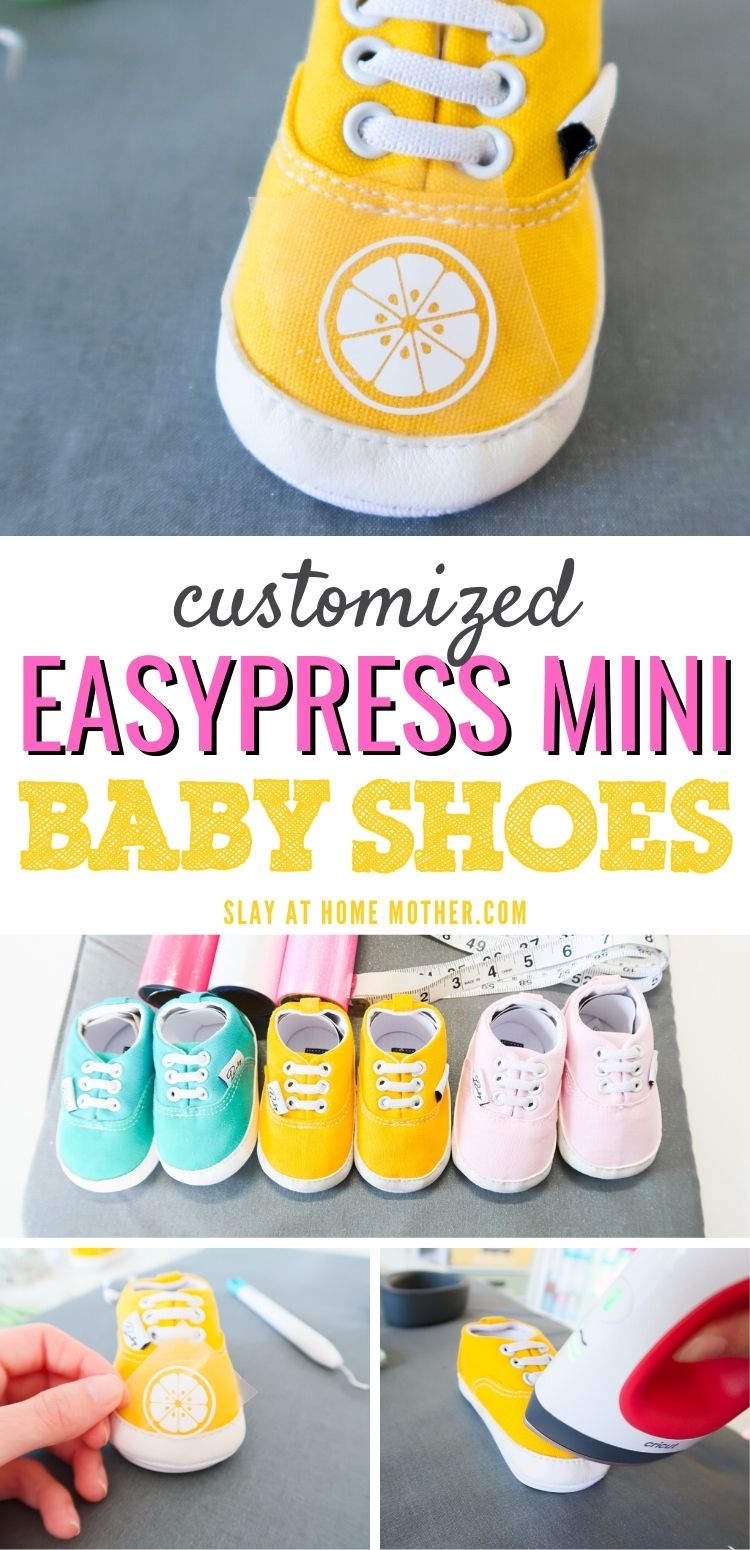
Make your own DIY Customized Baby Shoes using the EasyPress Mini and your imagination! These shoes turned out to be adorable and so easy to make…
*This post is not sponsored but does contain affiliate links. All opinions are my own, as always.
Hi, lovelies! I am so excited to share this project with you as it’s my very first craft with the Cricut EasyPress mini!
It’s also a crafting post, and those are probably my favorite because I have so much fun putting them together.
Crafting has always been an escape for me, and I know it is also a passion for many of my loyal readers.
I also recently partnered with Cricut to give away one of these bad boys on my Instagram…
https://www.instagram.com/p/CAQoXCAgBjG/
Be sure to follow me on that platform and keep an eye out for other big giveaways I feature from time to time for my readers and audience!
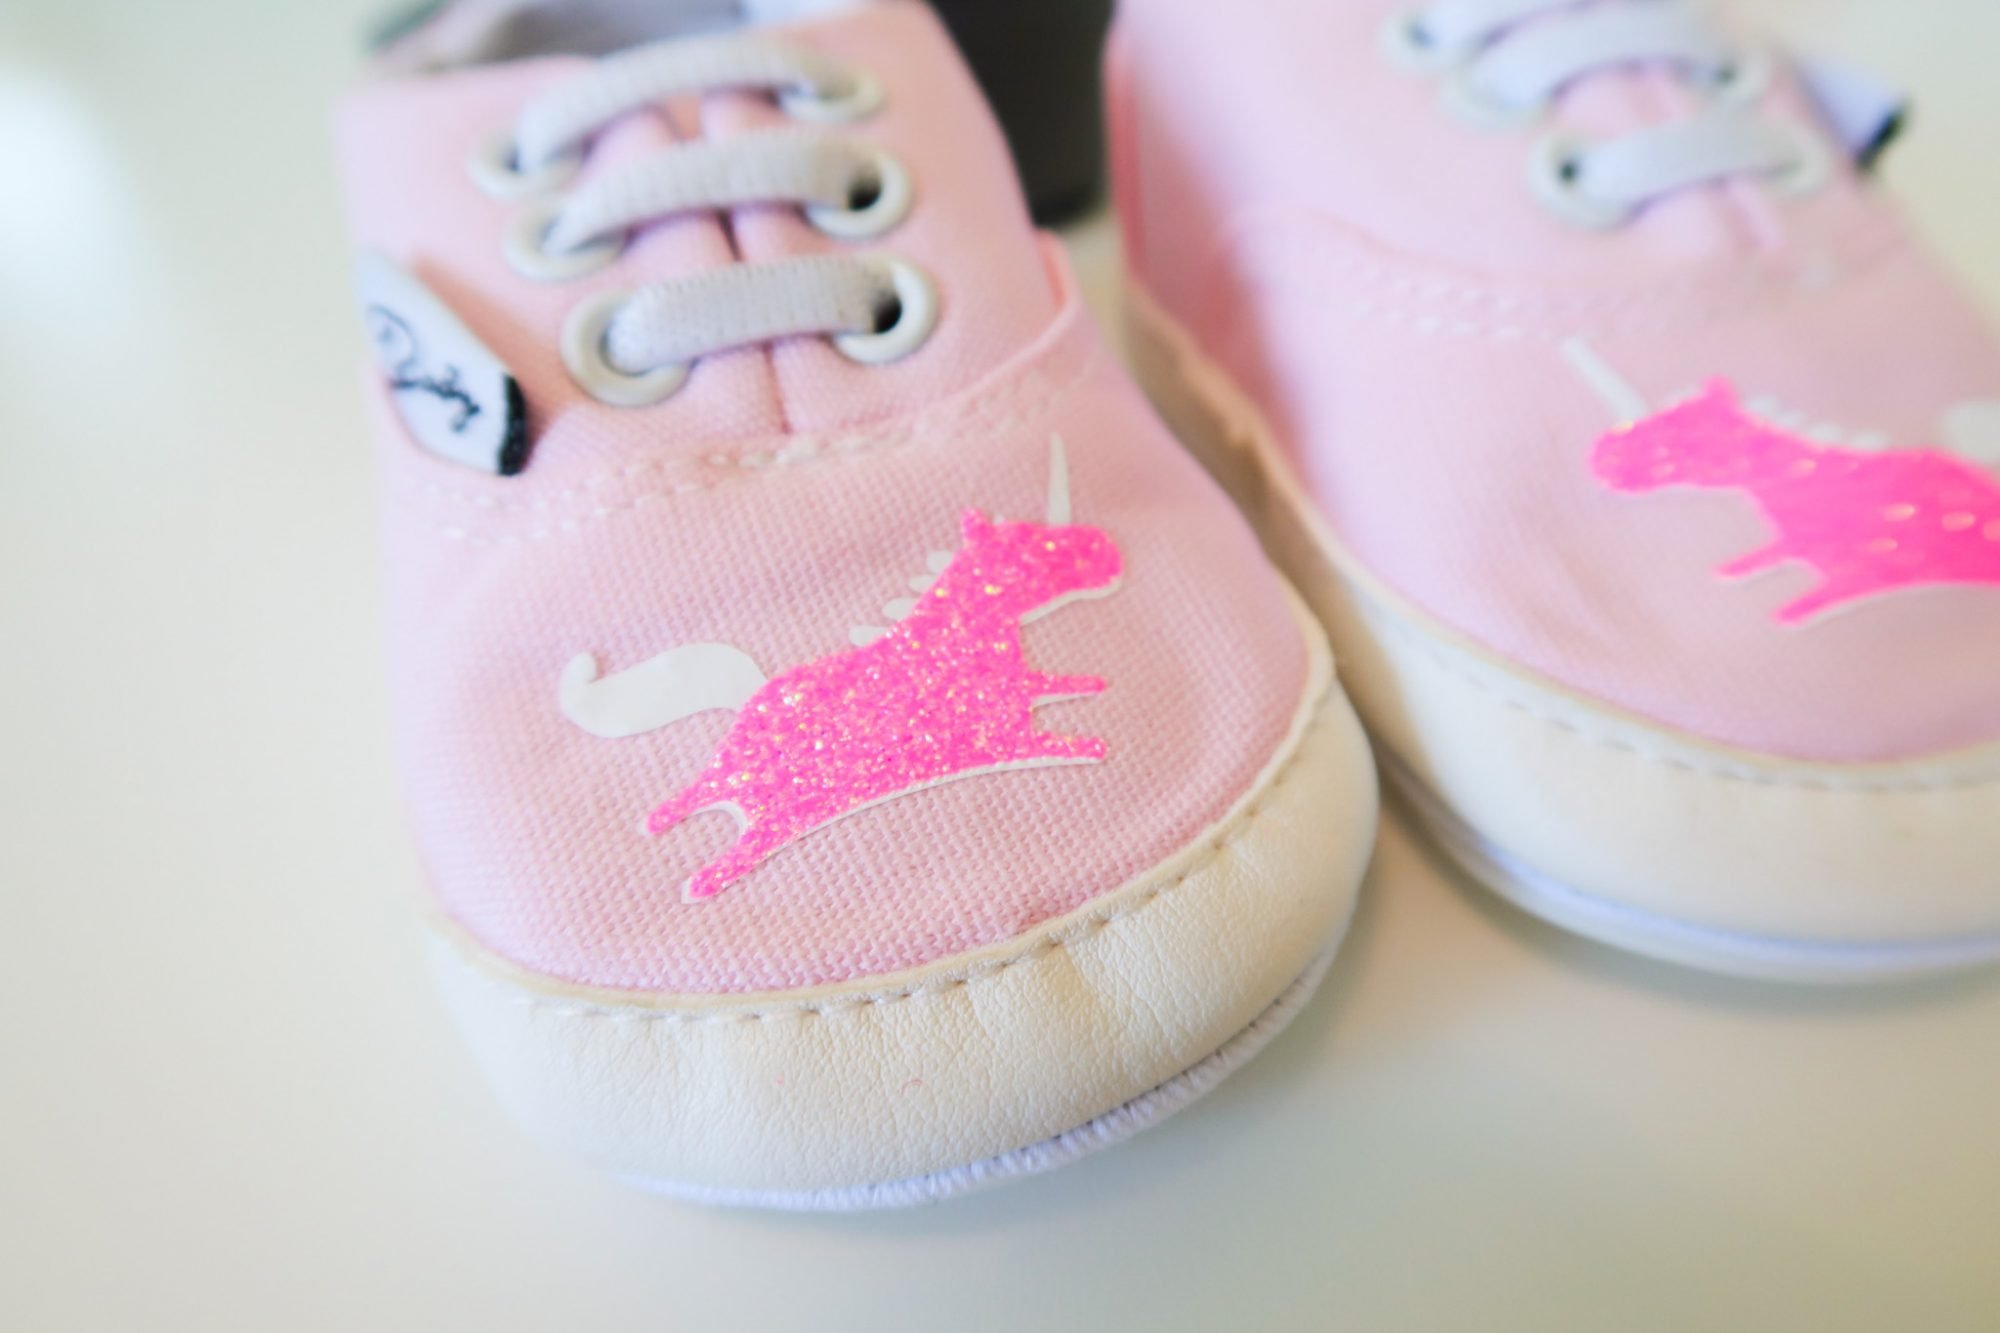
In today’s post, I’m sharing my first craft with my new EasyPress Mini, which are some DIY customized shoes for little Miss Zoey, my beautiful daughter who just turned 4 months old!
She won’t be able to wear these shoes for a few months yet, but they’ll be ready for her once her feet grow a little ;).
WHAT YOU NEED
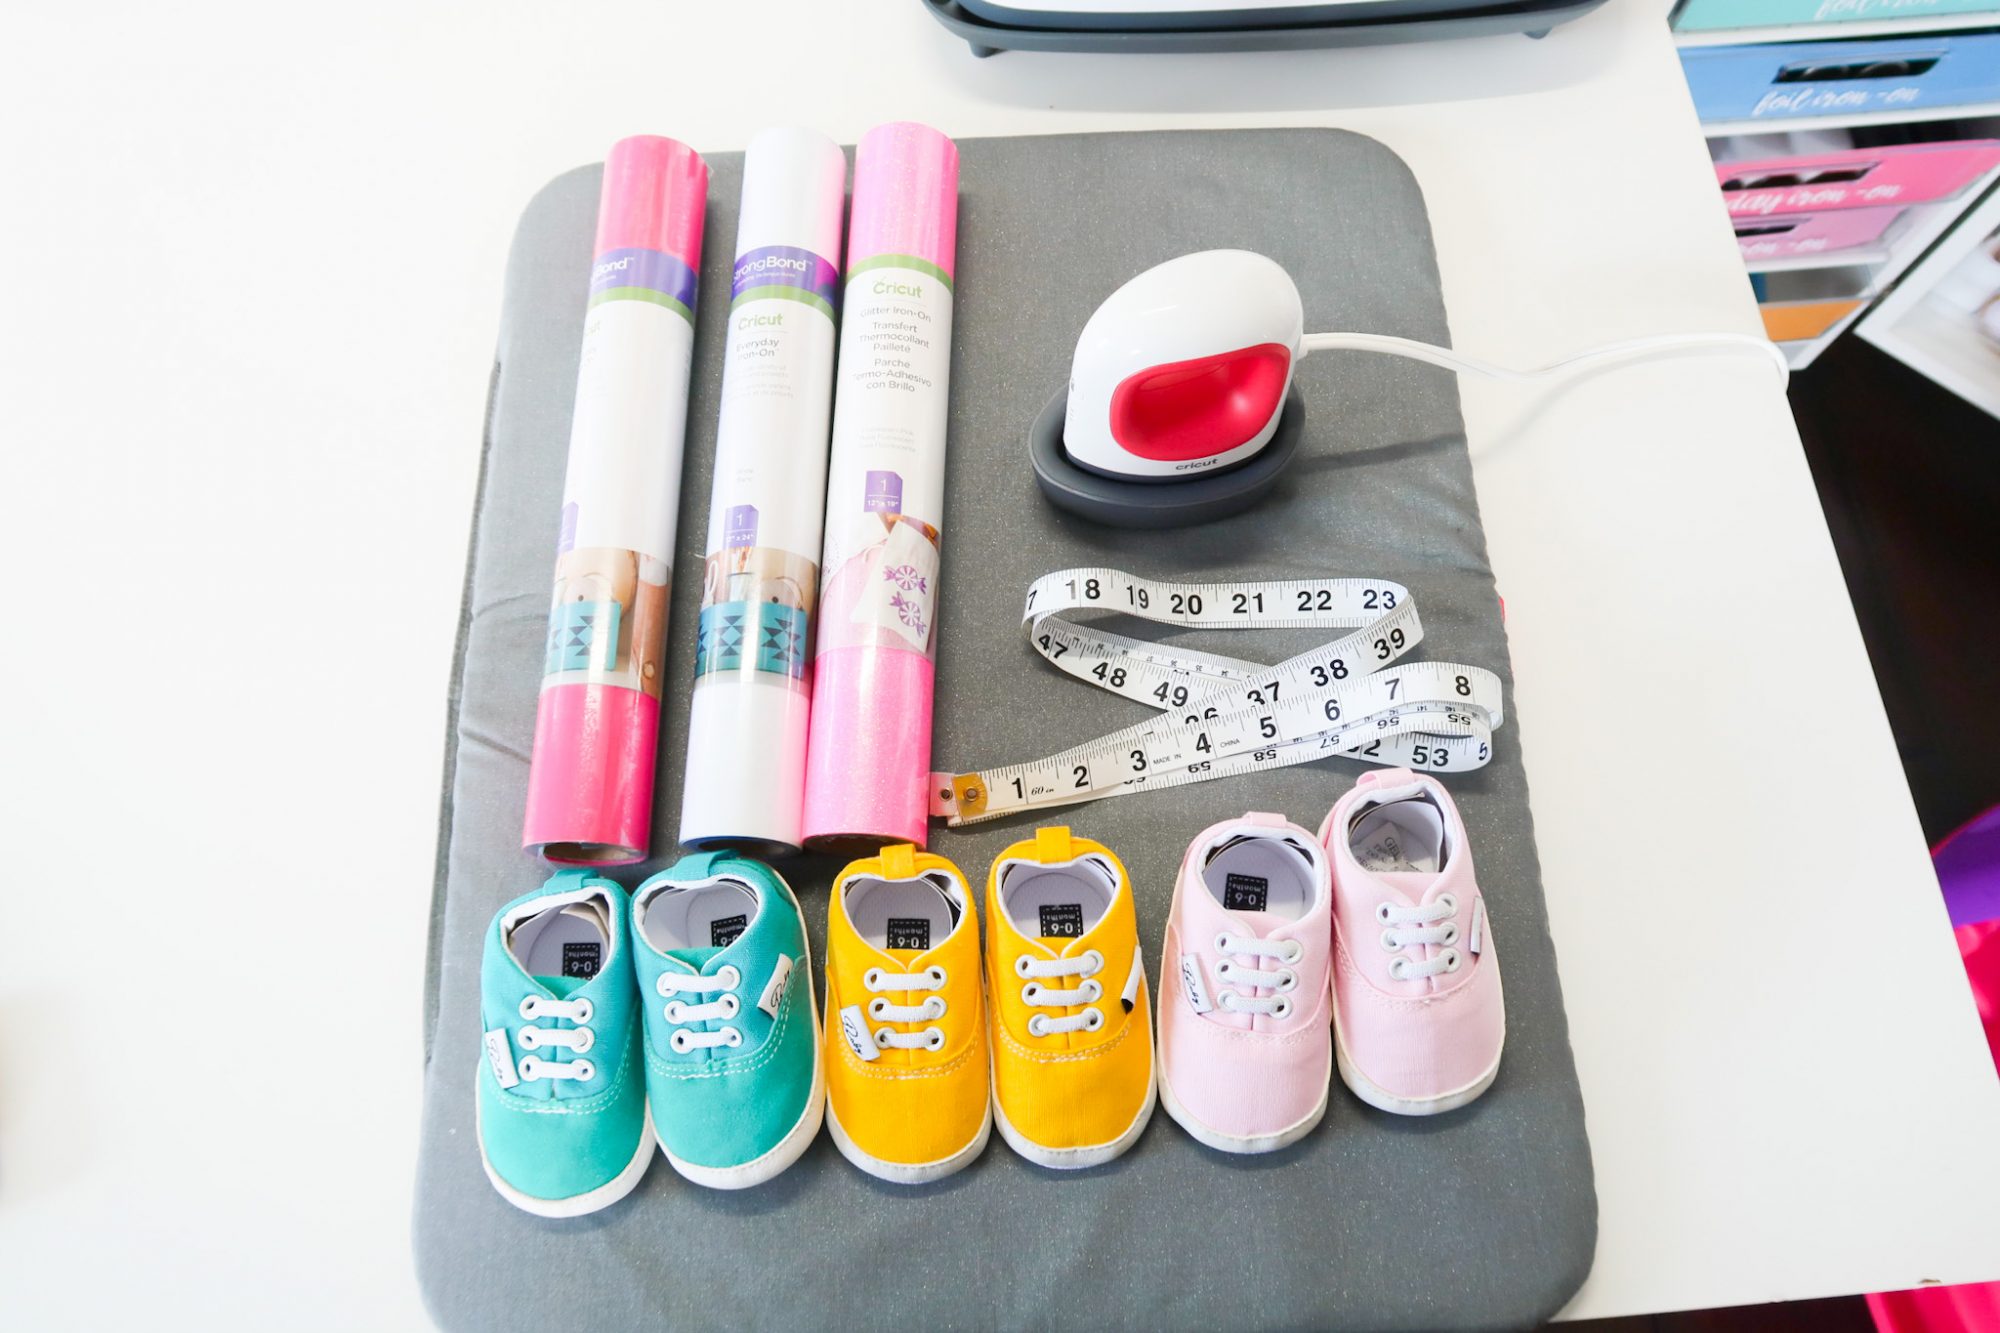
To create these adorable customized baby shoes, you’ll need:
- baby shoes (like these I found on Amazon)
- measuring tape or a ruler
- iron-on (I’m using everyday iron-on and glitter iron-on)
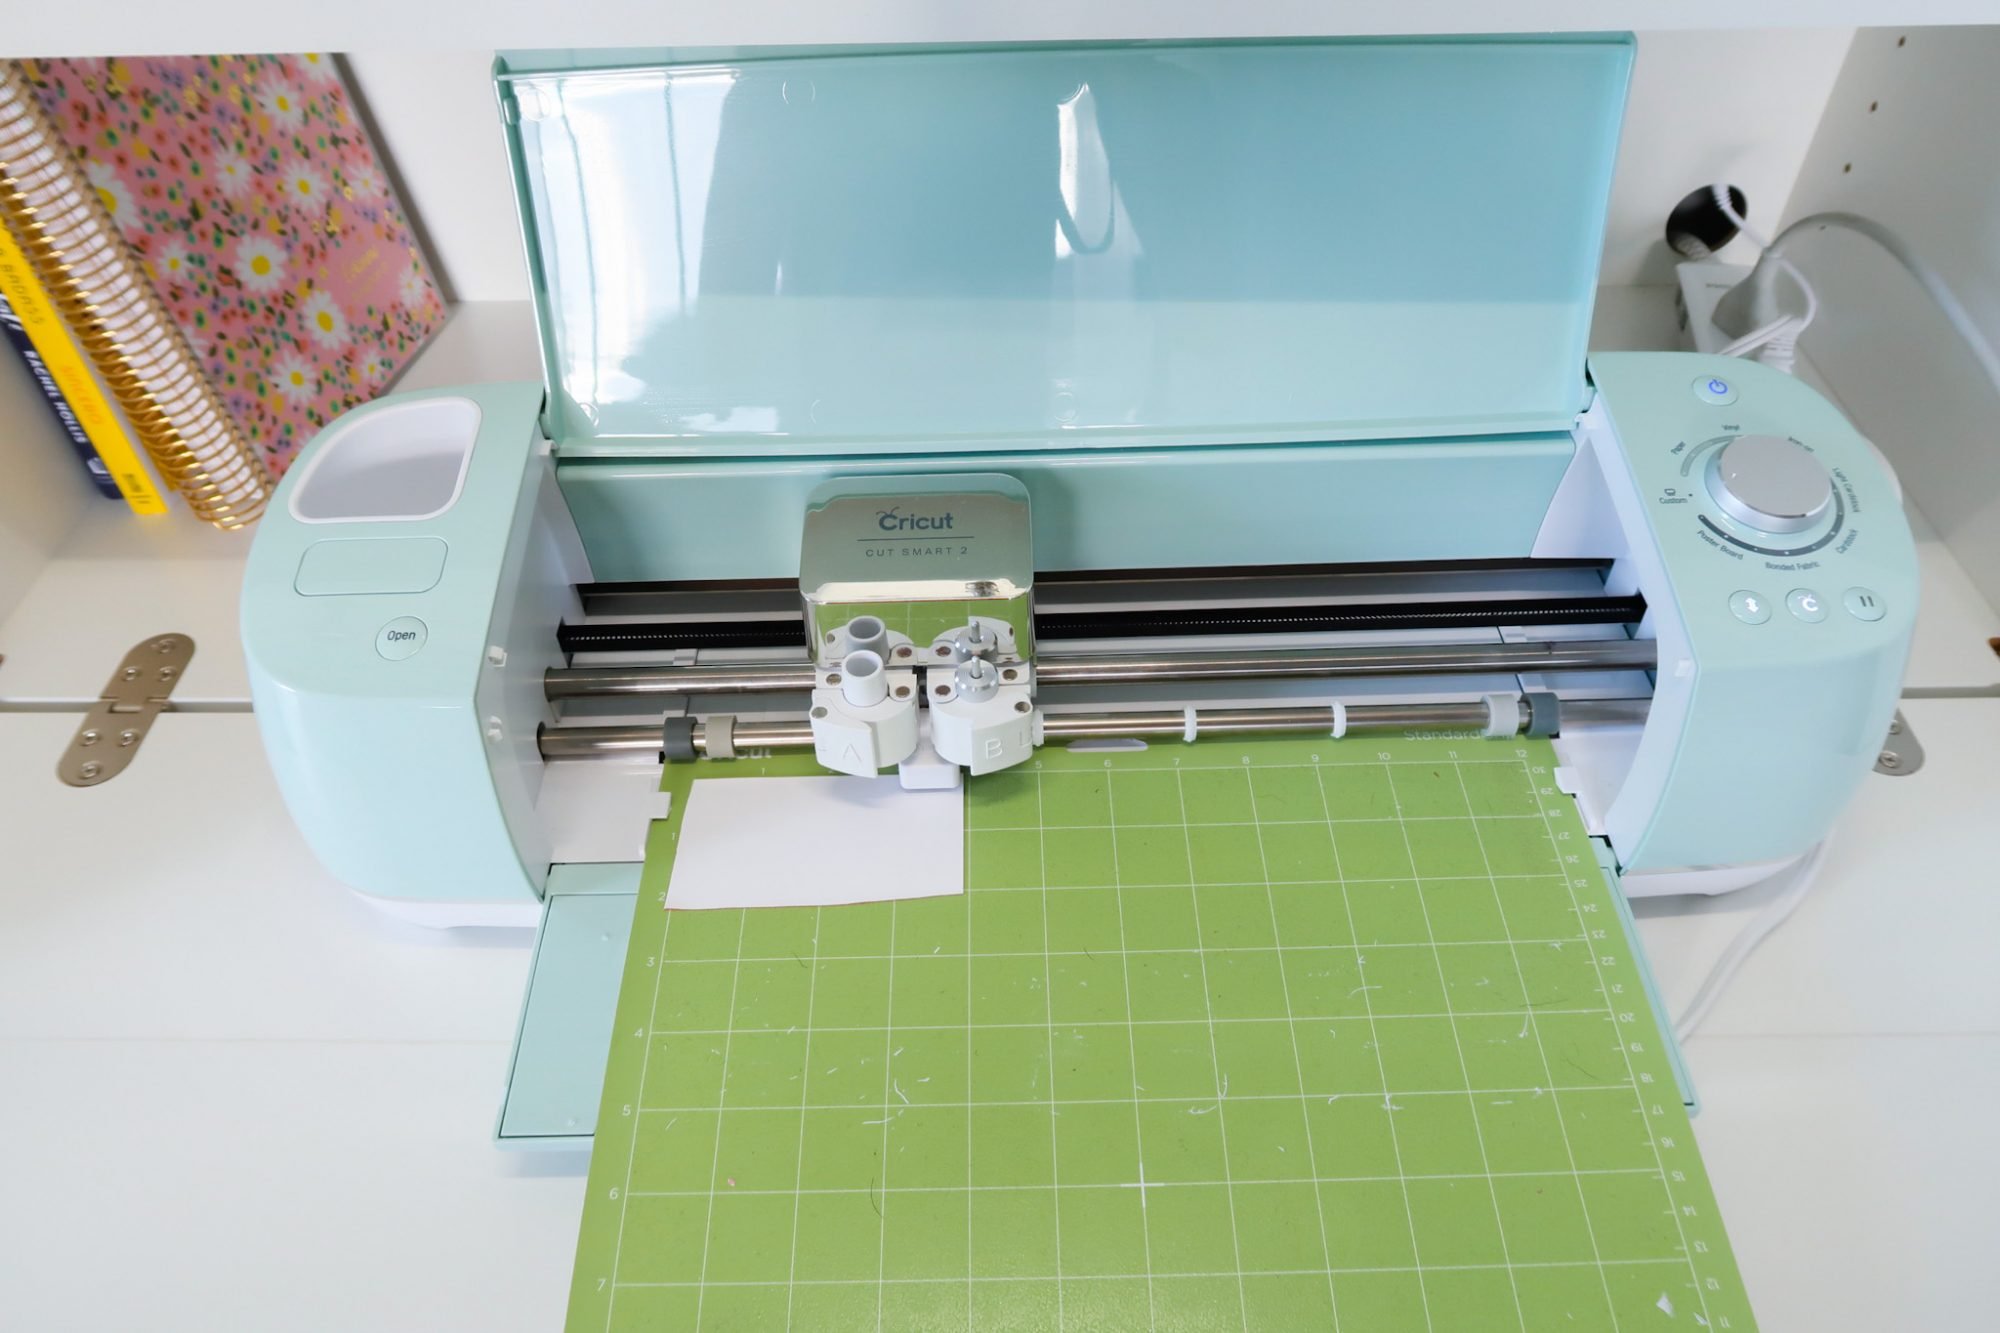
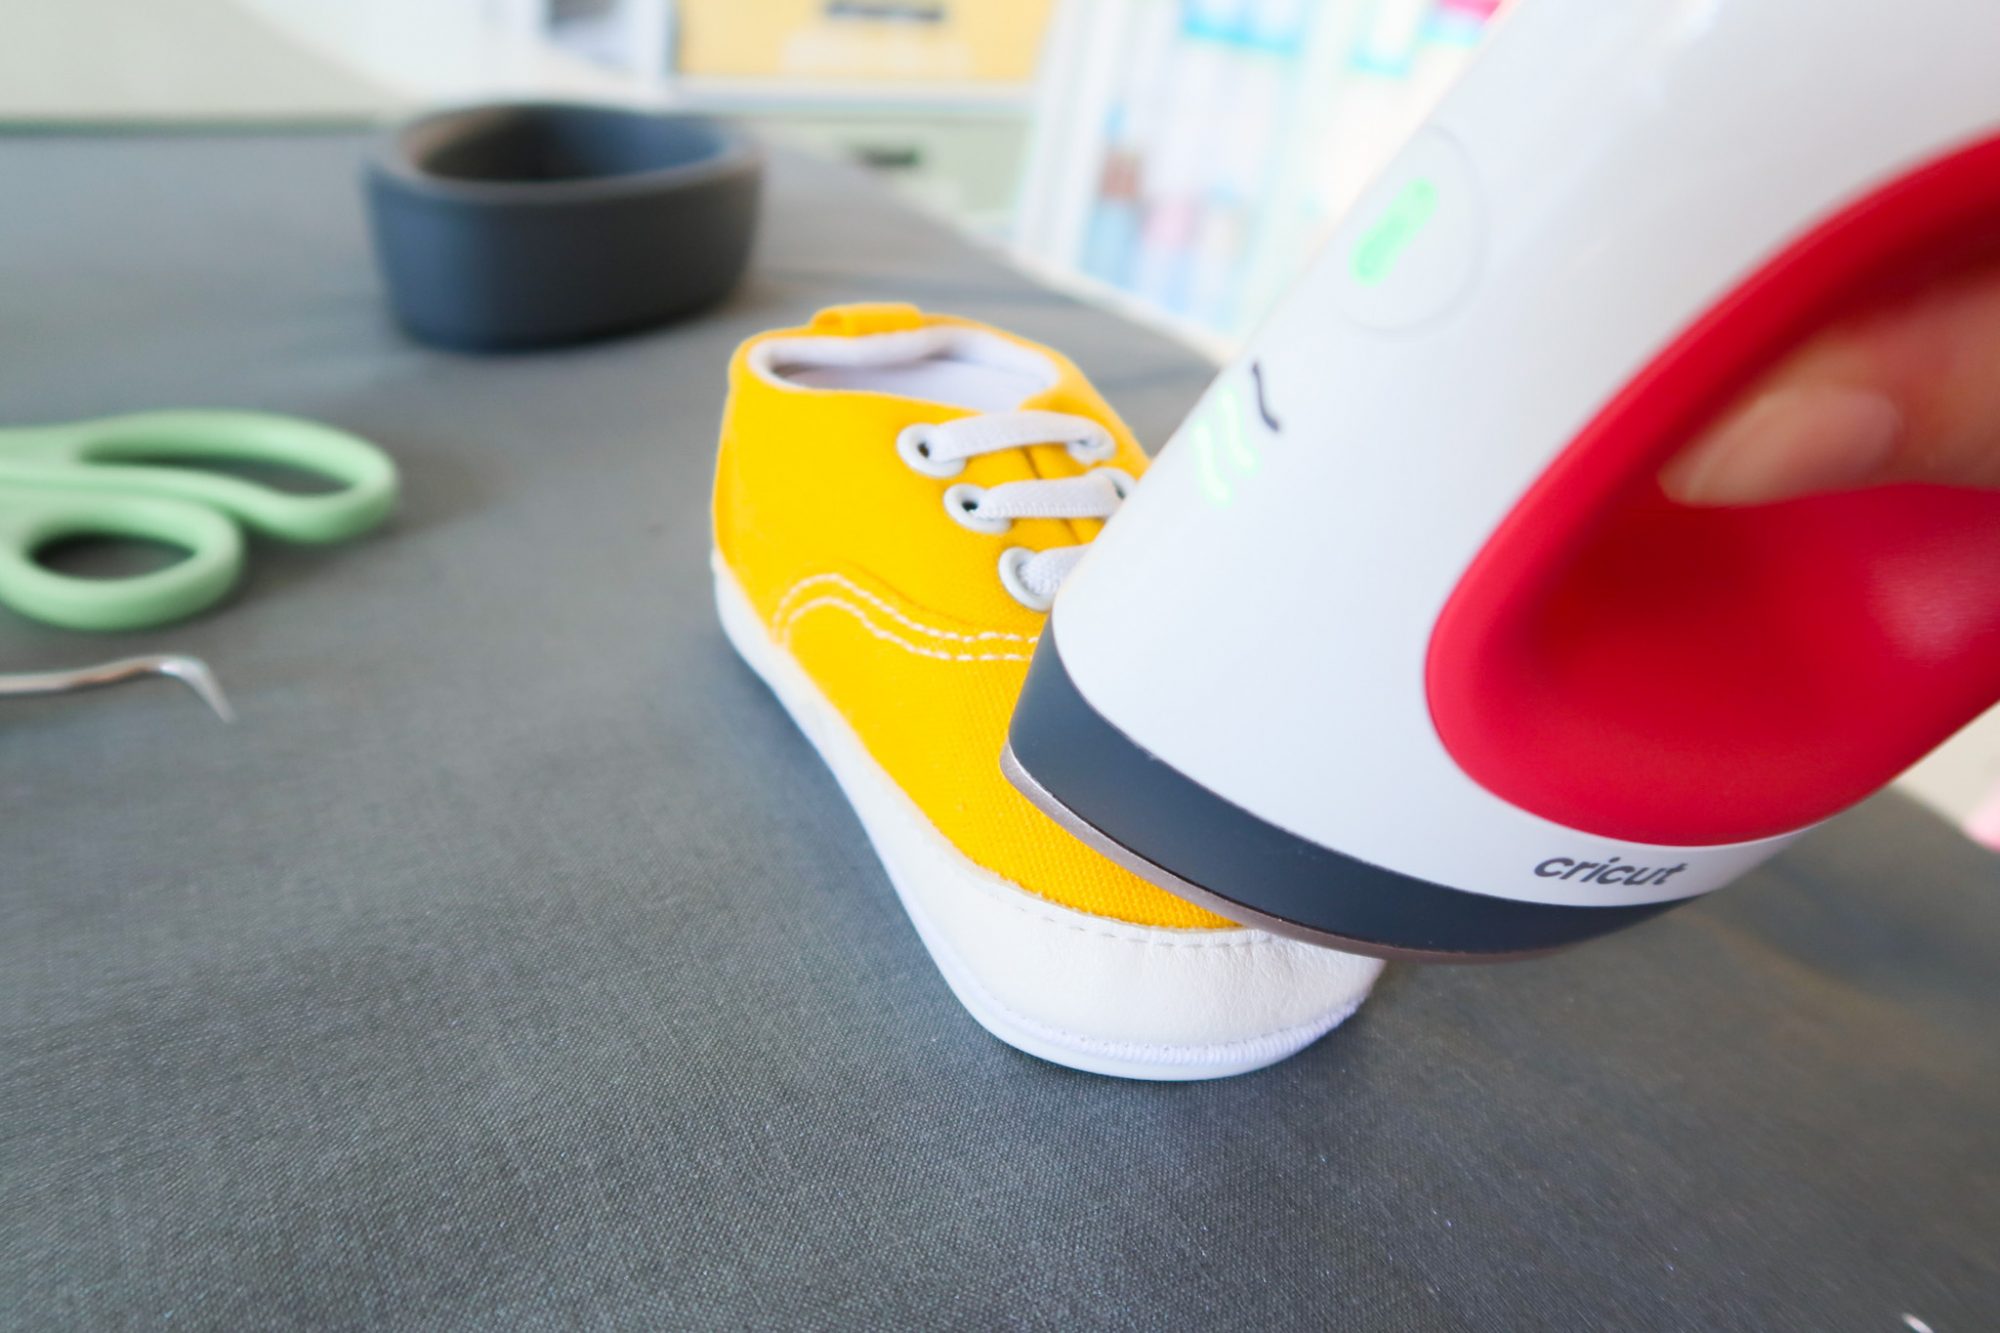
- EasyPress Mini
I know I have the EasyPress mat pulled out and featured in the picture above, but you don’t really need it. I’m paranoid since getting my DreamBox (you can read that post HERE) and don’t want to do anything to damage y desk surface so I placed the EasyPress mat between my desk and the Mini.
But, again, I’m just paranoid.
And I’m used to pulling it out when I use my regular EasyPress 2 12″x10″.
There’s a nifty base to set your EasyPress Mini on when it’s in use (or cooling down) that helps protect your working surface from burns or heat!
Create DIY Iron-On Designs In Cricut Design Space
To customize your baby shoes, you’ll need to come up with a design for them! This can be done easily in Design Space, especially if you have Cricut Access.
If you want to copy the design I’m using in this post, you can access my design featured in this blog post by clicking HERE.
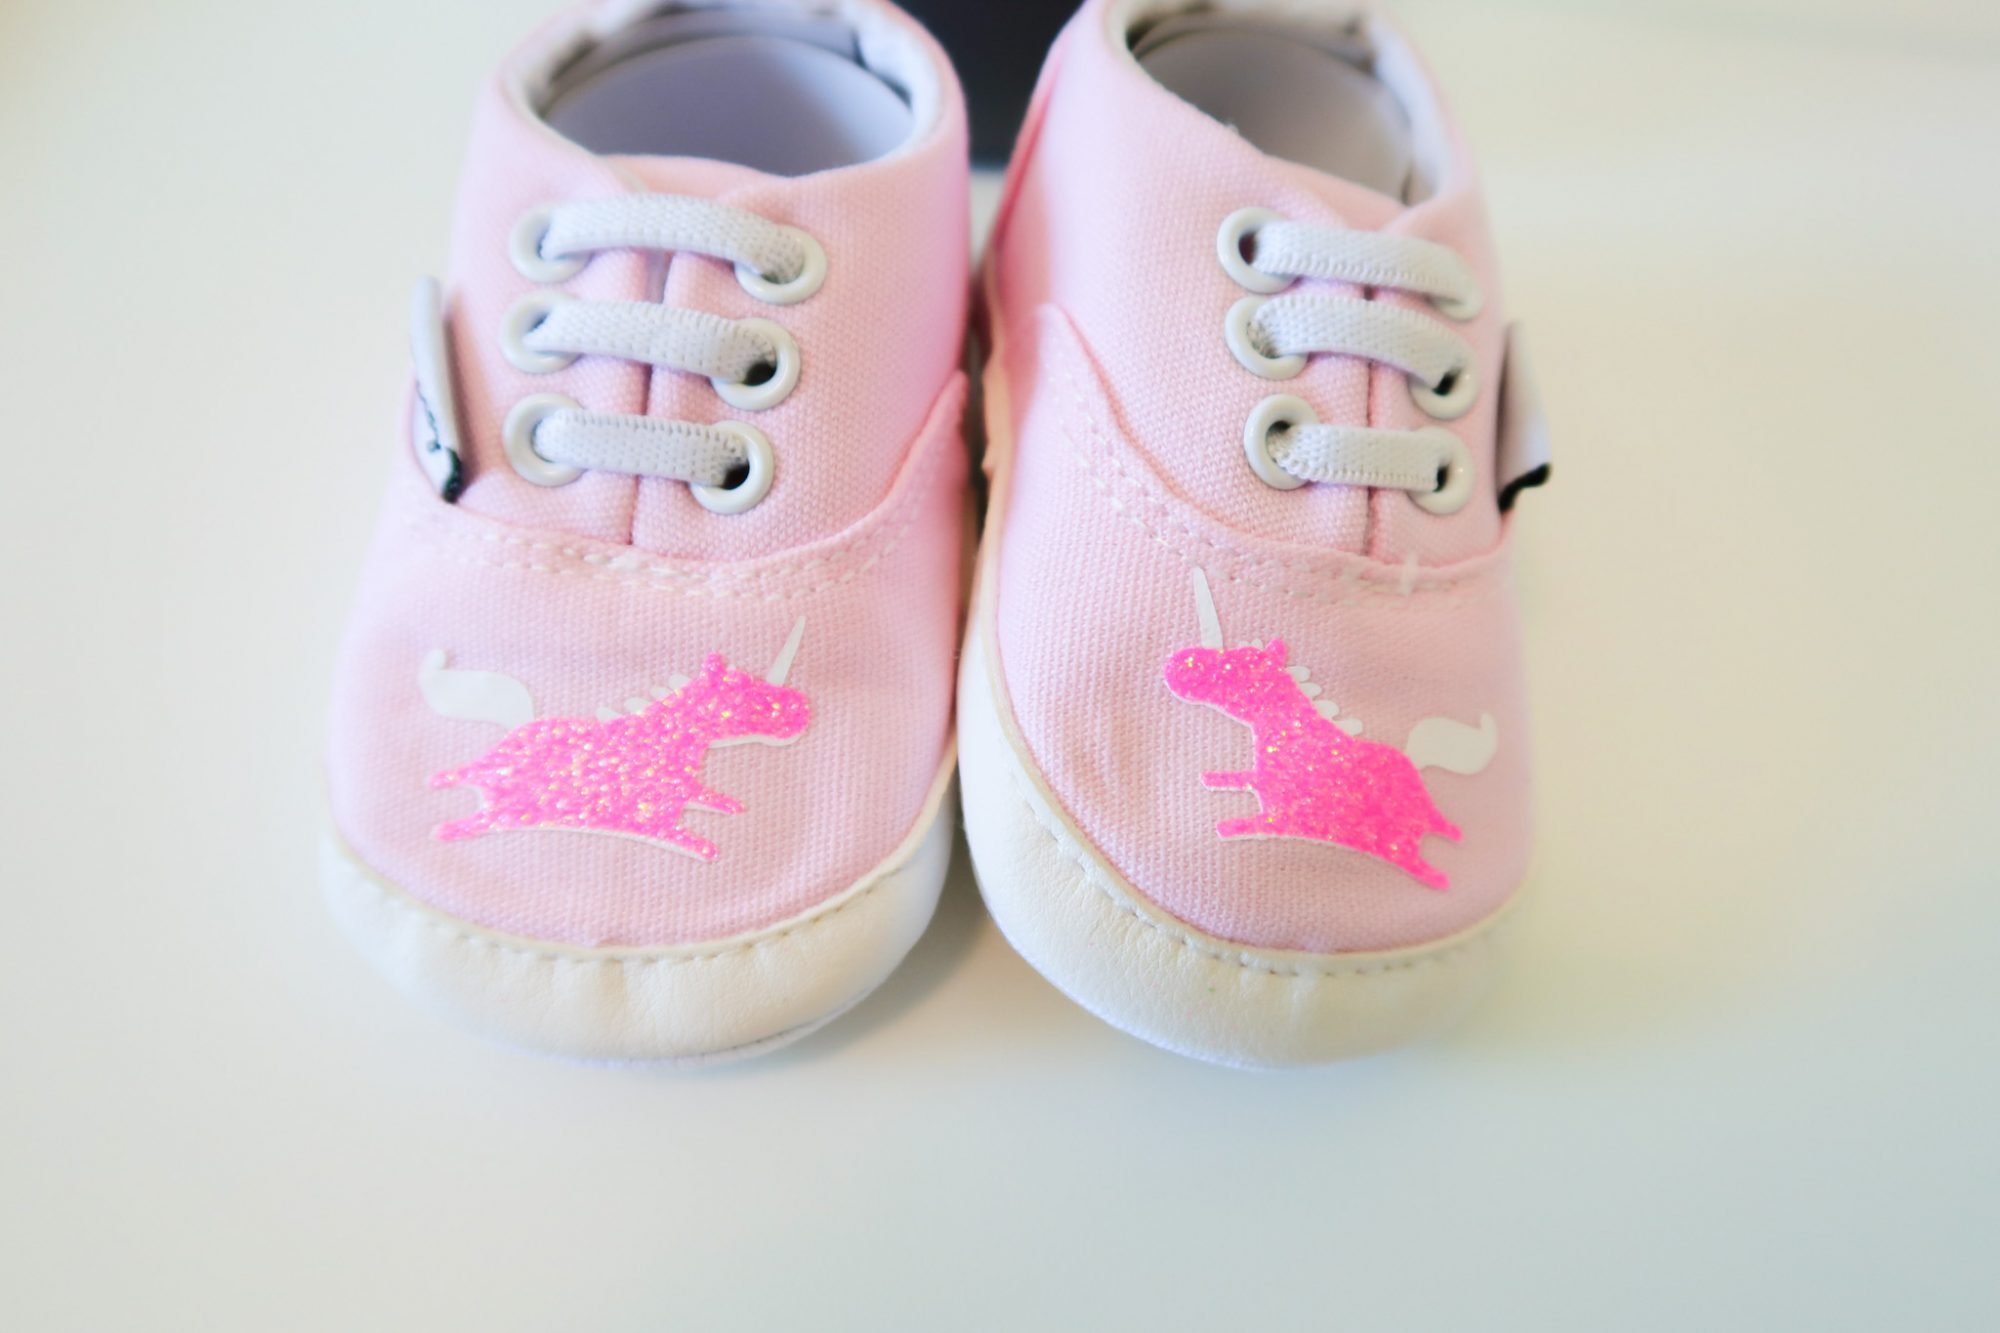
For Zoey’s pink baby shoes, I thought a unicorn would be a perfect fit. I decided to use some of my glitter iron-on in the color fluorescent pink and some everyday iron-on in white.
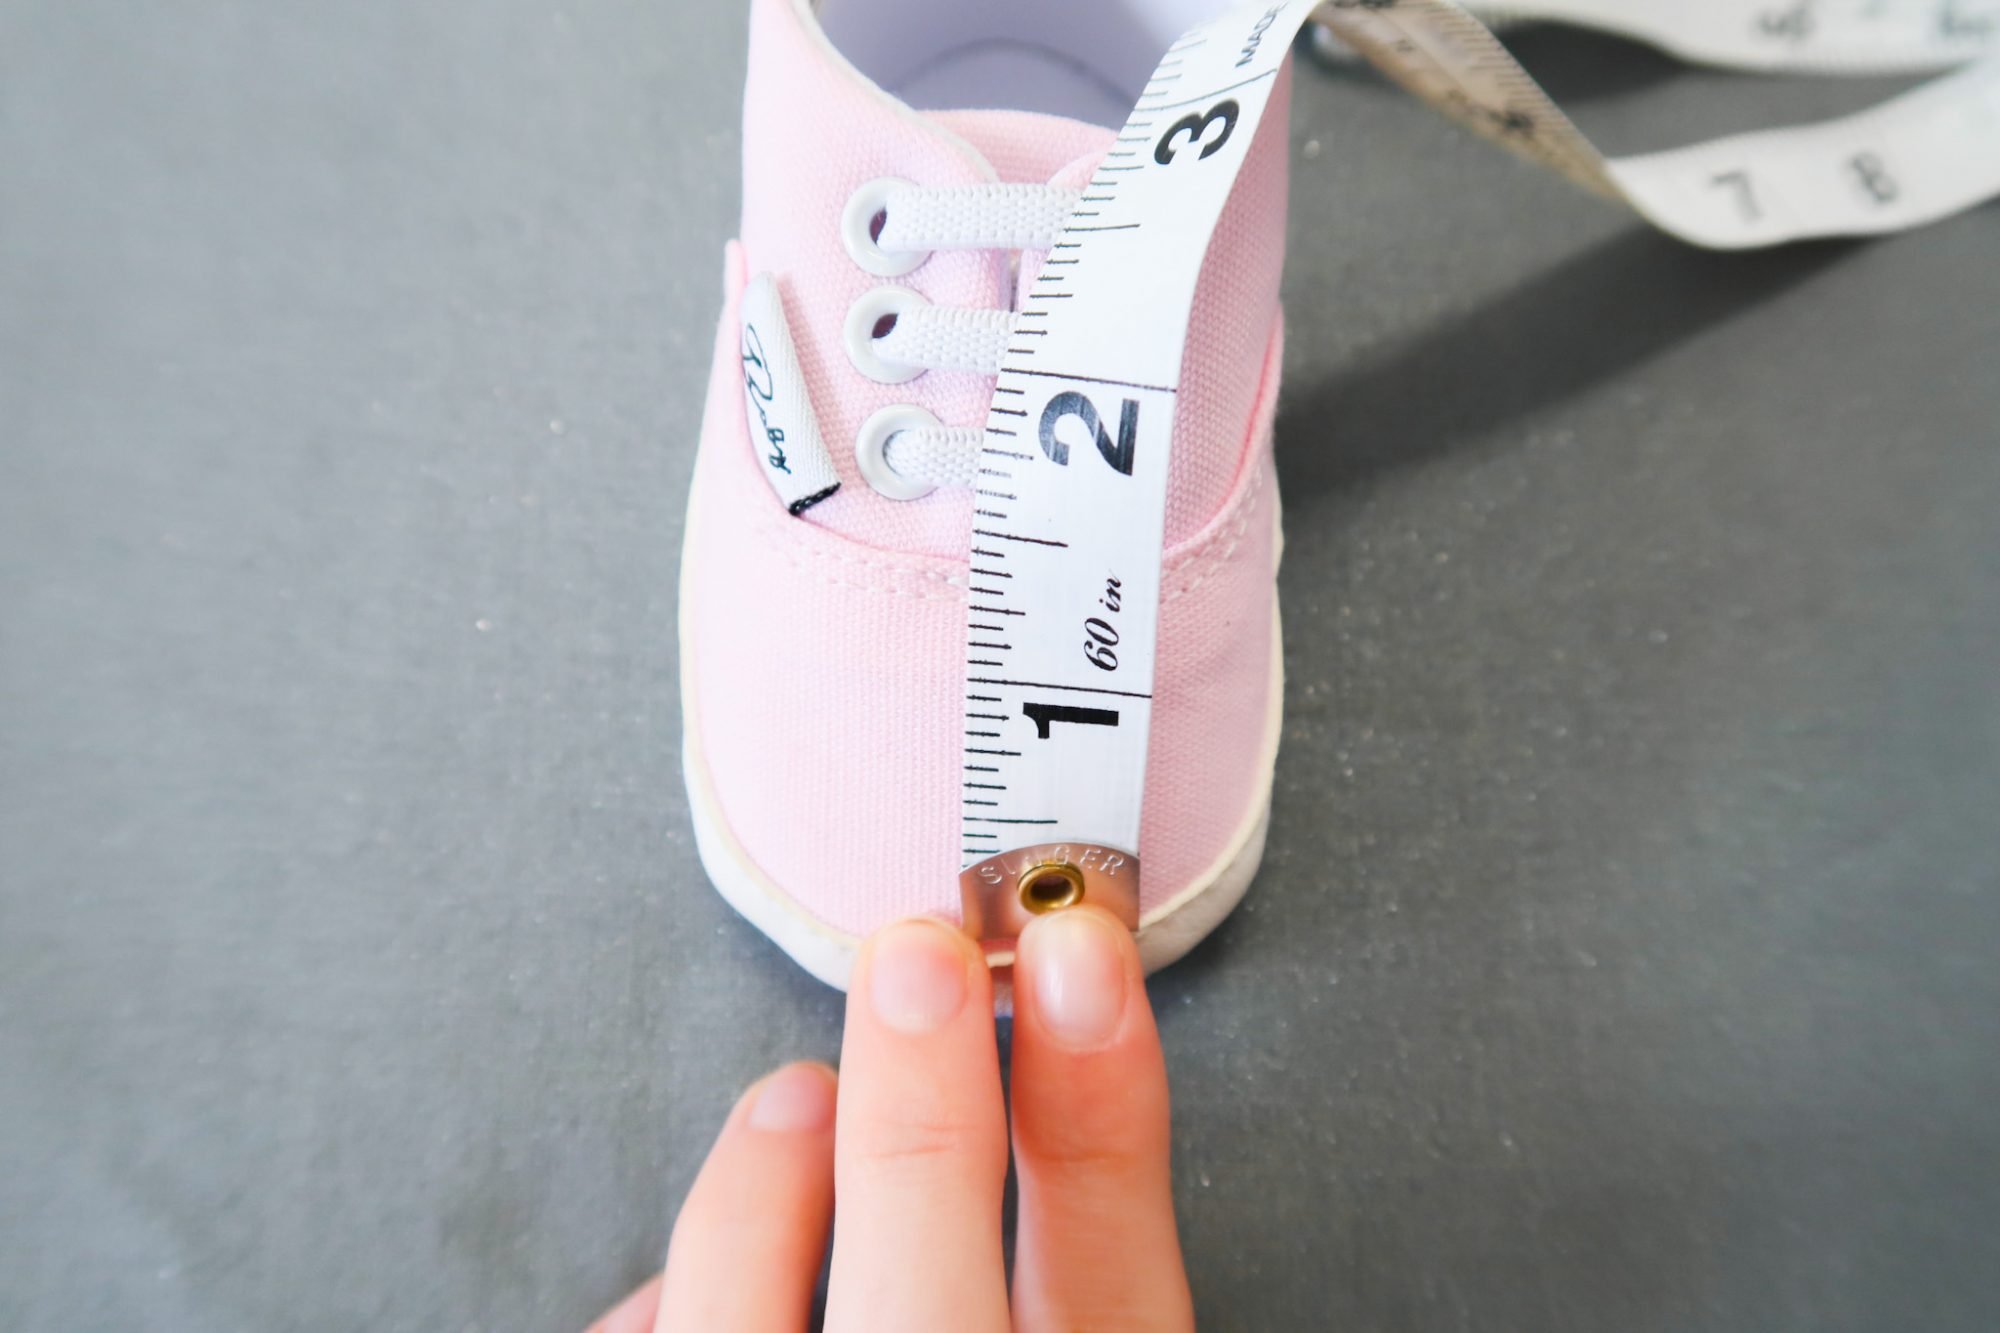
Before designing her unicorns, I measured out the space available on the top of her shoes.
If you’re working with a larger shoe, be sure to measure the height and width of the area you’ll be applying iron-on to ensure you cut a design that will fit.
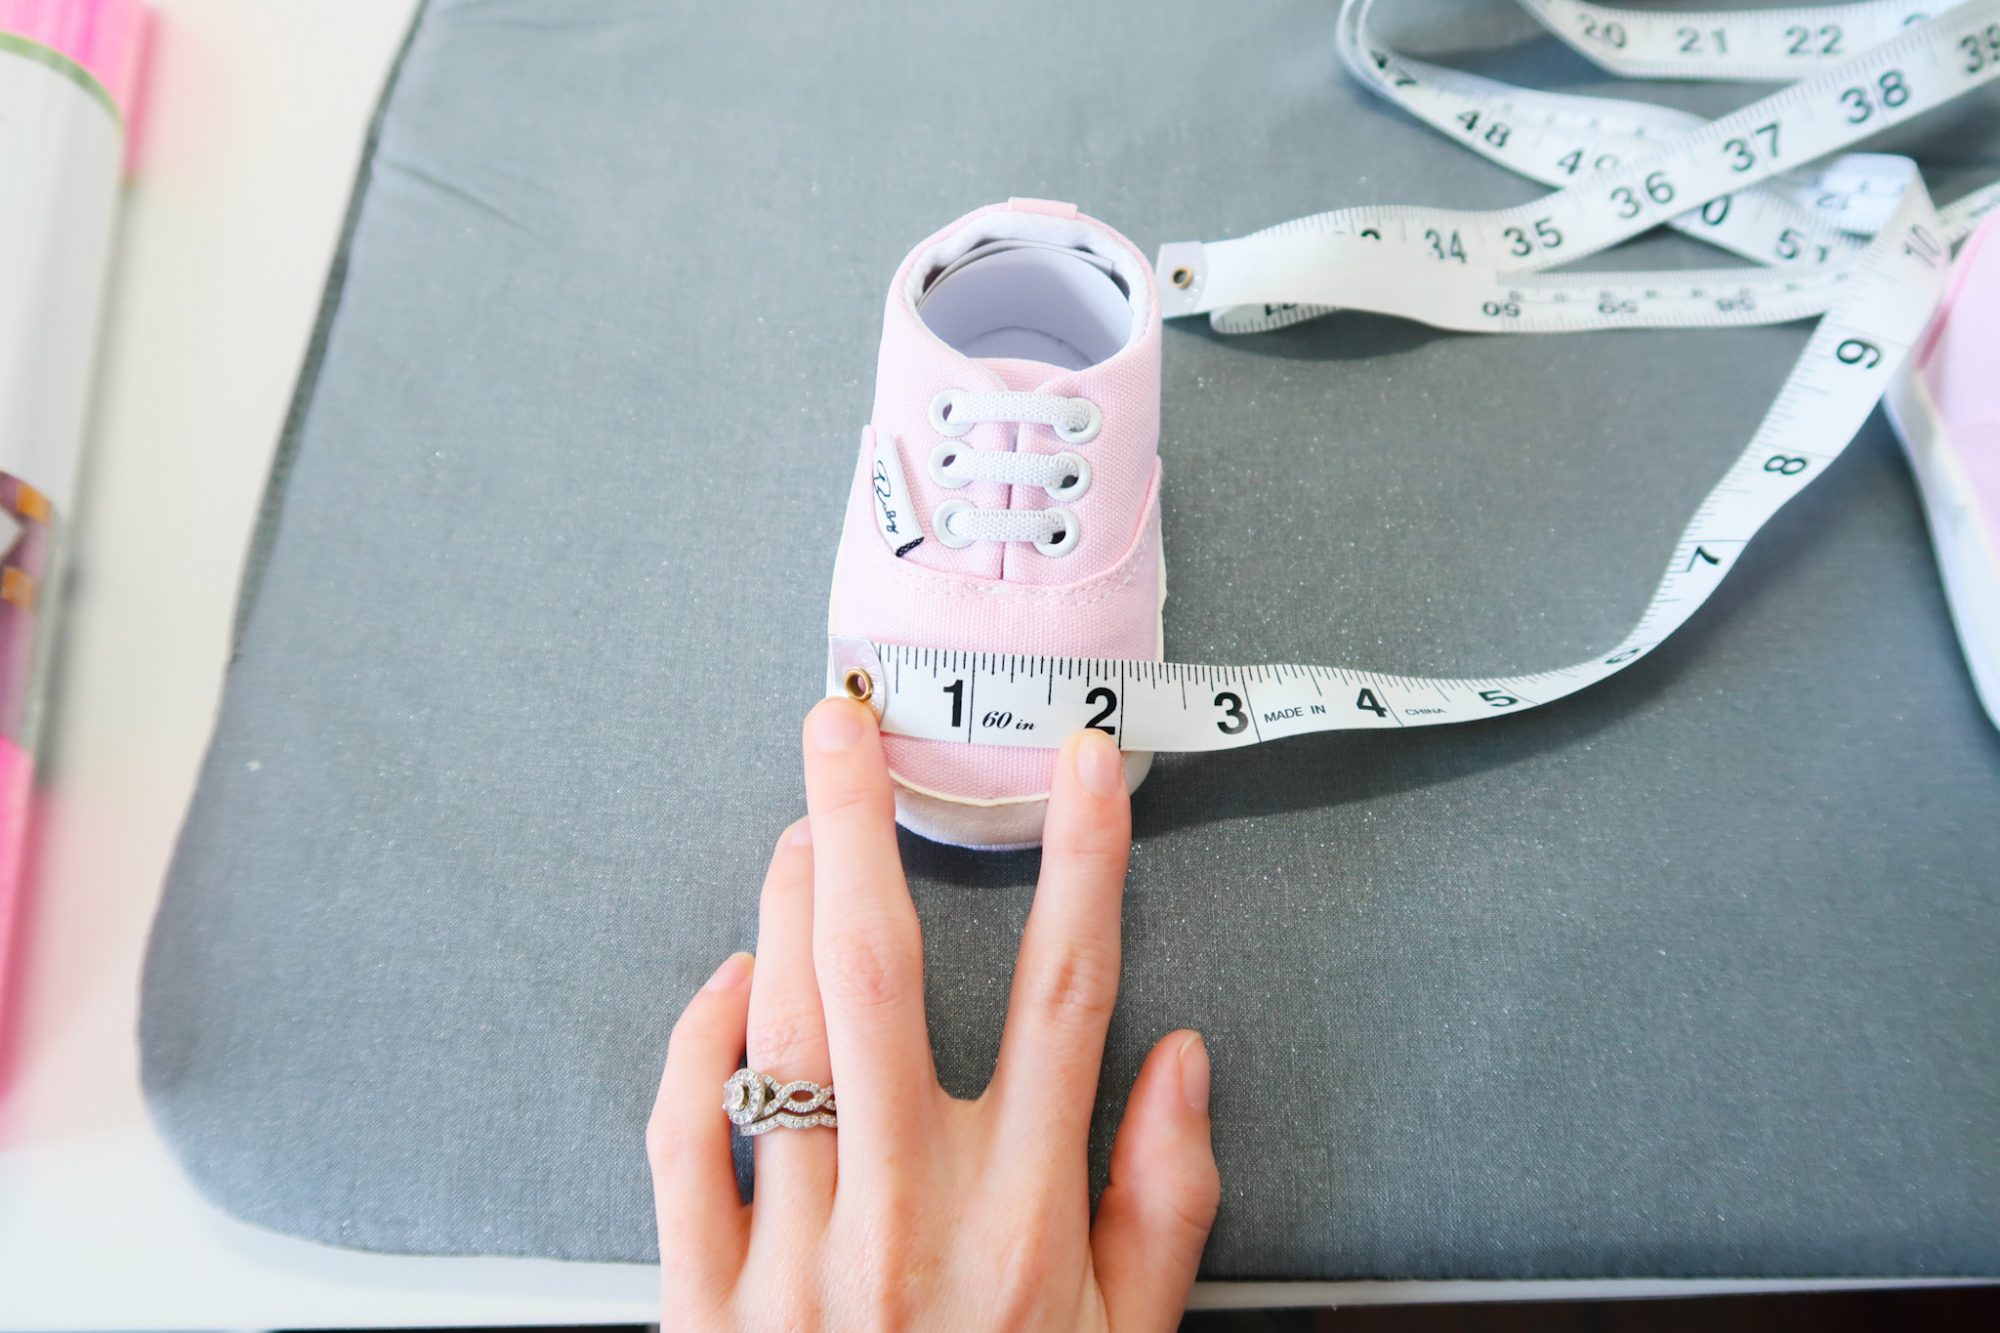
For these shoes I purchased on Amazon, I decided to fit my unicorn design within a 1.5″ by 1″ space.
Here is the unicorn design cut out in both everyday iron-on and glitter iron-on…
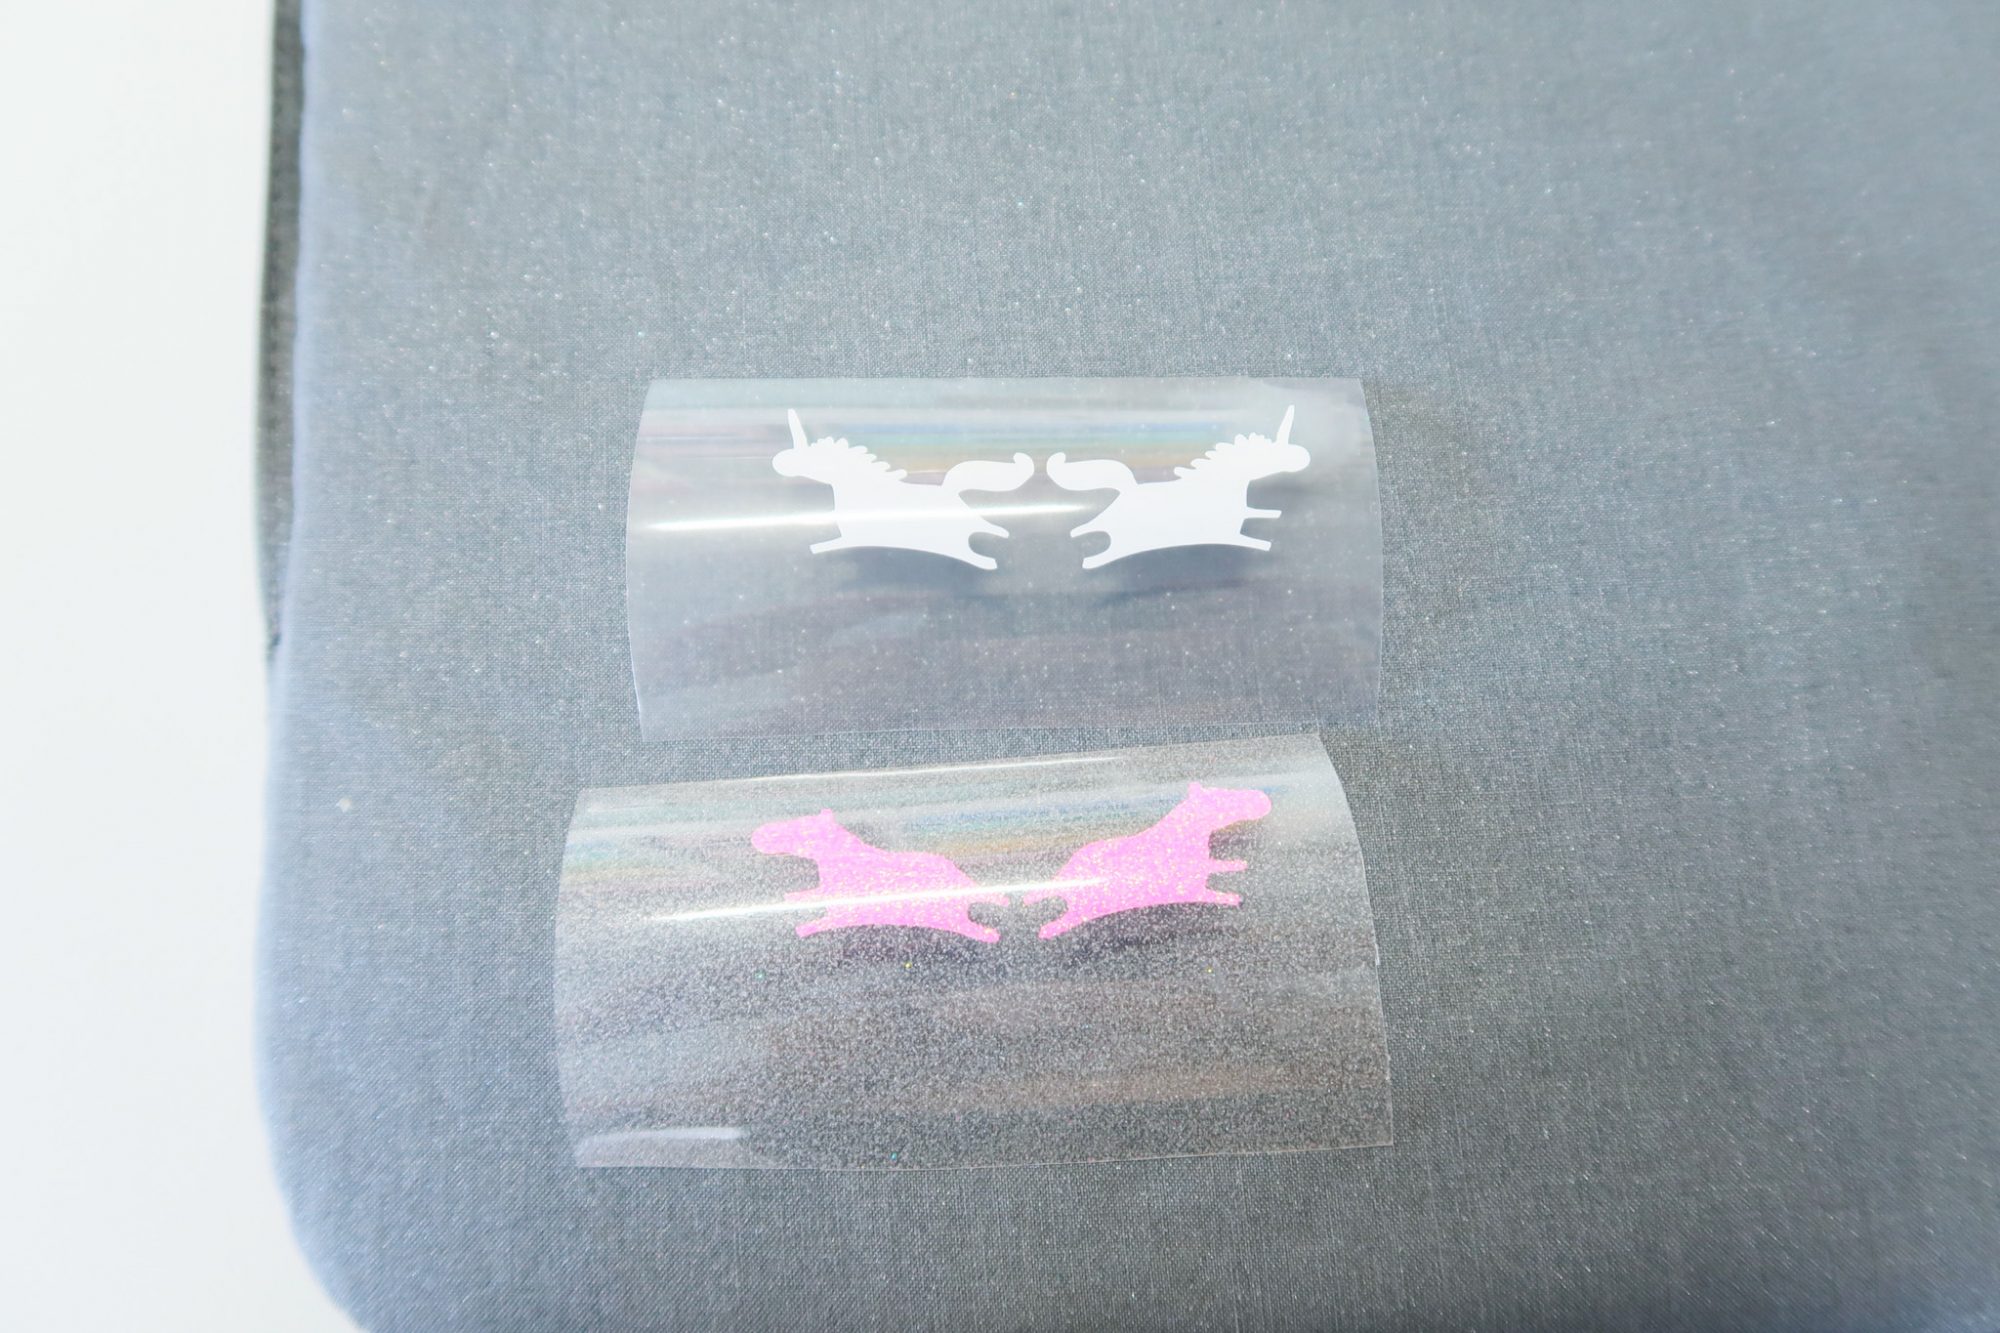
I cracked up when I saw the pink glitter vinyl cut – they look like beautiful, glittery jumping hippos!
Before applying my iron-on, I stuffed the insides of her shoes with extra packing paper I had on hand. You can use a washcloth or rag if you don’t have any tissue or packing paper on hand.
Just make sure the toe of the shoe is stuffed so you have a firm, solid surface to use. This will make applying your iron-on much easier!
First, I applied the white unicorn to the shoes, using constant movement and light pressure on medium heat.
I peeled away the liner for the everyday iron-on while it was still warm, per the heat guide on the Cricut website.
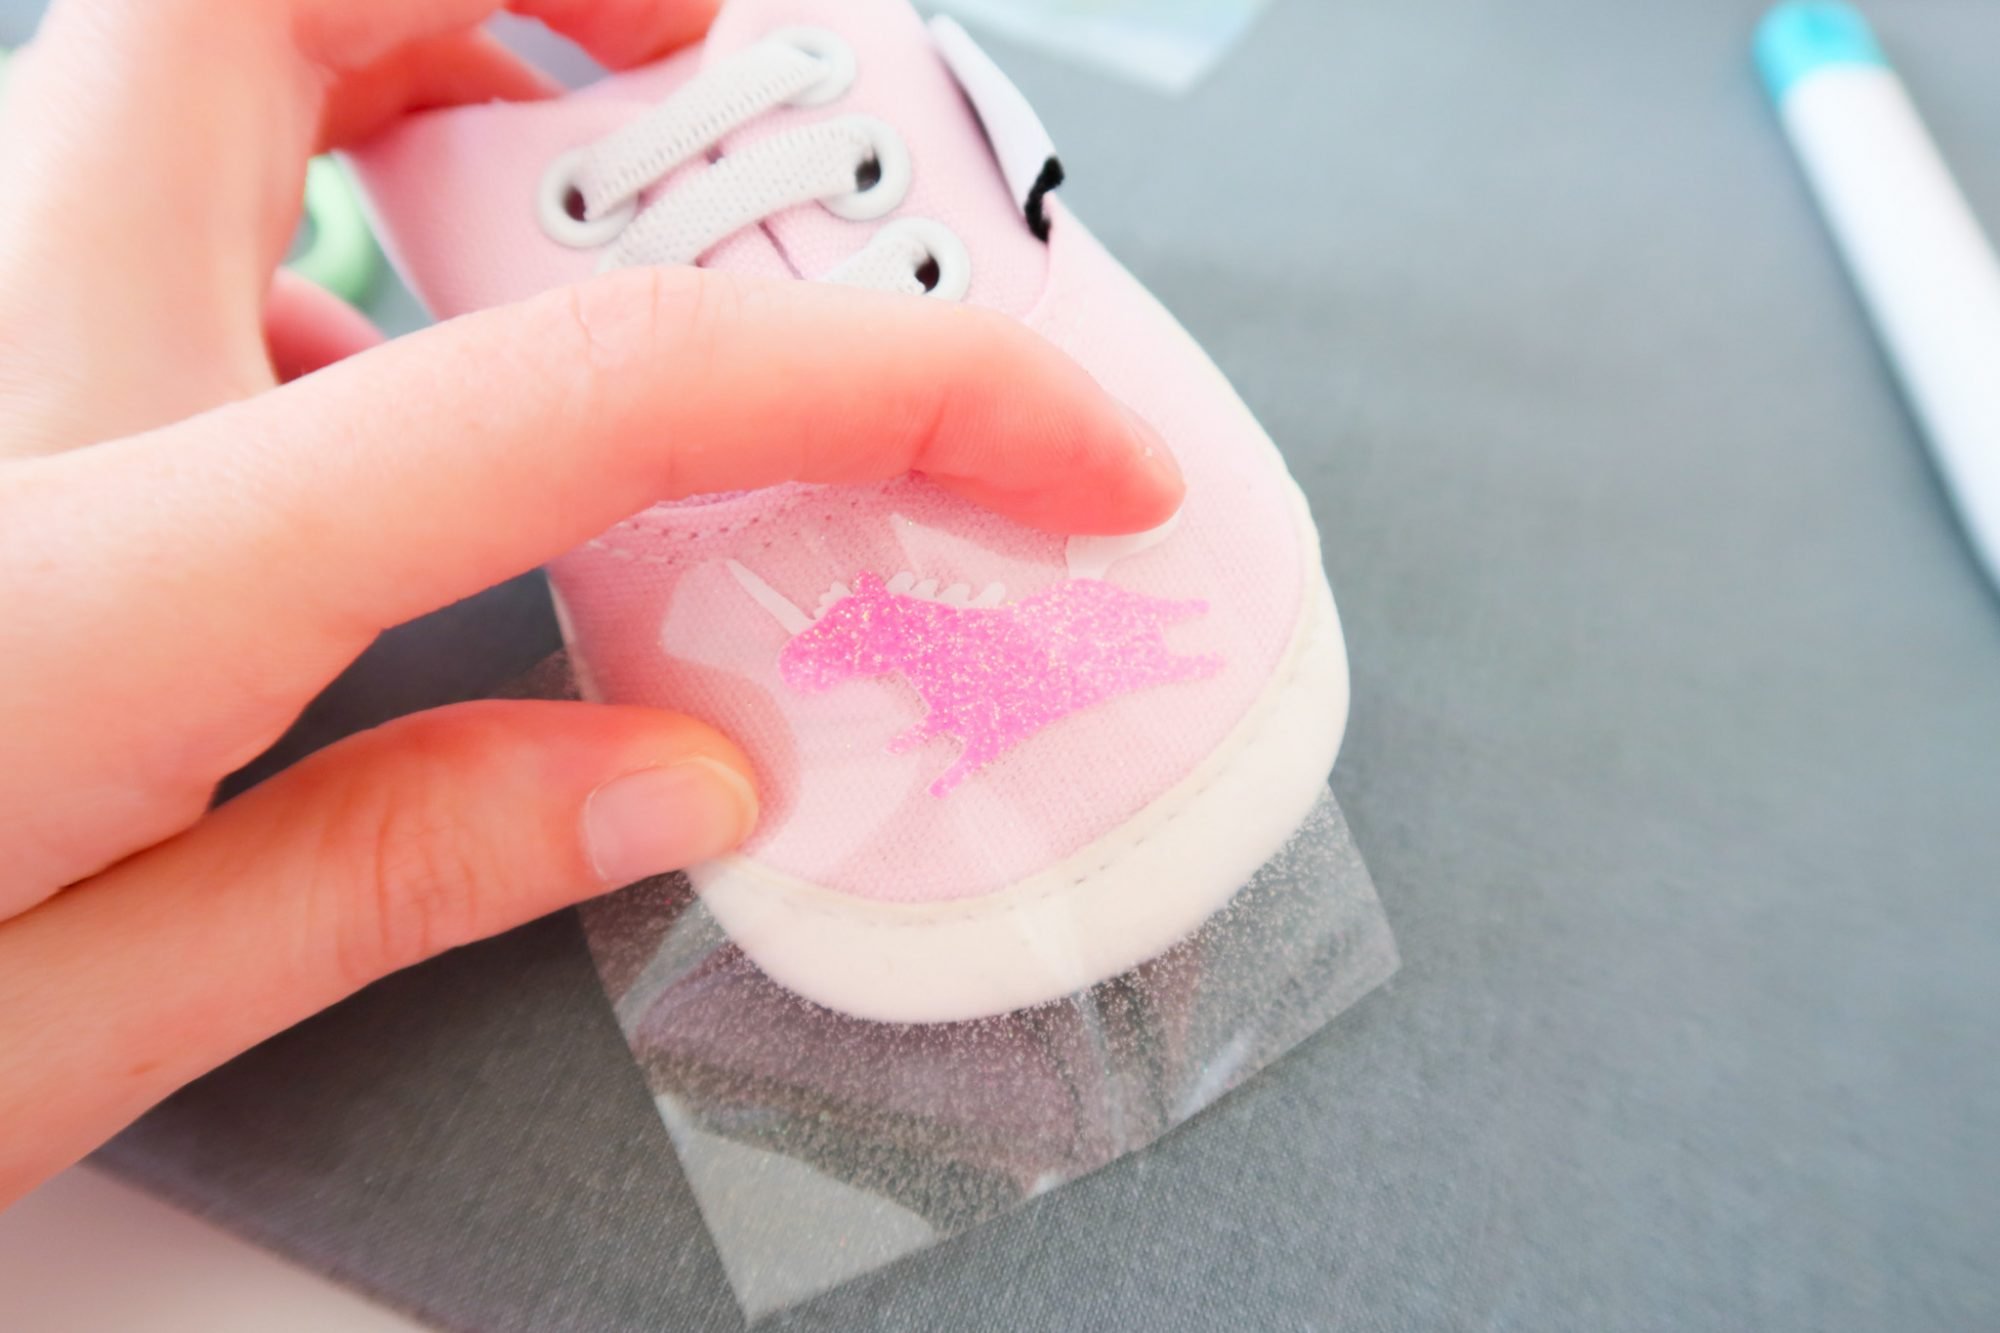
Then, I followed up by layering my pink glitter iron-on unicorn body on top of the white everyday iron-on.
Following Cricut’s recommendations, I used constant movement and light pressure on medium heat, and removed the liner while it was still warm.
Depending on the material and iron-on you’re using, you may need to do a warm peel or a cold peel.
Perhaps I have lemons on the brain lately since I recently adopted a Meyer lemon tree (you can see it on my Instagram), but I thought a lemon design would look great on the yellow shoes I bought for Zoey.
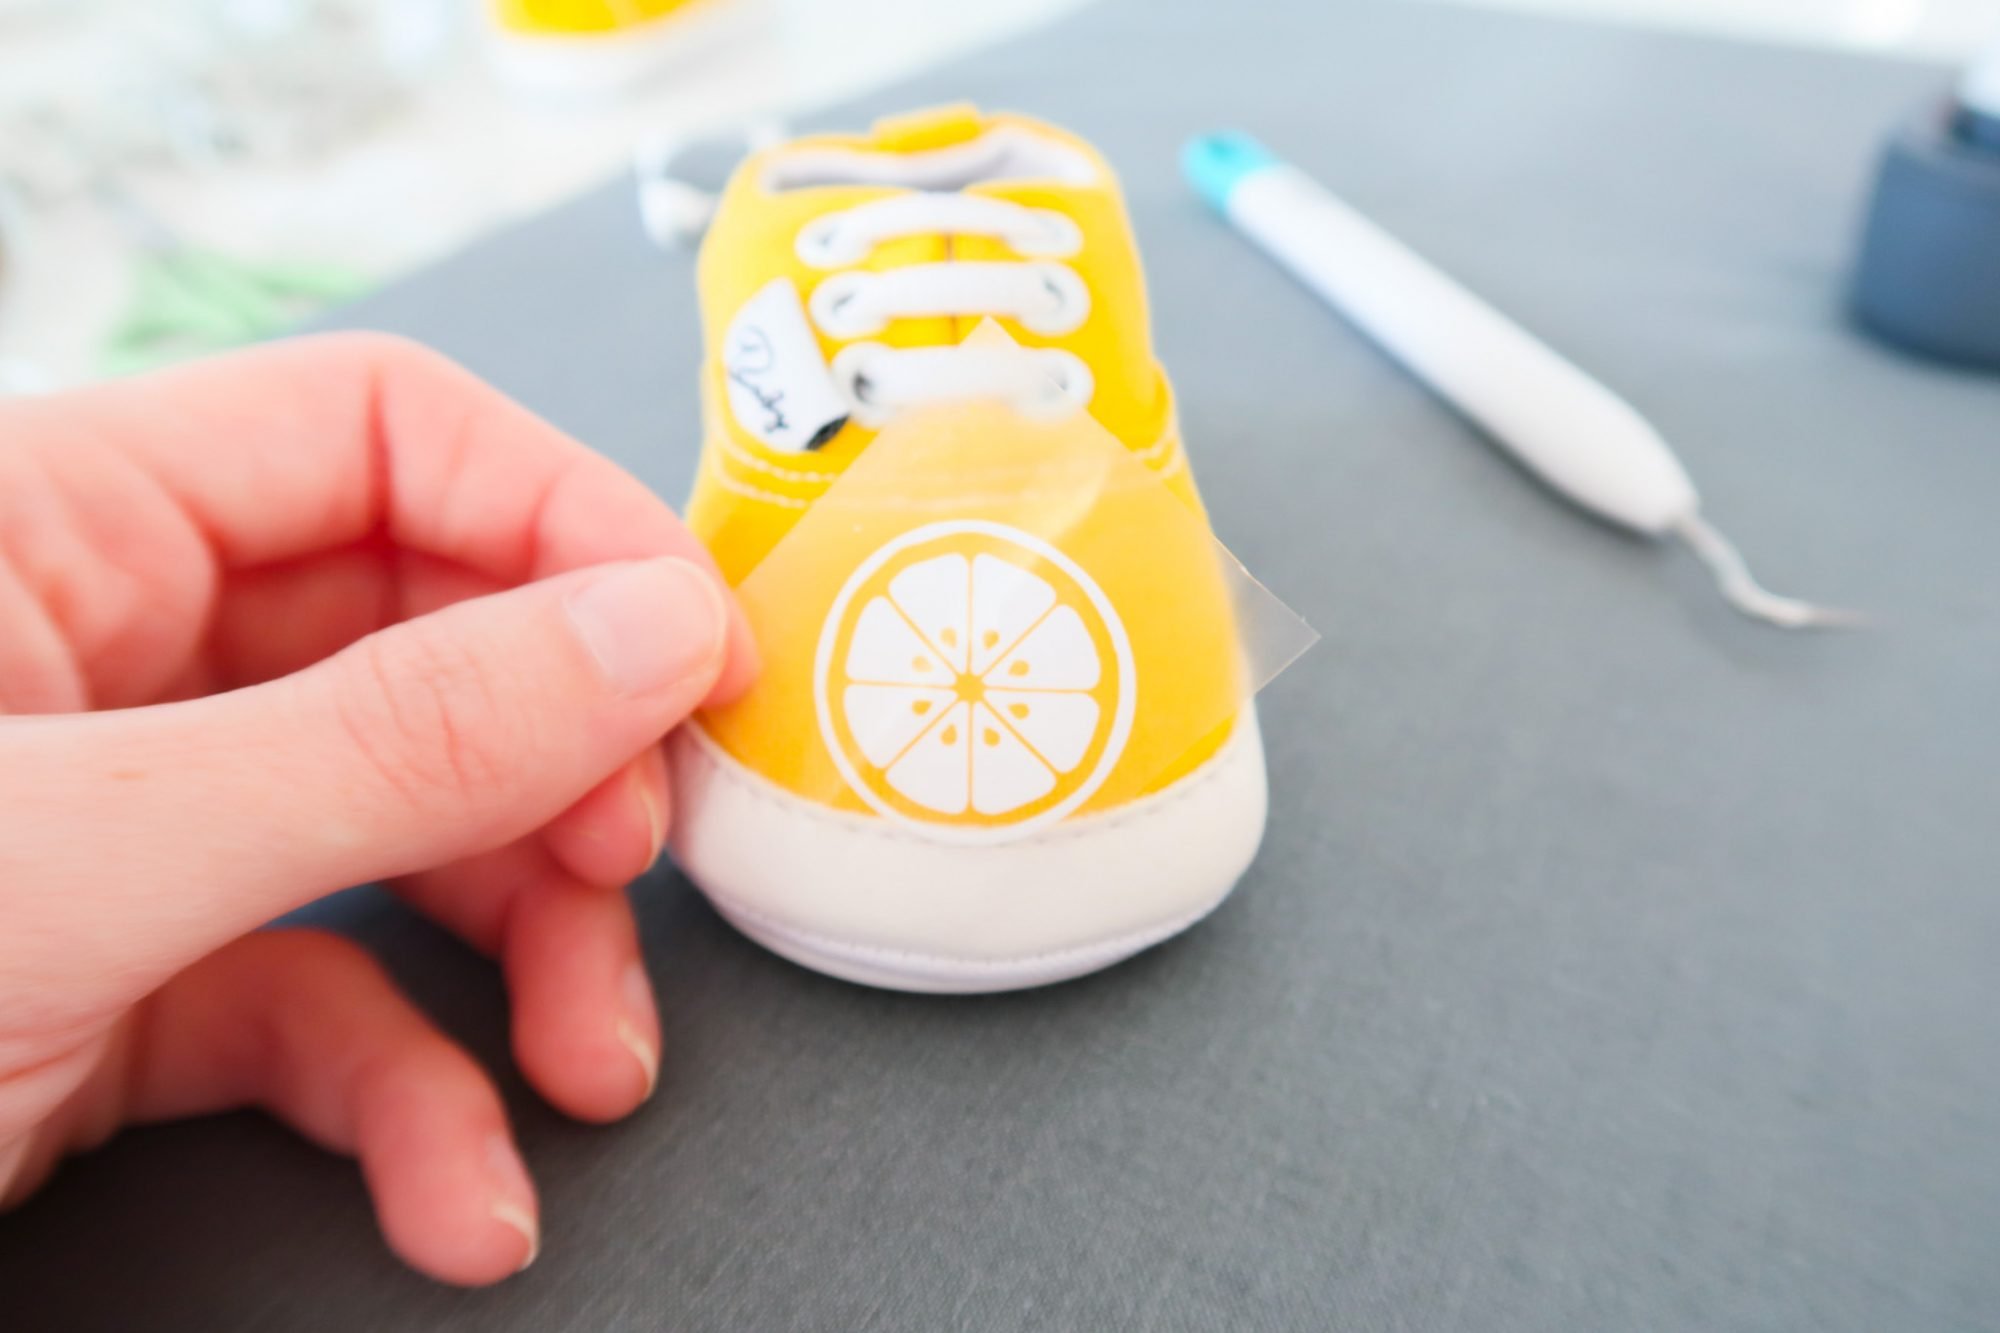
For the lemon design, I used Cricut white everyday iron-on.
Related: DreamBox Review And Office Reveal!
I used constant movement on medium heat and applied light pressure with a warm peel.
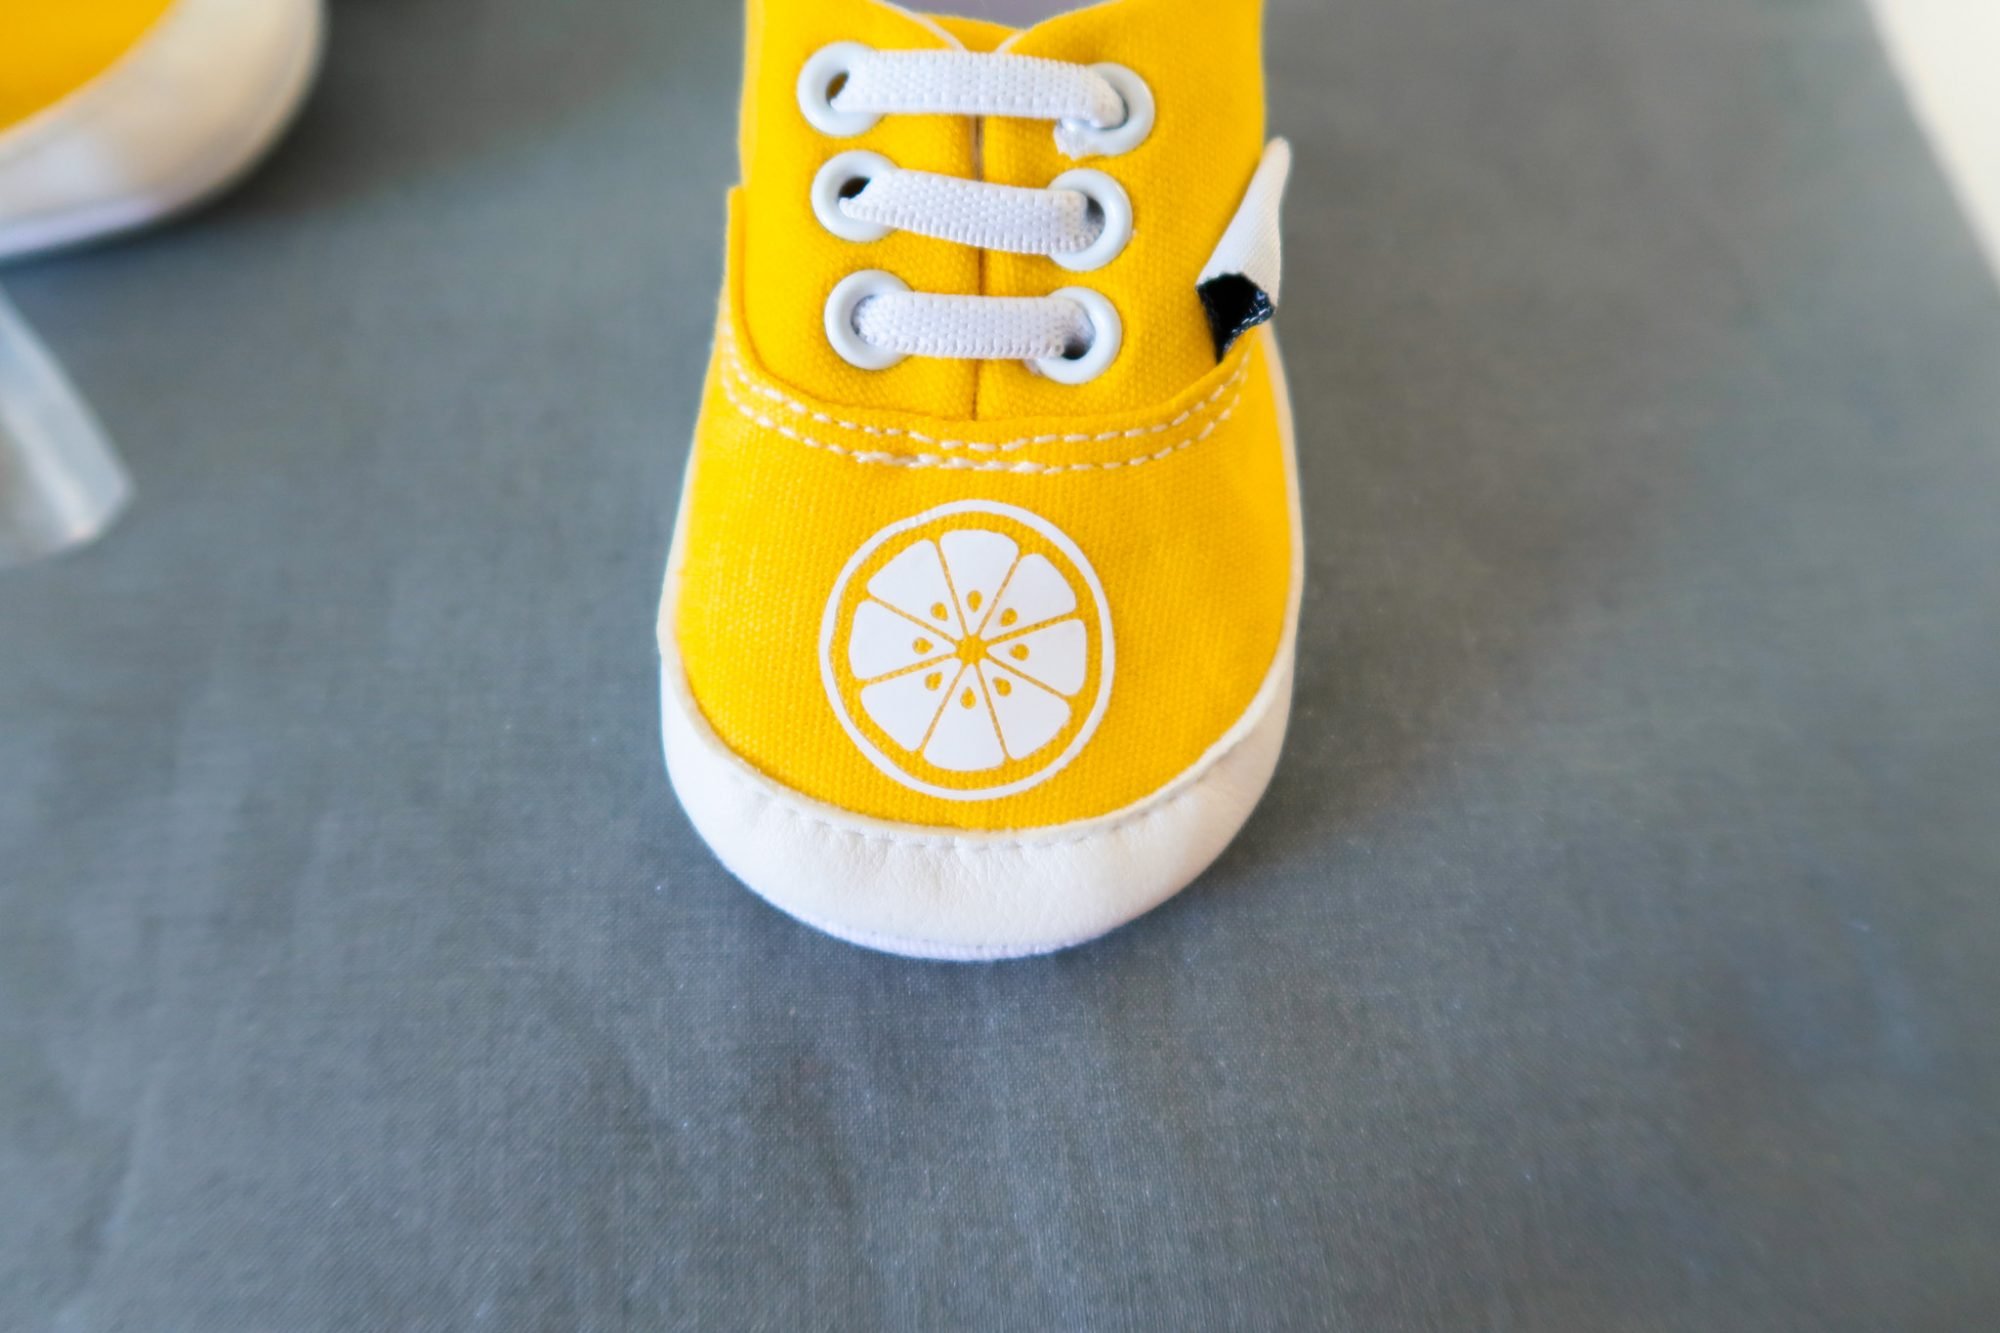
Look at how adorable this lemon slice looks on this yellow shoe!
These were so easy to do, I want to buy ten more pairs and go shoe crazy for Zoey ;).
Have you used an EasyPress Mini for a project yet, or are you thinking of buying one? Let me know in the comments below!

Leave a Reply